FrameVis is a Python script for creating visualizations from video frames, also known as “movie barcodes” due to their vertical striping. The script uses the OpenCV library to read from a video file, load frames into memory, and then stack them together to make a new image visualizing the entire film. The resulting visualizations are as fascinating as they are beautiful… you can see the flow of the color grading, the pacing of the editing, and if you know the film well enough you can even pick out certain scenes or even shots.
This script works on Windows, Mac, and Linux and is compatible with all OpenCV file types and codecs. You can download it on GitHub.
Command Line Arguments
FrameVis is designed as a command line utility. There are two required arguments, both of which are positional: the file path for the video file to visualize (“source”), and the file path to save the final visualization image (“destination”). The script will work with all file types and codecs supported by OpenCV, and can save the output as a jpeg, png, bmp, or tiff (among others).
There are also a number of optional arguments that will change the layout or final appearance of the visualization. The demonstration film for these options is going to be the Blu-ray version of Damien Chazelle’s 2016 masterpiece La La Land, starring Ryan Gosling and Emma Stone.
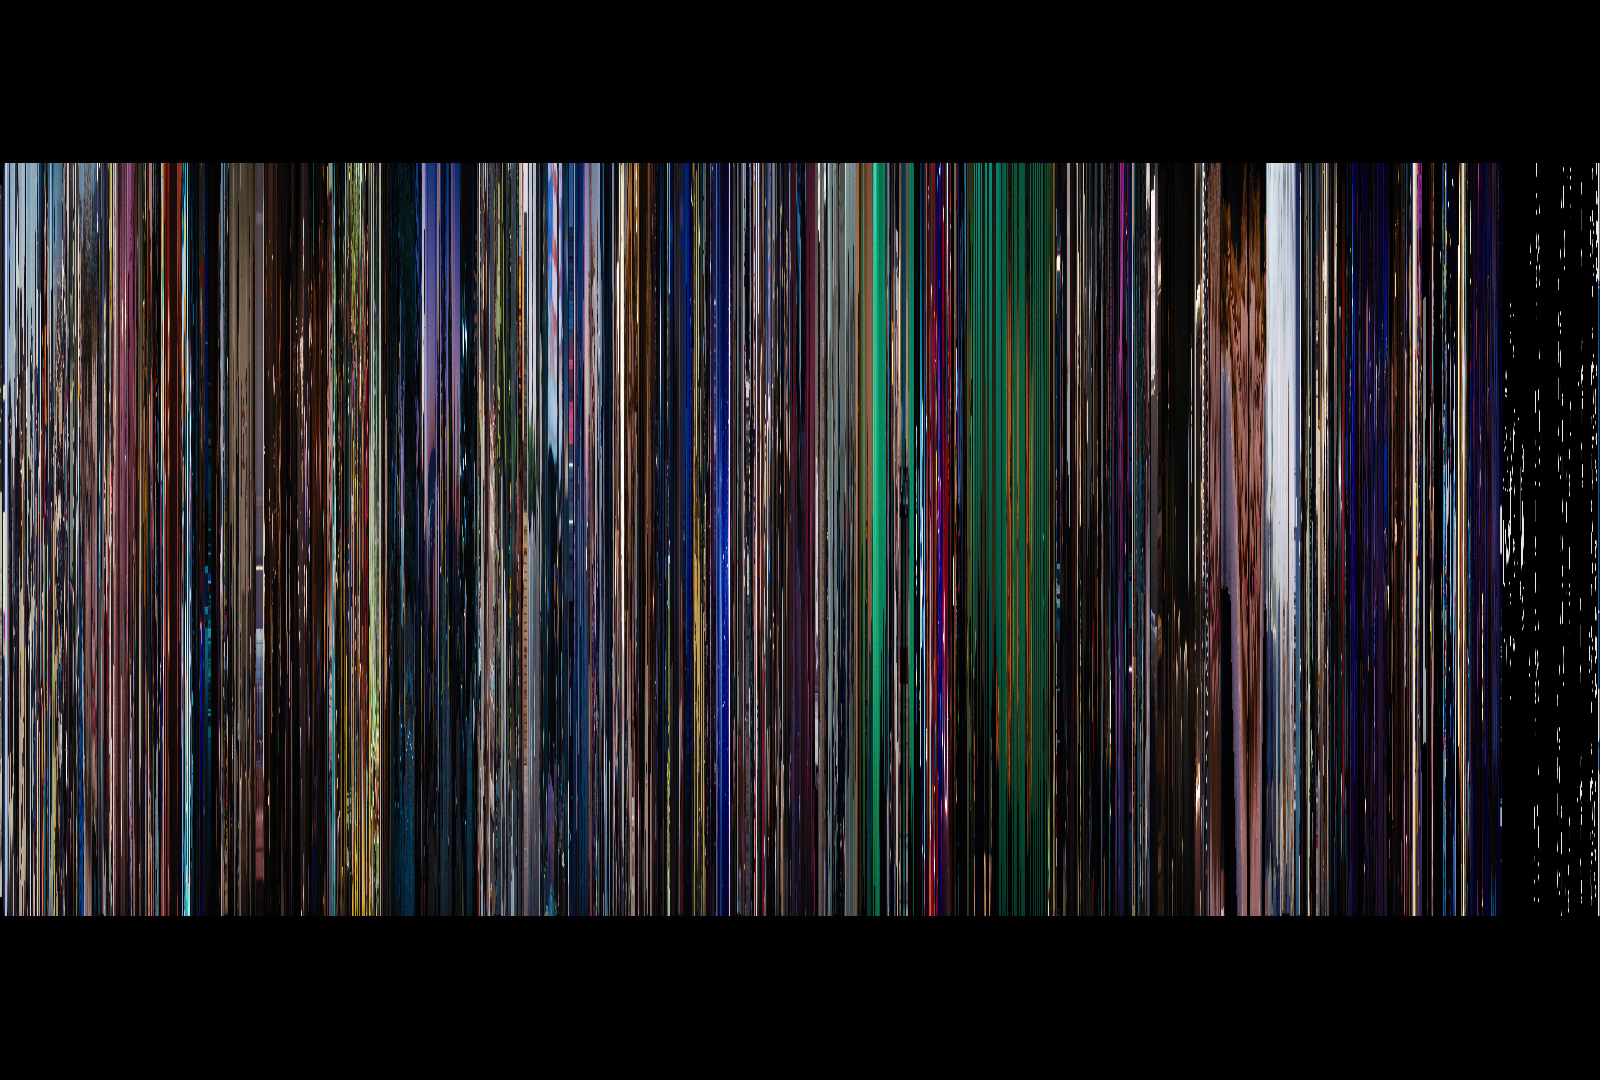
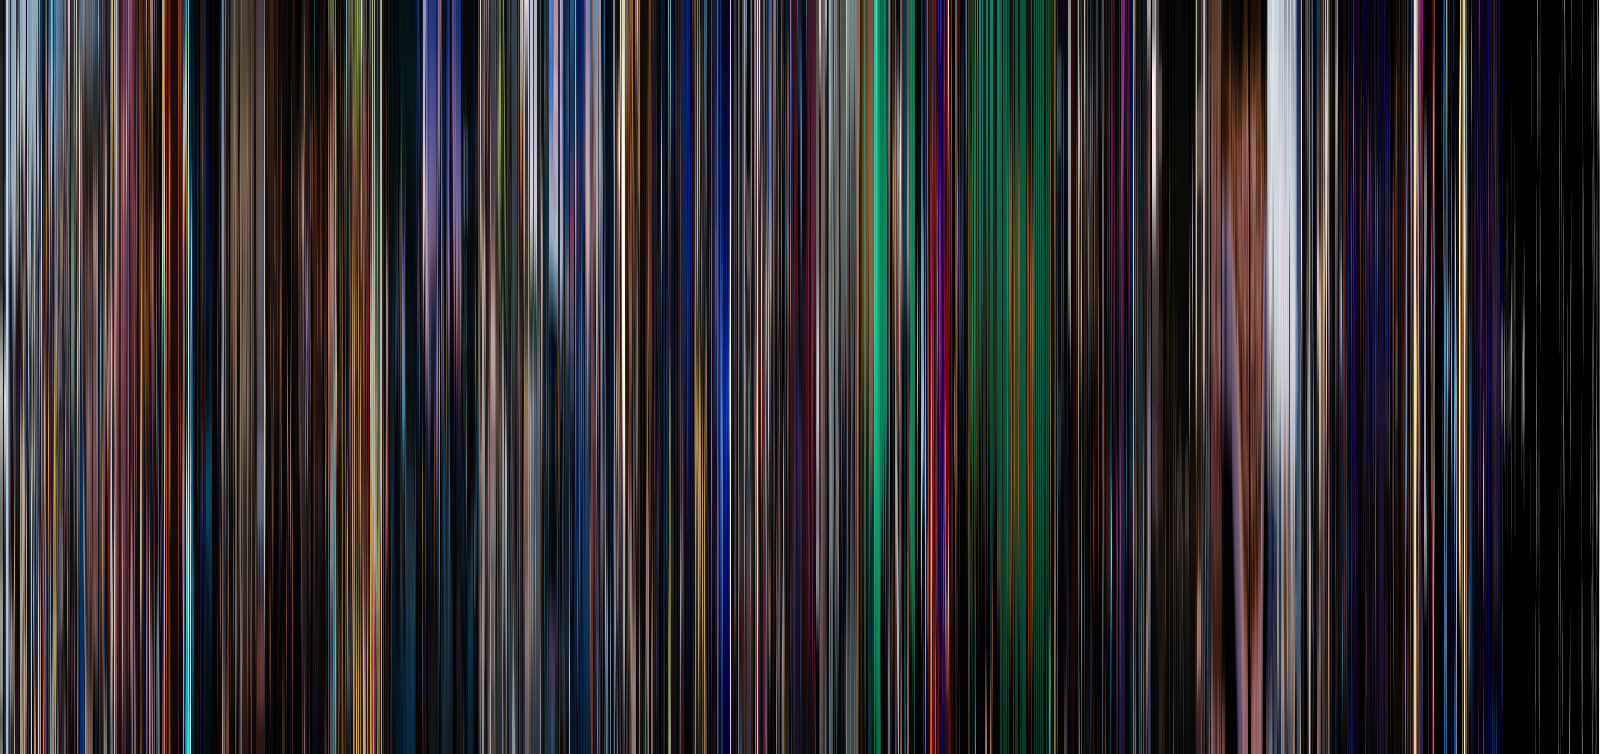
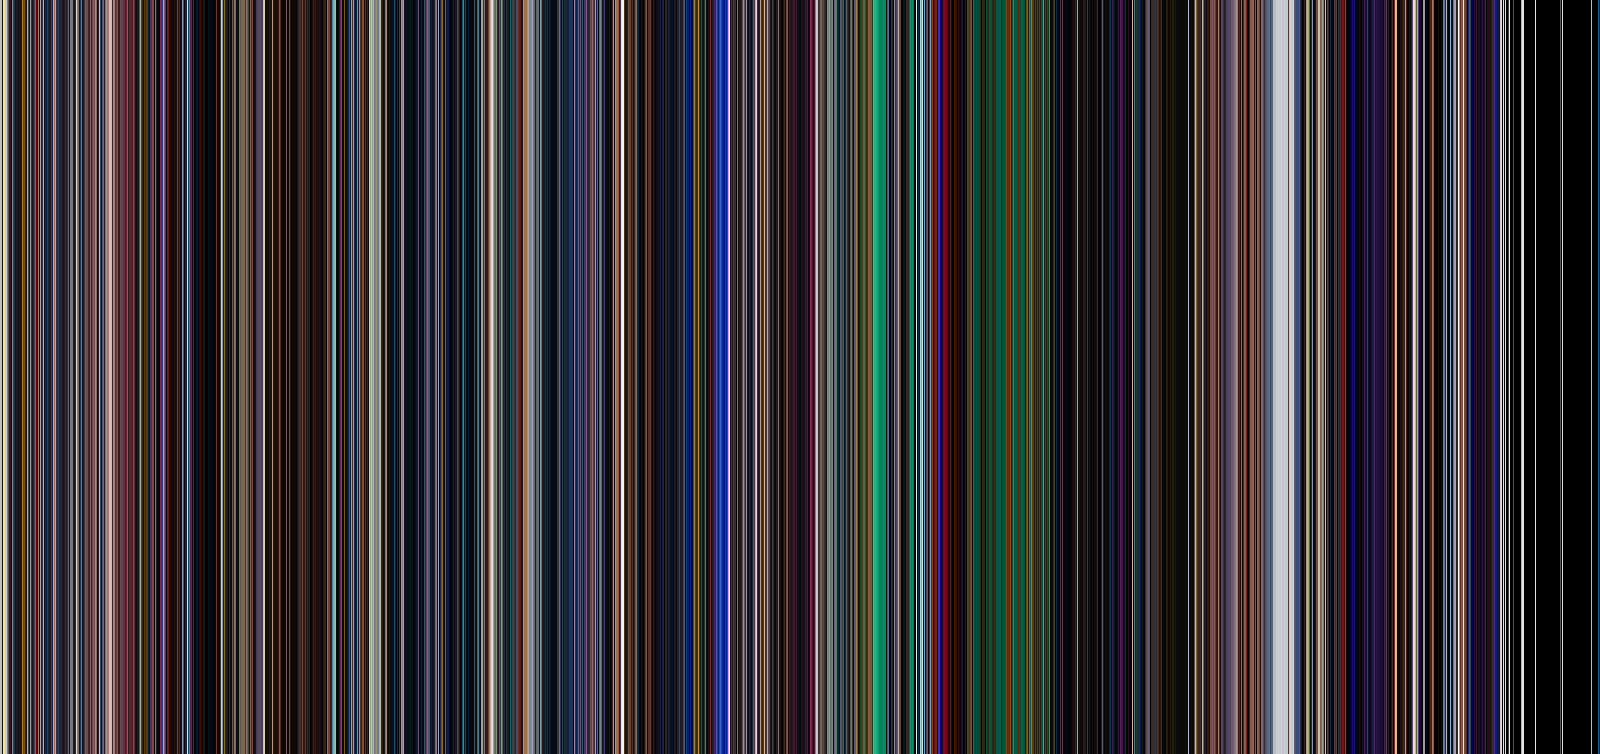
Here is the visualization created by FrameVis with no optional arguments, using 1600 frames. Note the black letterboxing bars, which are present in the source video. Pay attention to how this visualization changes using each optional argument.
Nframes and Interval
One of these two arguments is required to set the number of frames to use in the visualization. You can either set the number of frames directly with --(n)frames, or indirectly by setting a capture --(i)nterval in seconds. Captured frames with either method are spaced throughout the entire video.
Changing these arguments in tandem with either height or width allows you to keep the same aspect ratio between visualizations.
Height and Width
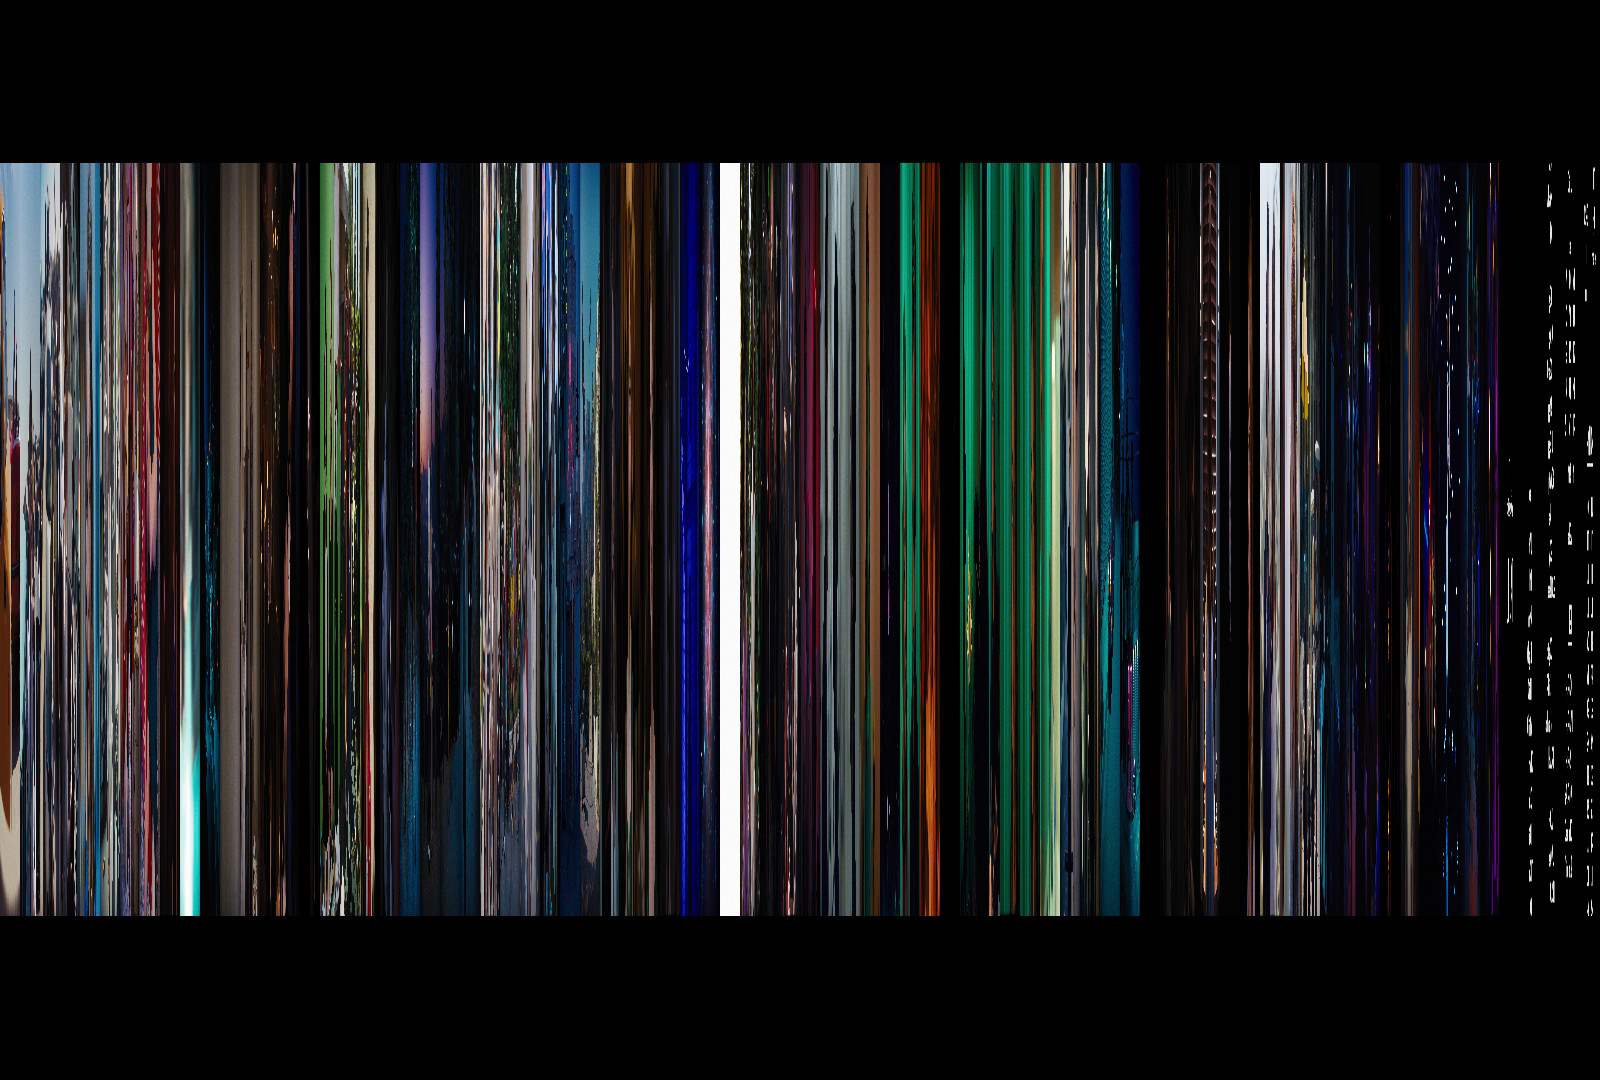
La La Land – 80 frames, 20 pixels wide each
The --(h)eight and --(w)idth arguments allow you to specify the size, in pixels, of each frame before it’s added to the final image. If unspecified, these options will default to 1 px in the concatenation direction and the full size of the video in the other. For example, if concatenating a 1080p video horizontally, height will be set to 1080 px and width will be set to 1 px.
Direction

The --(d)irection argument allows you to change the concatenation direction in which to combine frames, either “horizontal” or “vertical”. By default frames are stacked horizontally (left to right), but passing this argument allows you to stack them vertically (top to bottom) instead. This also swaps the ‘width’ and ‘height’ options to scale to 1 px instead of 100 px
Note that using this vertical direction flag is not the same as rotating the horizontal output, since frames are resized to be ‘wide’ rather than ‘tall’.
Trim
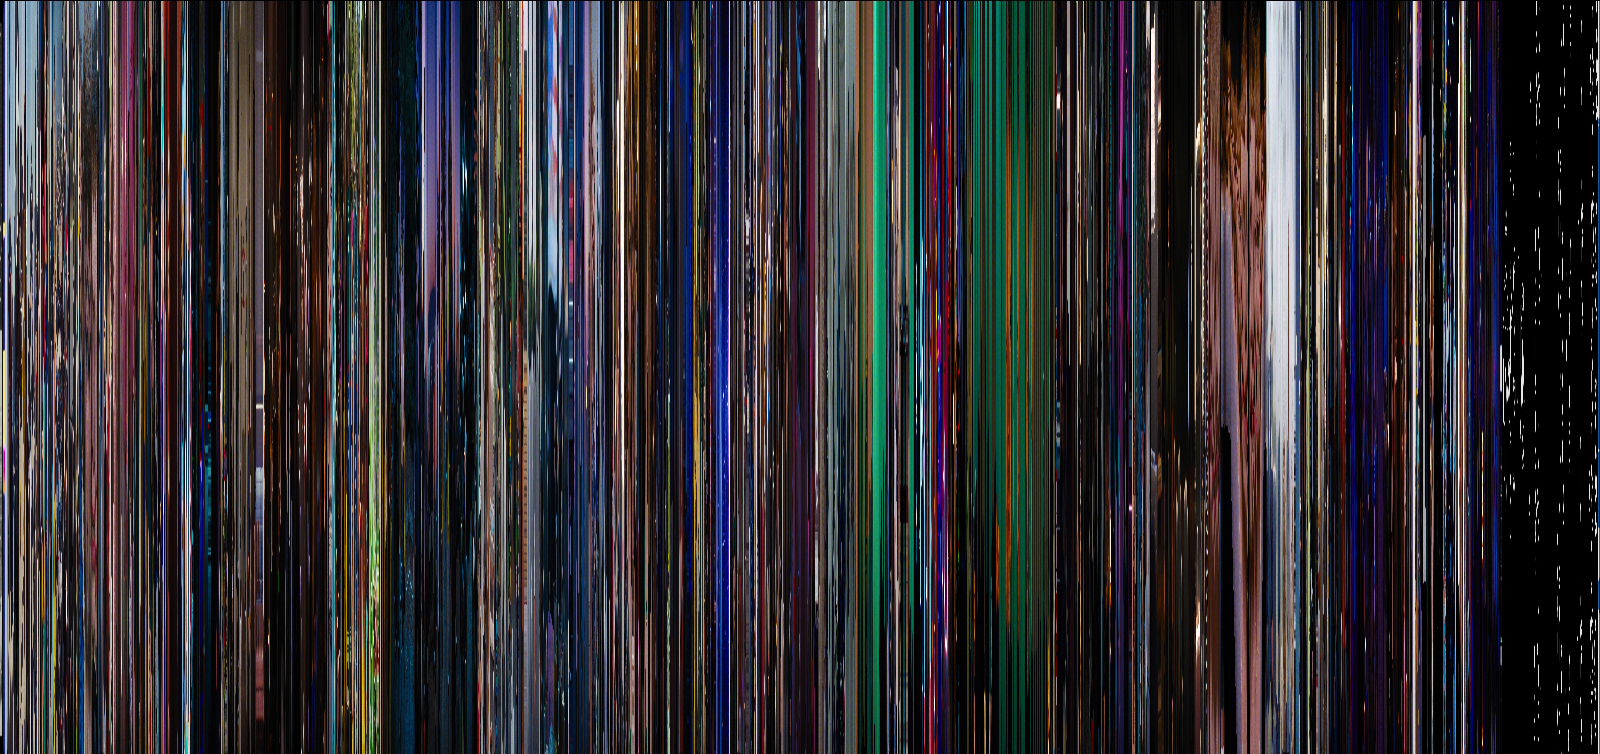
The --(t)rim flag attempts to automatically detect and remove any hard matting (black bars) present within the video source before resizing each frame. This is useful if you’re either concatenating against the black bars (e.g. horizontal direction with a pillarboxed source video) or if you’re using one of the postprocessing options. Or if you’re like me and you just don’t want to have to crop the image afterwards!
Average
Using the --(a)verage flag will average all of the colors across each frame. If the source video is matted the trim flag (-t) should be used as well, otherwise the colors will be excessively darkened.
Blur
Using the --(b)lur argument will apply motion blur across each frame, smoothing the final result. The value set here changes the size of the convolution kernel used to blur the image. If no value is provided, the script uses a kernel size of 100 px. As with --(a)verage, the trim flag (-t) should be used if the source video is matted.
Samples
Using my desktop’s Blu-ray drive and MakeMKV I created digital versions of some of the movies I own to try out with FrameVis. OpenCV is able to read (most of) these mkv files without any problems.
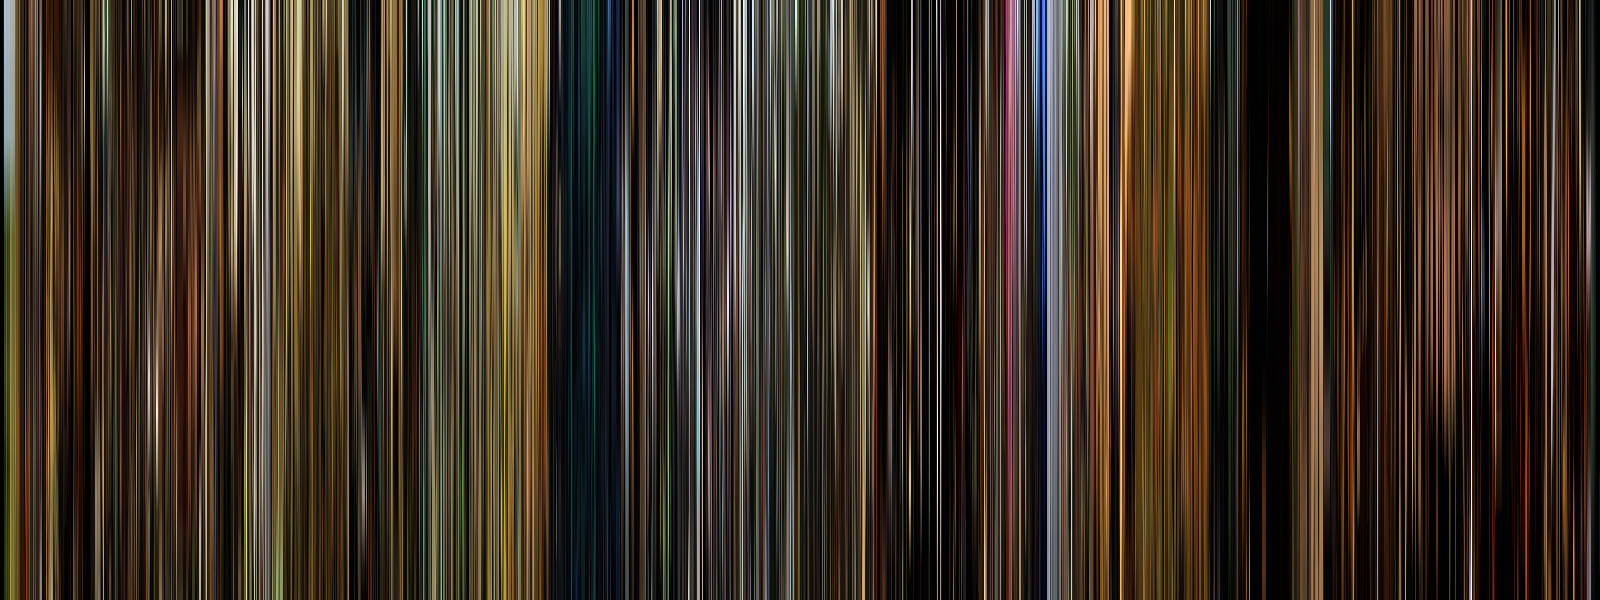
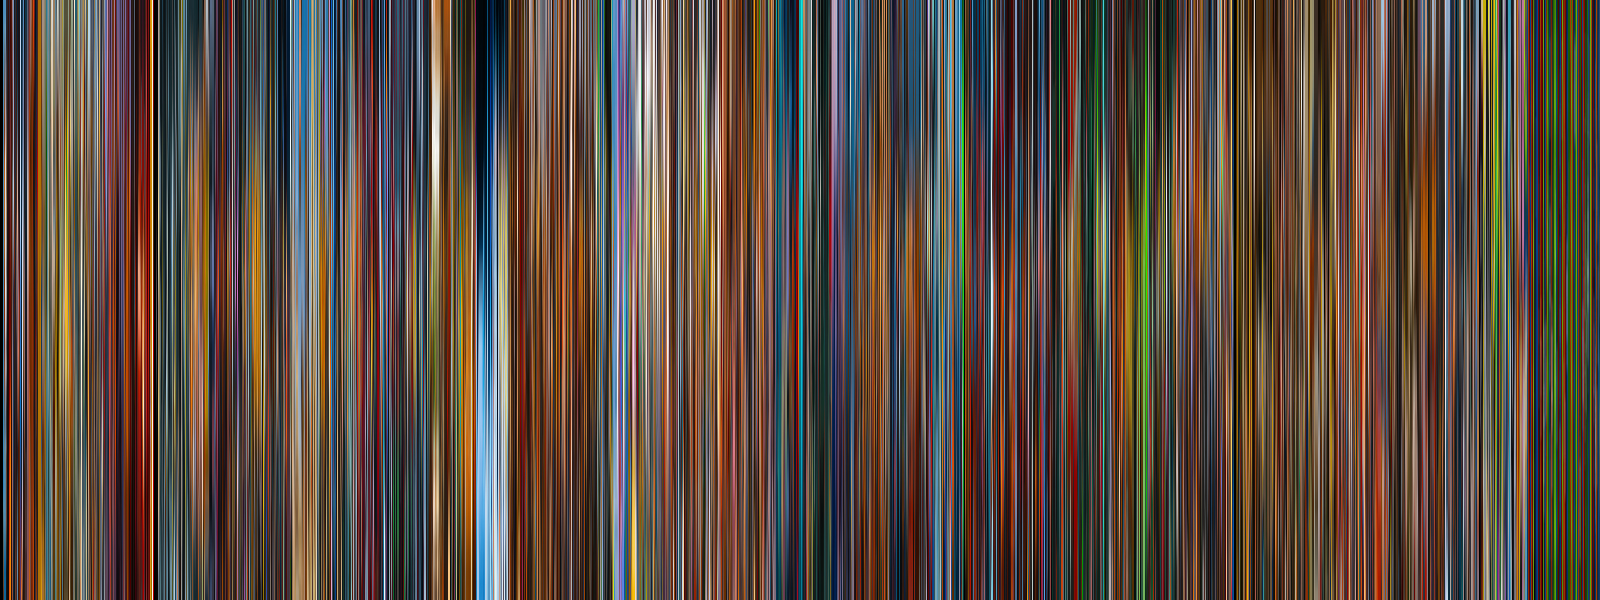
All of the following visualizations were made using FrameVis. Each one is composed of 1600 frames, using the optional ‘trim’ and ‘blur’ (100) arguments. To keep them all the same size, I also set the ‘height’ flag to 600 px to keep the same aspect ratio between films, regardless of their original size. None of the films’ pre or post credit sequences have been cut out, and no additional editing has been done.
Singin’ In the Rain (1952)
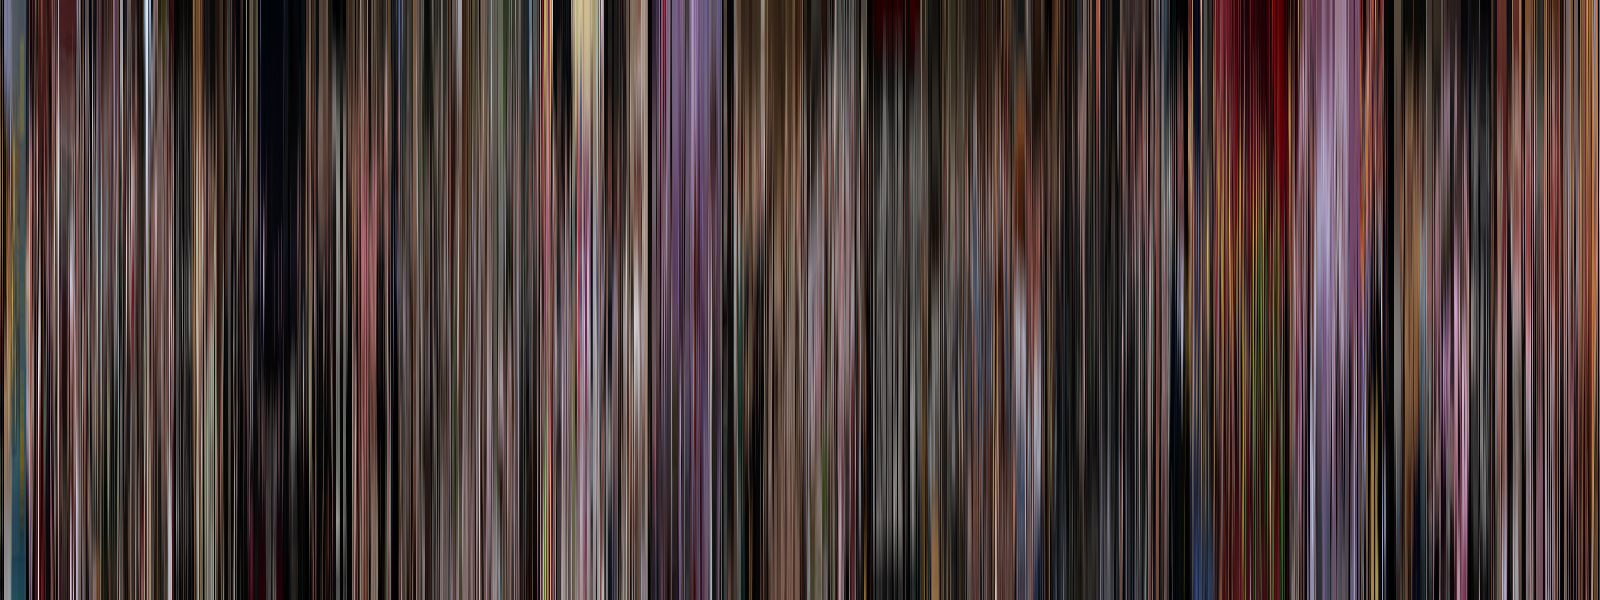
Alien (1979)
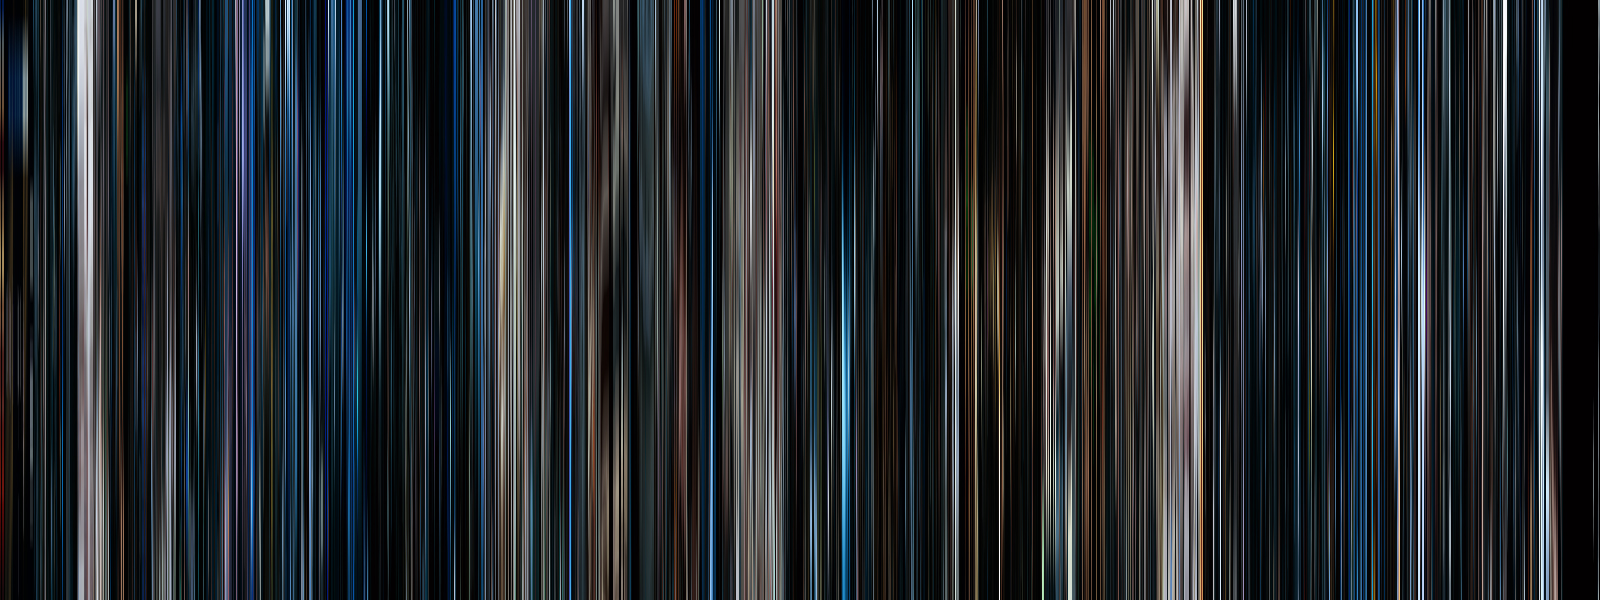
Apocalypse Now (1979)
Gravity (2013)
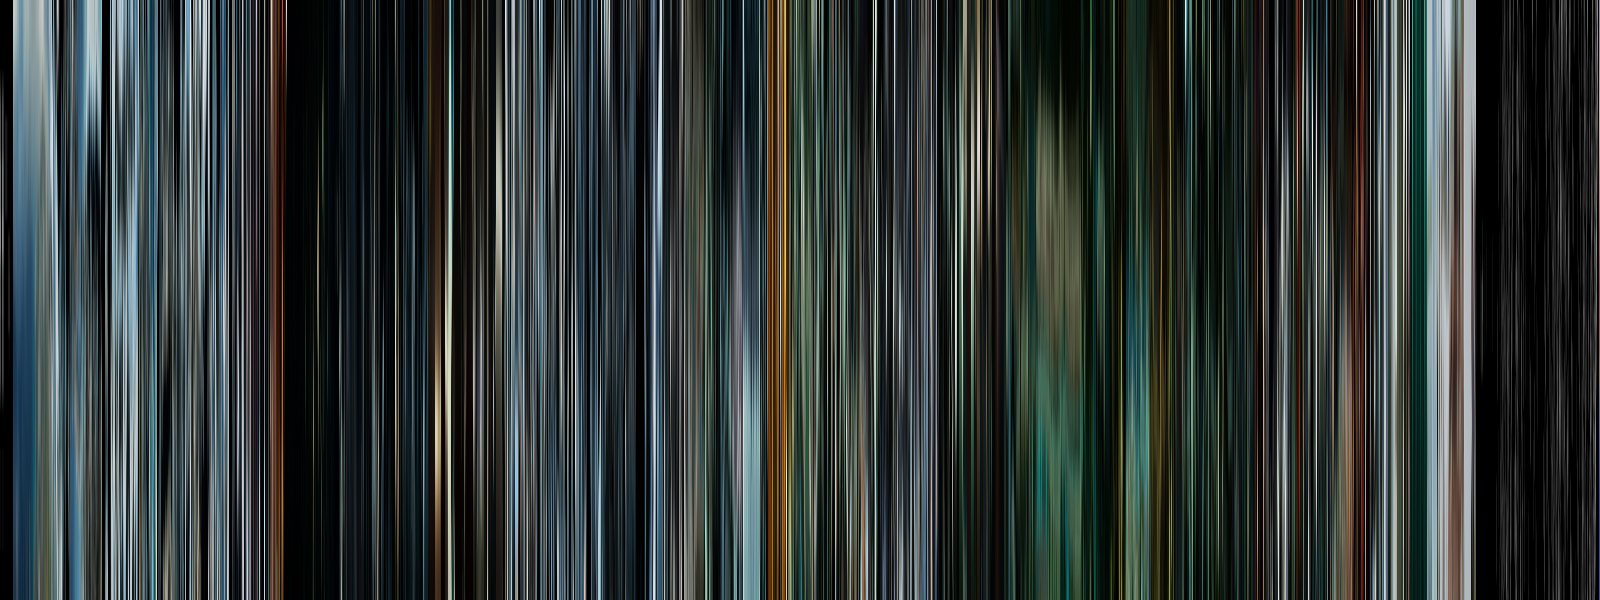
Mad Max: Fury Road (2015)
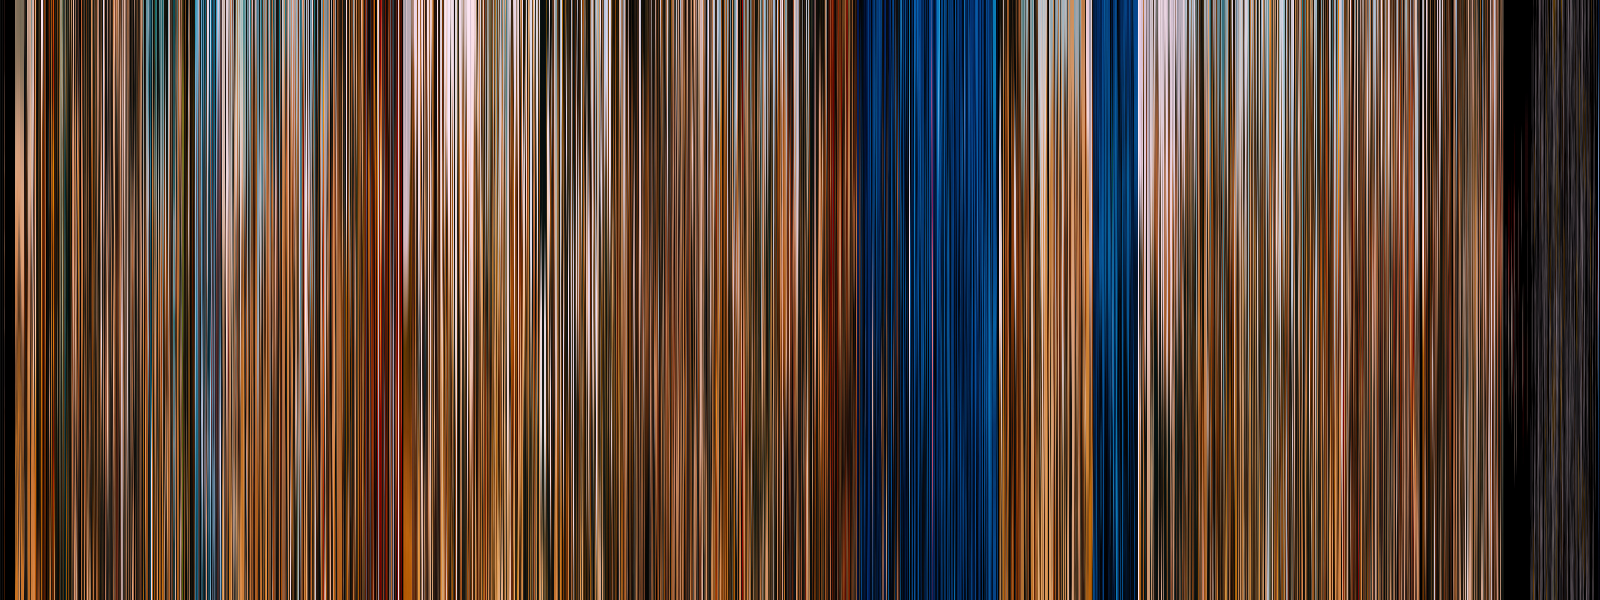
The Princess Bride (1987)
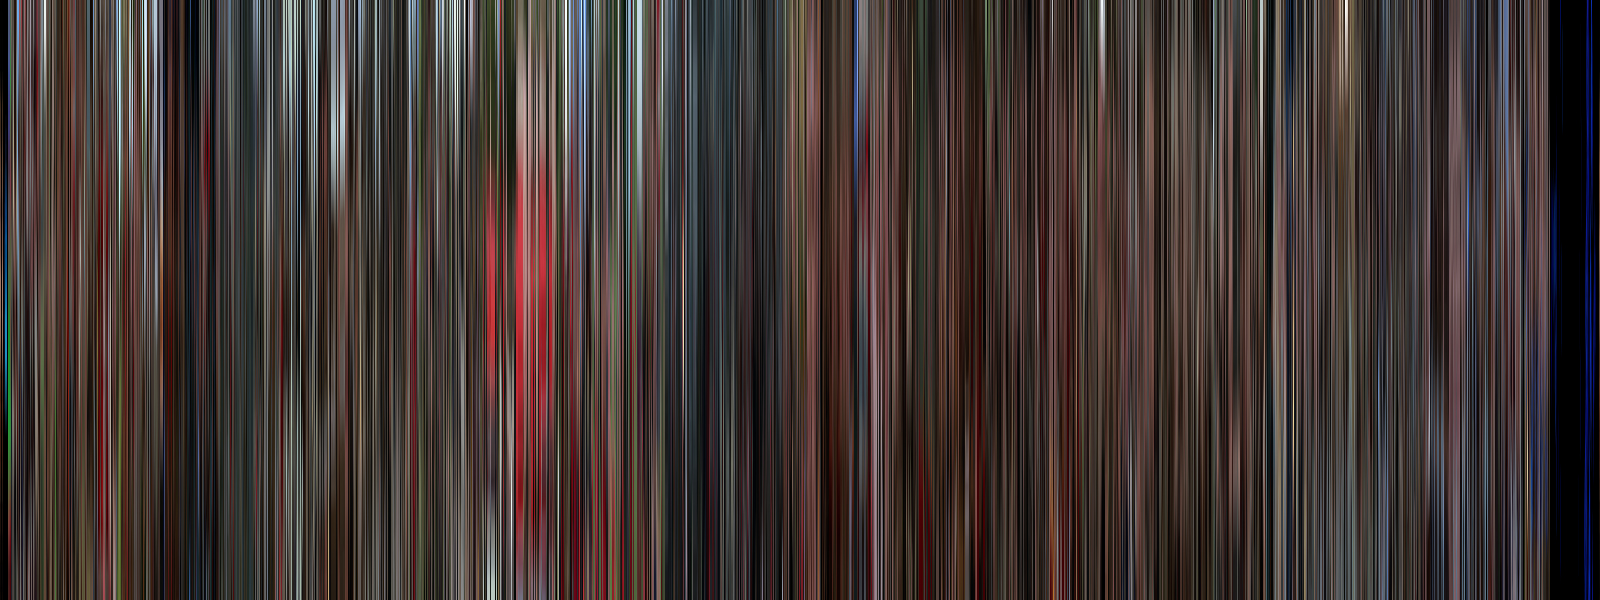
Whiplash (2014)
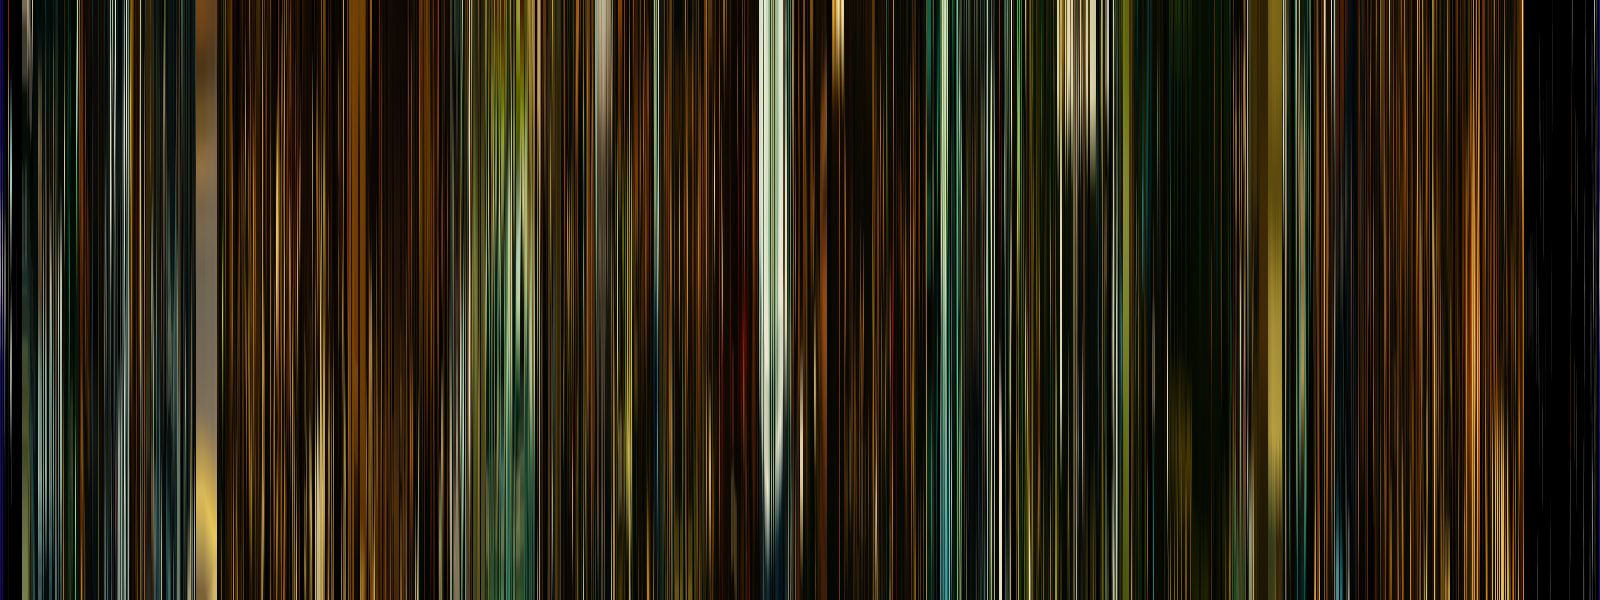
Midnight in Paris (2011)
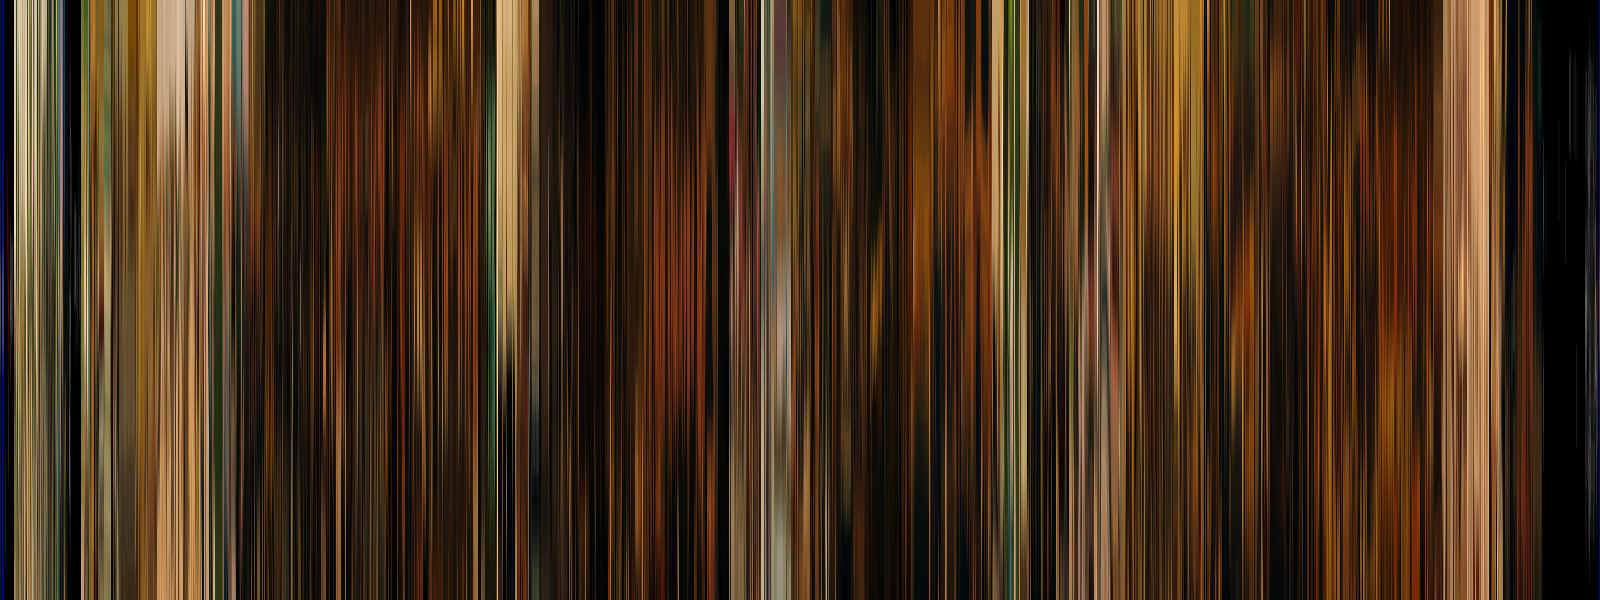
The Lego Movie (2014)
The Godfather (1972)
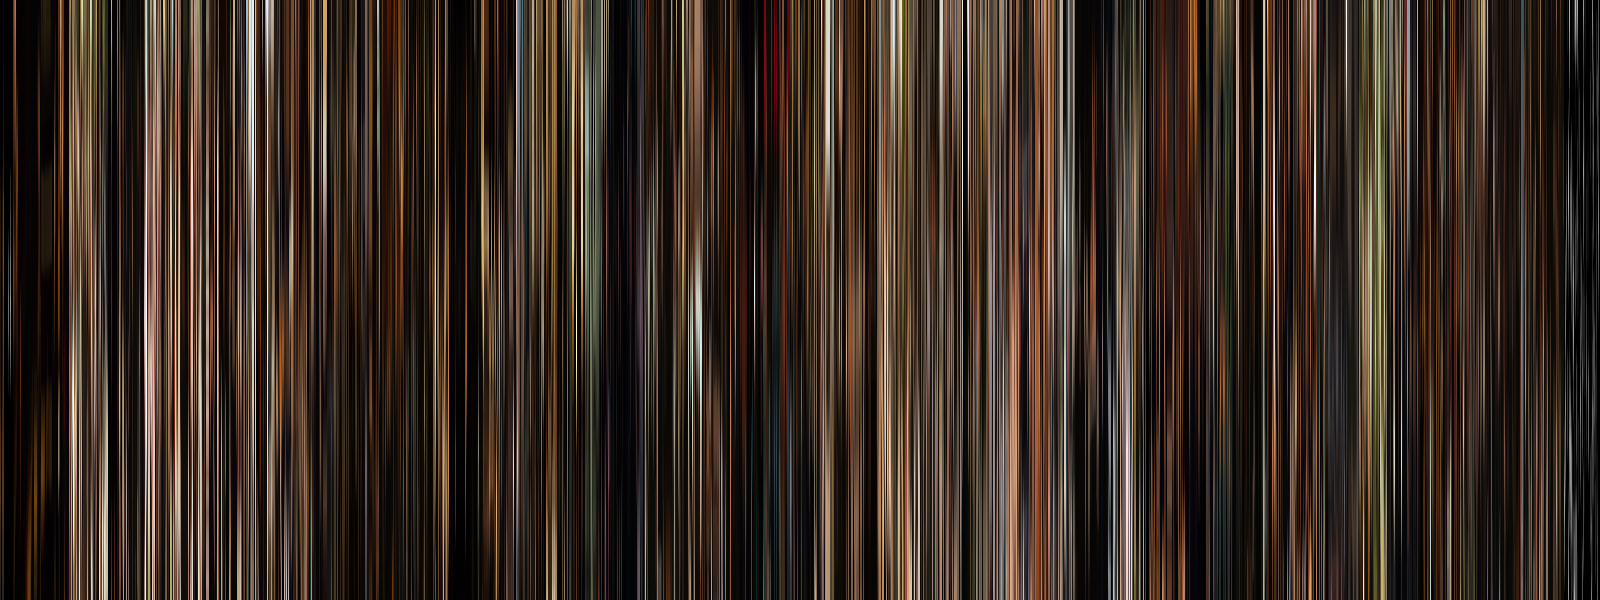
How It Works
This script was surprisingly easy to put together thanks to the impressive capabilities of the OpenCV library. The full script, available on GitHub, is around 500 lines long including the matte trimming algorithm, postprocessing functions, argument parsing, error checking, etc. etc. etc. But without all of those extra features and syntactic sugar, the core functionality of parsing frames and stacking them together is only about 30 lines. Here’s how it works:
First, the script creates a VideoCapture object by opening the video at the provided file path (Line 3). Then it calculates the keyframe interval, or the number of frames to skip between captures, by dividing the total number of frames in the video by the number of frames to capture (Lines 5-6). Finally the script sets up some variables for the main processing loop: the index for the next frame to grab, a counter for the number of completed frames so far, and storage for the resulting image (Lines 8-11).
import cv2

video = cv2.VideoCapture(source)  # open video file

video_total_frames = video.get(cv2.CAP_PROP_FRAME_COUNT)  # retrieve total frame count from metadata
keyframe_interval = video_total_frames / nframes  # calculate number of frames between captures

# set up for the frame processing loop
next_keyframe = keyframe_interval / 2  # frame number for the next frame grab, starting evenly offset from start/end
finished_frames = 0  # counter for number of processed frames
output_image = None
In the processing loop itself, the program jogs the video to the next capture frame and reads the frame image into memory (Lines 17-18). It then resizes the image to the output size (typically 1 px by the video height) (Line 20), concatenates it with the previously processed frames (Line 26), and then sets the keyframe index for the next frame (Line 29). The loop continues until all frames have been resized and concatenated. It then releases its connection to the source video and saves the output image to a file (Lines 31-33).
while True:
	if finished_frames == nframes:
		break  # done!

	video.set(cv2.CAP_PROP_POS_FRAMES, int(next_keyframe))  # move cursor to next sampled frame
	success,image = video.read()  # read the next frame

	image = cv2.resize(image, (width, height))  # resize to output size

	# save to output image
	if output_image is None:
		output_image = image
	else:
		output_image =  cv2.hconcat([output_image, image])  # concatenate horizontally from left -> right

	finished_frames += 1
	next_keyframe += keyframe_interval  # set next frame capture time, maintaining floats

video.release()  # close video capture

cv2.imwrite(destination, output_image)  # save visualization to file
This simplified version of the program is only 33 lines, not including the variable assignments for source, destination, nframes, height, and width. Not too shabby!
The additional image processing functions were fairly straight-forward, aided by the fact that OpenCV represents image data as pure NumPy arrays. This meant that determining if a film was letterboxed, for instance, was just a matter of iterating through rows in the image matrix and tracking how many were pure black, then saving those row indices.
I was inspired to build this little side project from a post on Reddit showing a frame visualization of Blade Runner: 2049. This is far from the world’s first “movie barcode generator” (a quick search for repositories on GitHub shows at least 50+), but it was a good learning experience and I think it works quite well.
This was my first real foray into the world of OpenCV and I do have to say, it was a lot of fun! I’m thinking about pushing up a project that involves image recognition, just as soon as I figure out how to make a nice GUI with Qt (well, that and finish some of the other thirty projects on my plate). Stay tuned!
