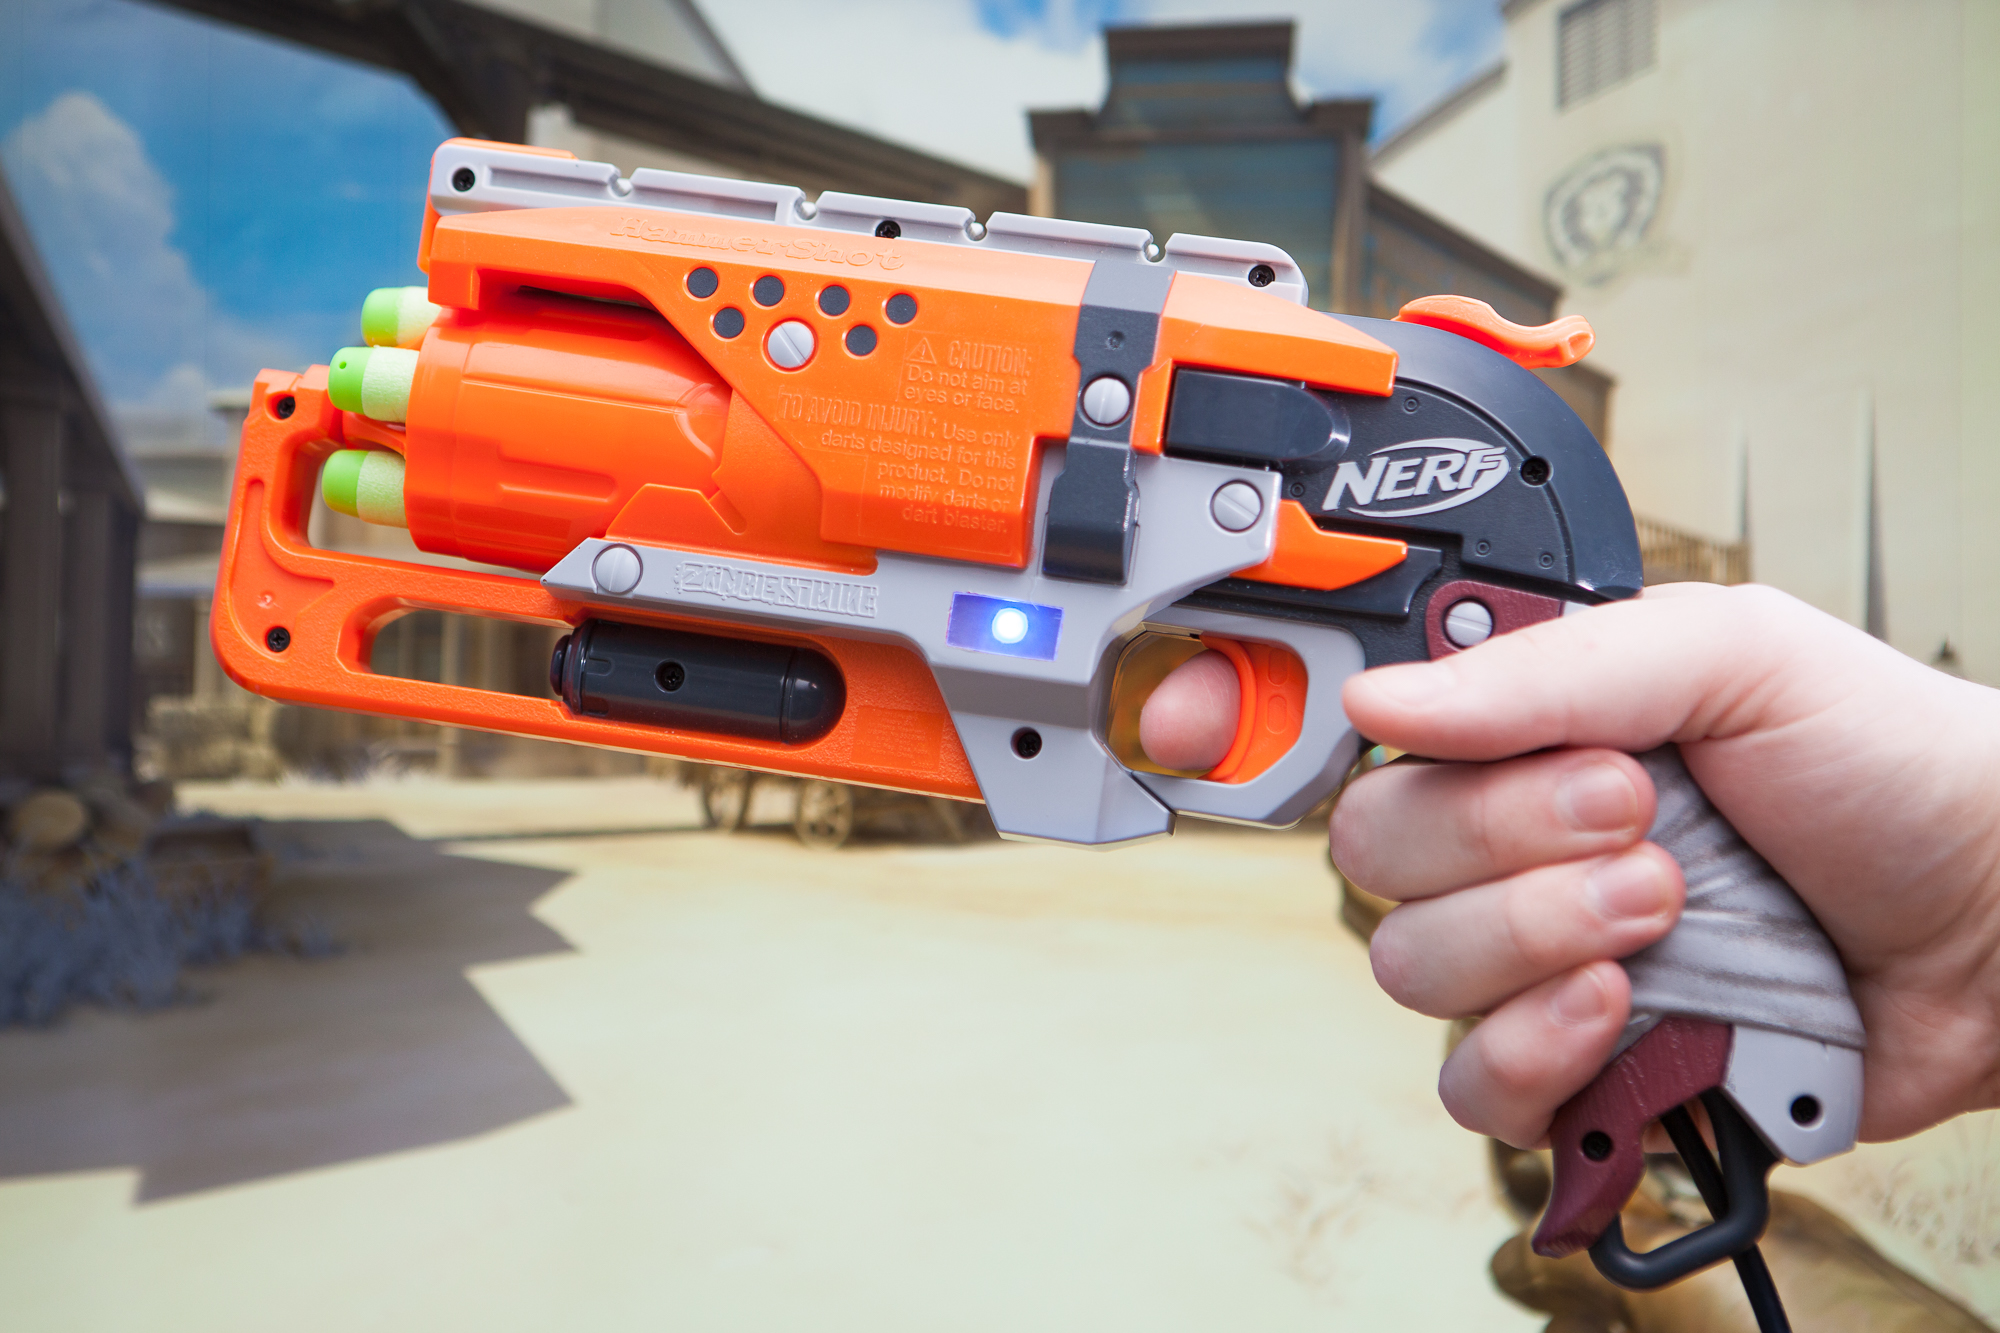
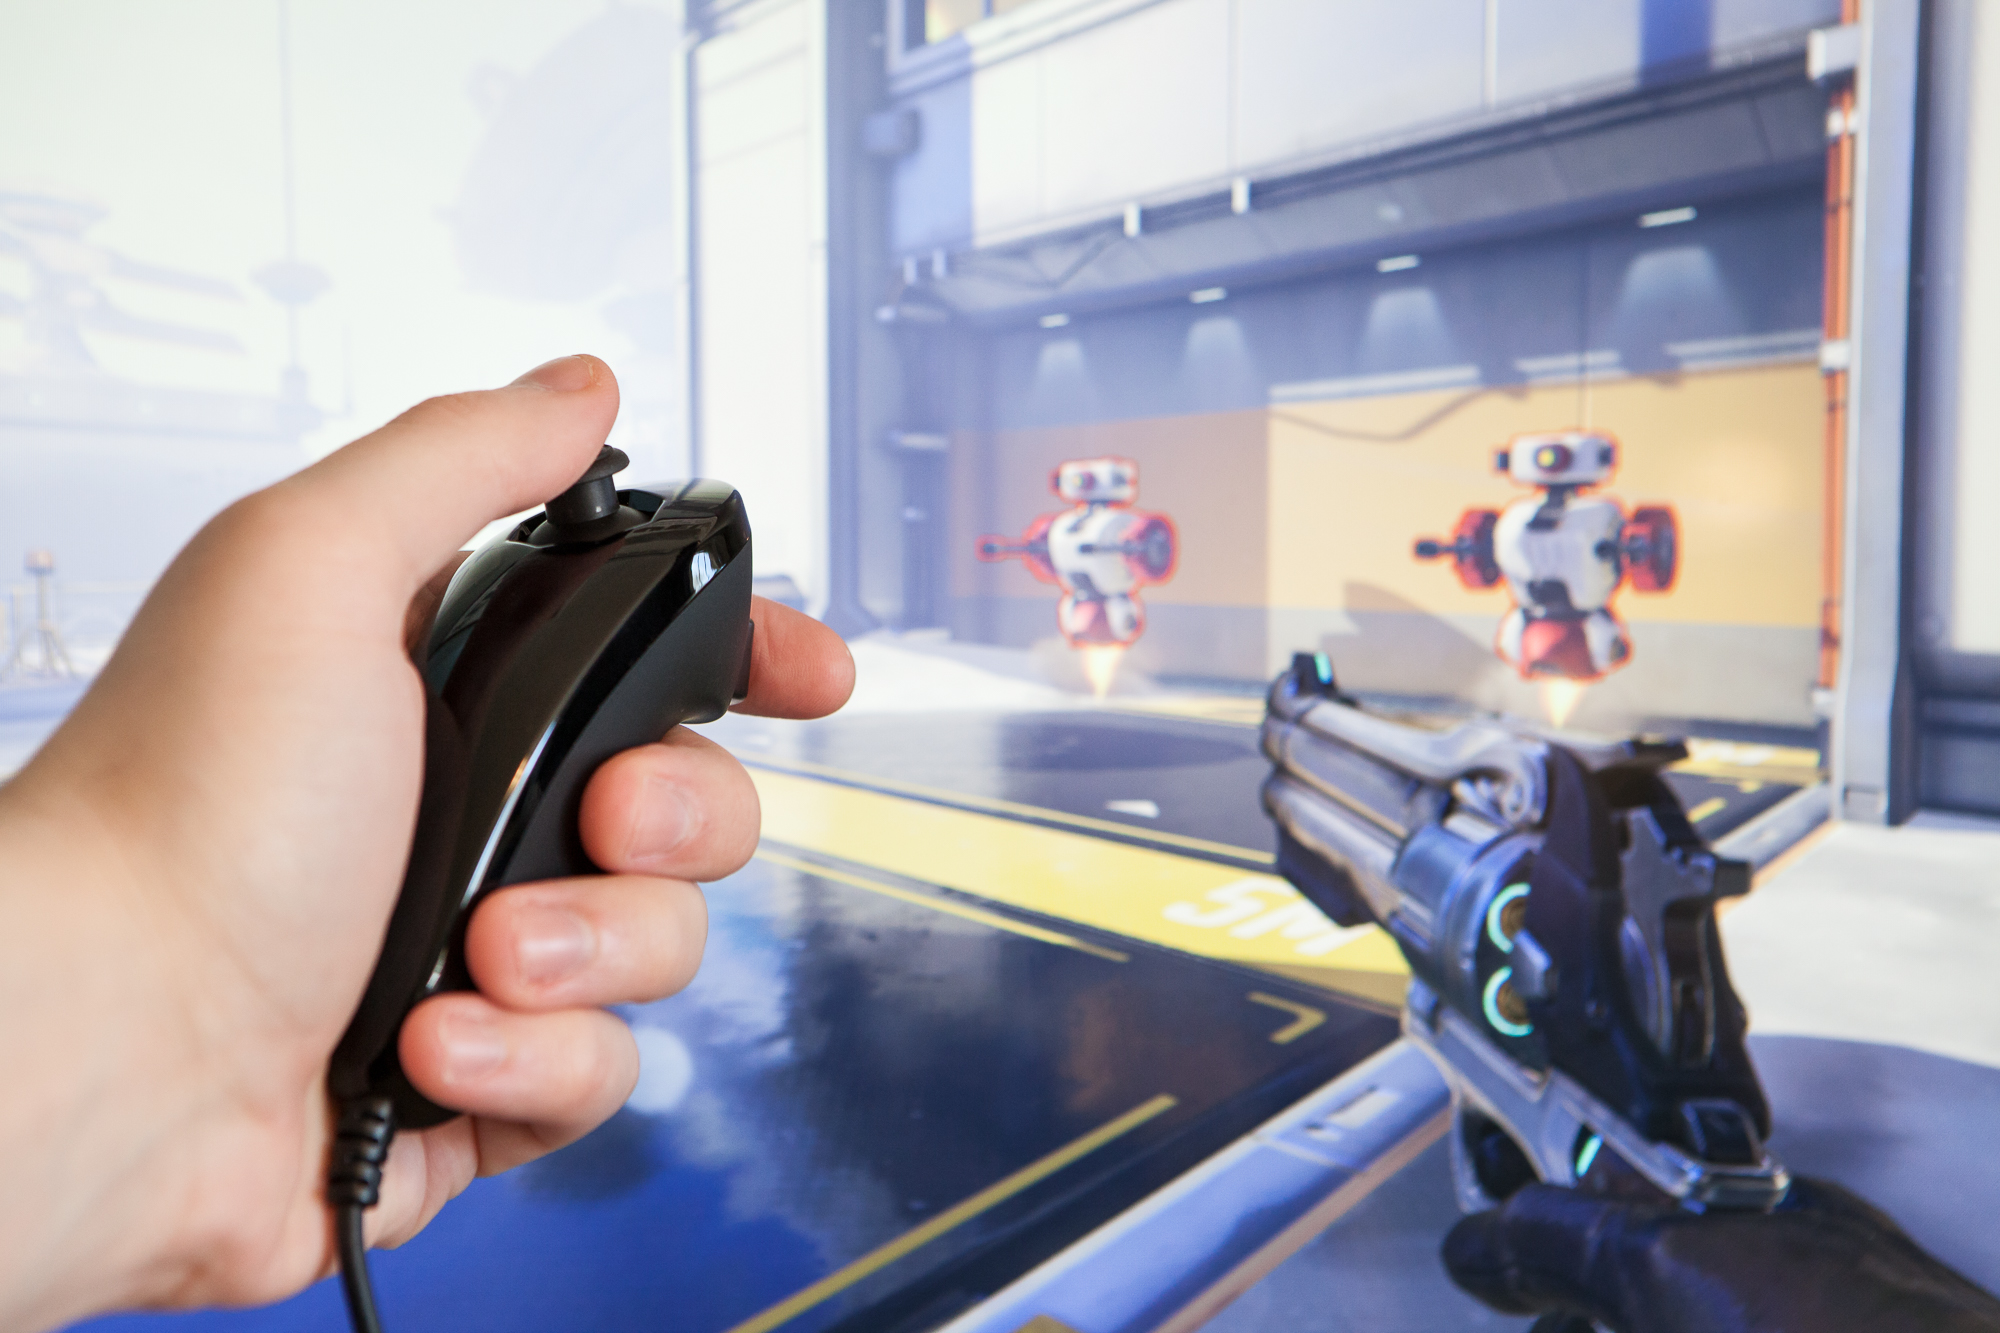
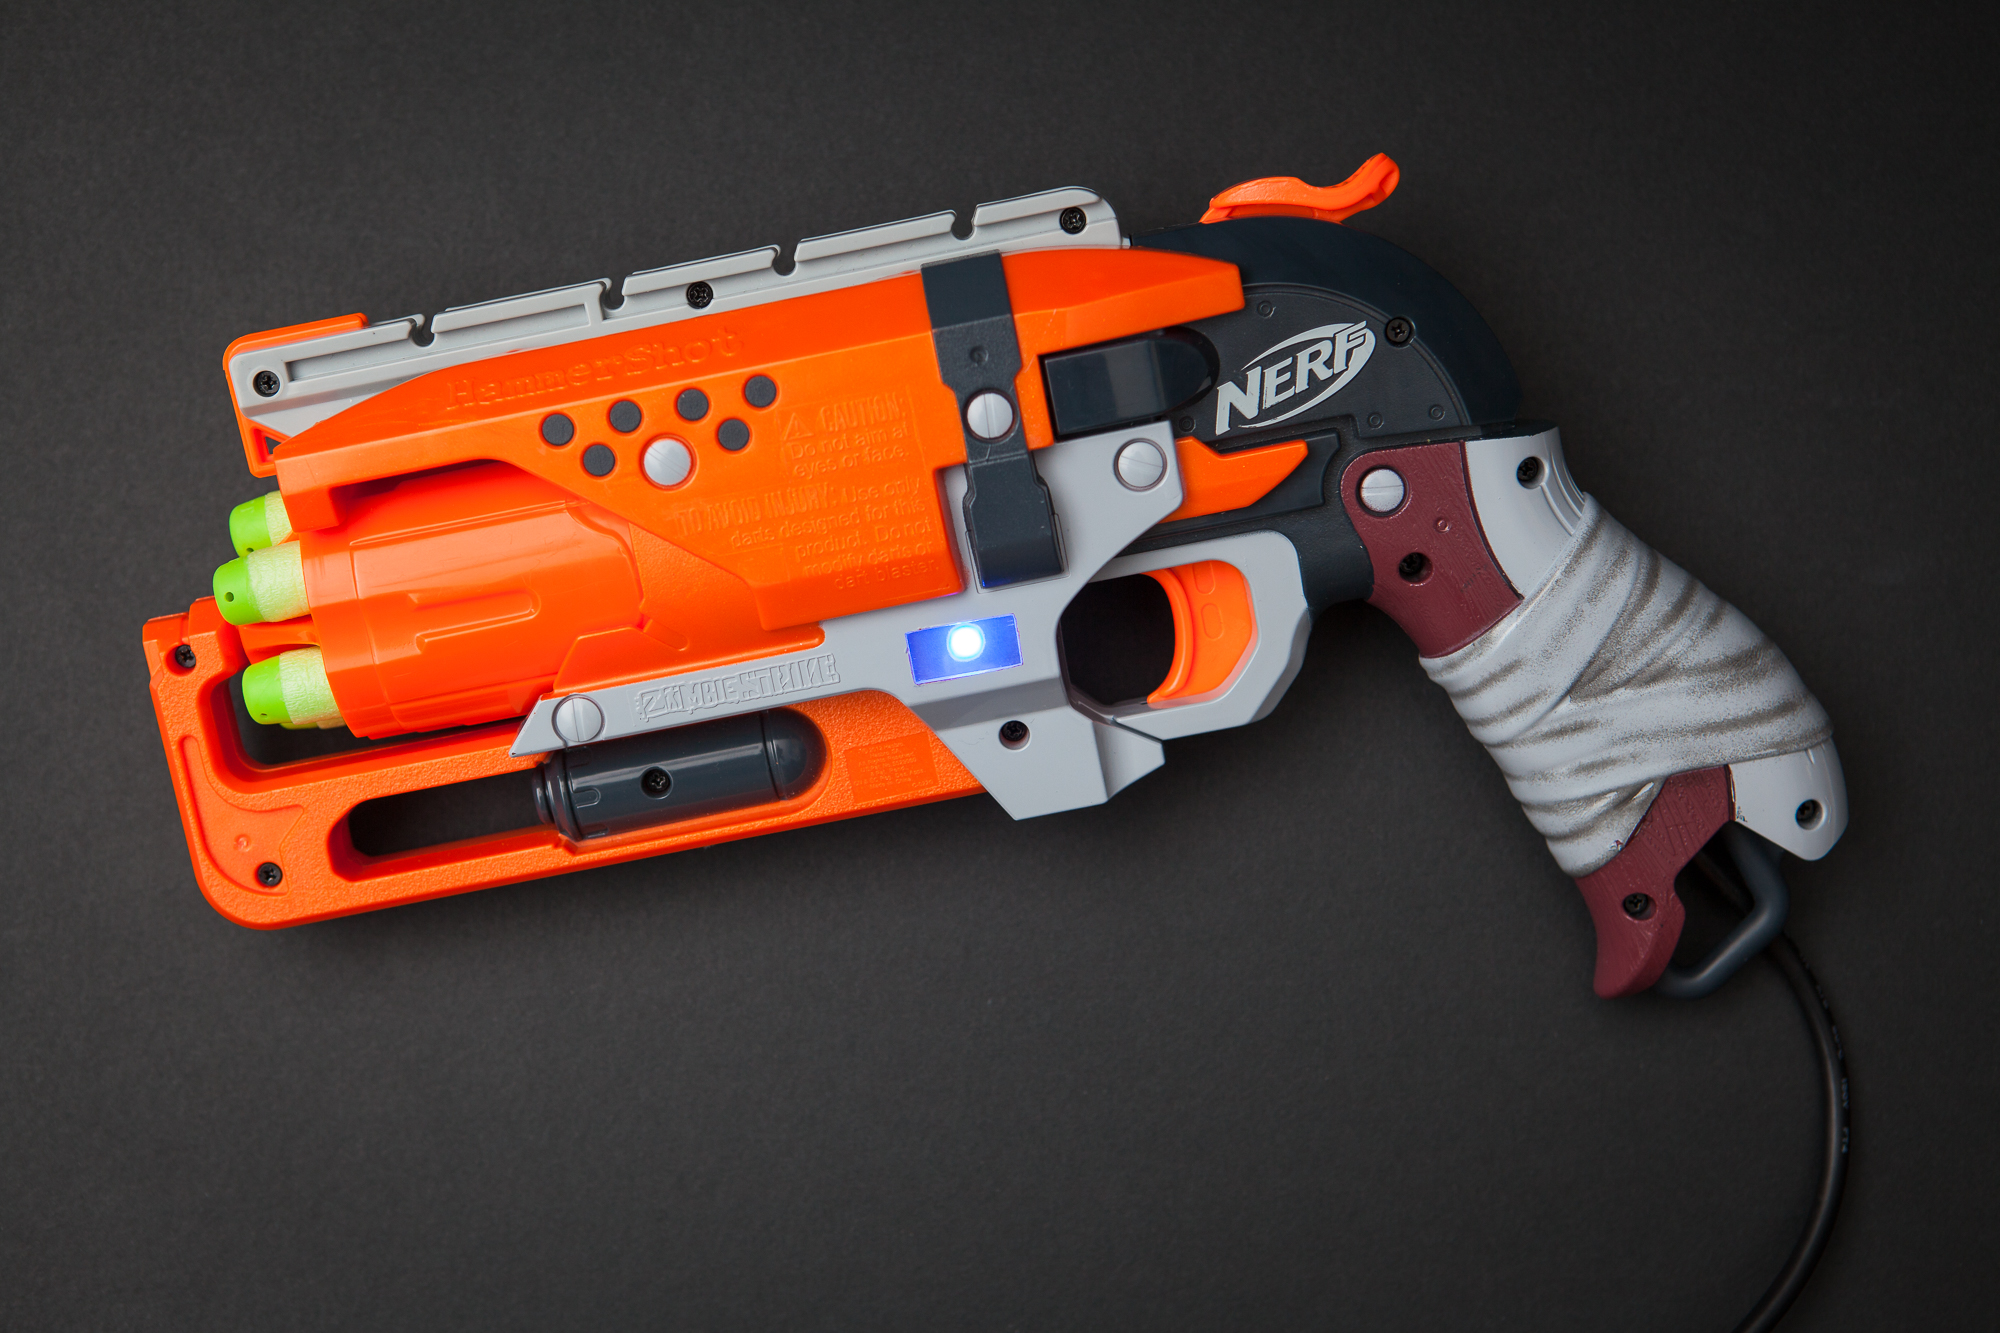
The controller hardware is so close to being done! The last step is to wire everything to the completed circuit board and then re-assemble the controller shell.
Most of this wiring I did as I went along, but since the same process was used throughout I thought it would be better to discuss everything at the same time.
This post is part of a series on creating a custom controller for Overwatch using a Nerf revolver. Check out the project page here.
Wiring Overview
Just to recap, there are 5 specific components that need to be wired into the main circuit board:
- Trigger Button: 2 pins (Signal + Ground)
- Hammer Button: 2 pins (Signal + Ground)
- Cylinder (Rotary Encoder): 3 pins (Signal + Ground + Signal)
- Capacitive Sensor: 1 pin (Signal)
- LED: 3 pins (Power + Signal + Ground)
In addition to these, I also need to wire a connector to bridge between the two shell halves.
Gauge and Type
First question: what wire am I going to use? The answer: what I have on hand!
For most prototyping work I have some cheap stranded and solid-core 22 AWG wire in a variety of colors. This works well for most things but it’s going to be far too thick for the inside of the Nerf gun and the limited room I have. So what else could I use?
Cat5 cable!
I have a 100 ft. reel of bare CAT5E cable sitting around for making ethernet cables. Inside of this cable are 4 twisted pairs of solid-core 24 AWG wire, which means that for each foot of cable I cut off I get 8 feet of usable project wiring. Not too shabby!
While stranded wire would be a better choice, the theme of this project is to use what I have on hand. So 24 AWG solid-core wire it is!
Color Coding
Each twisted pair in the CAT5 cable has both a solid colored wire (orange, blue, green, and brown) and a white wire with a corresponding colored stripe.
Most of the connections require a ground wire, so I’m going to make every white wire (regardless of its “stripe”) a ground, and leave the colored wires as signals. This also conveniently lets me use a pre-twisted pair for each 2-pin connection.
Adhesives
To hold the wires in place I’m using some kapton tape, liberally applied where needed. I’m using kapton because it’s really thin, doesn’t leave any residue, and compared to something similar like packaging tape it’s easy to see where it has been applied.
Trigger and Encoder
Let’s start with the trigger button and the encoder, as these are right near the circuit board and easy to hook up.
Trigger Button
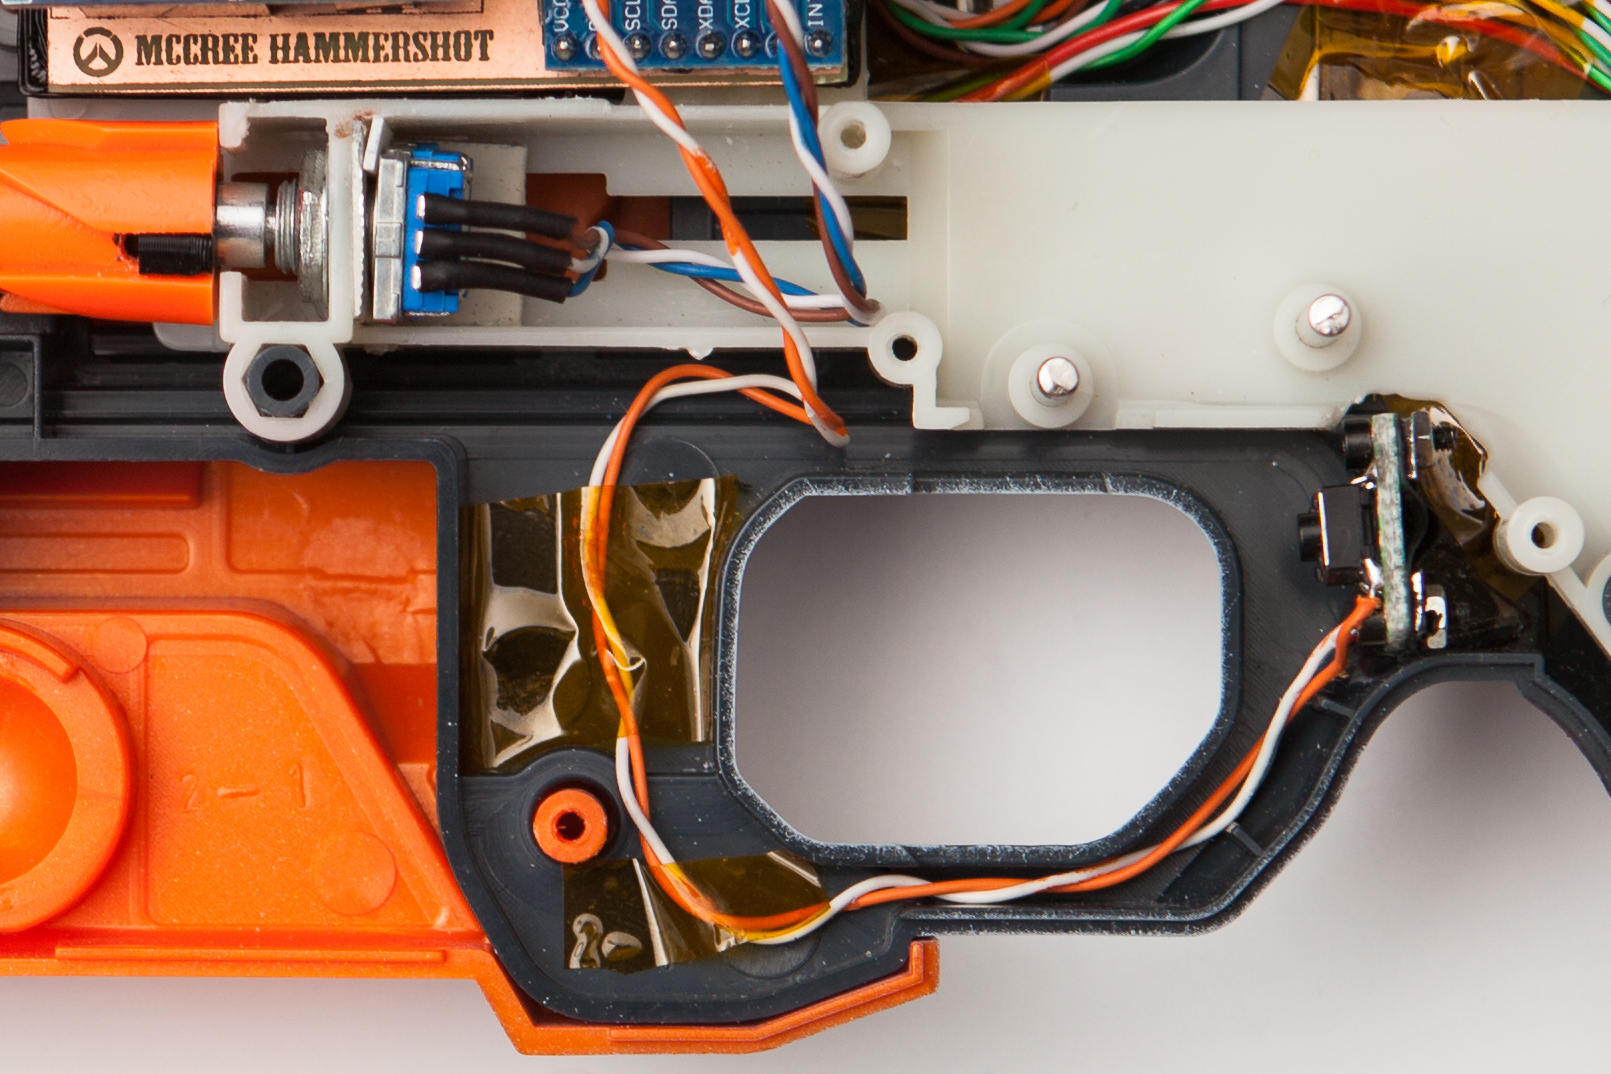
At the same time that I soldered the buttons to their respective PCBs, I added a twisted pair of wires soldered to the front pads. For the trigger button I used the orange pair.
Note: It doesn’t matter which wire is attached to which point on the button, only that the button connects the two wires when it’s pressed.
The trigger wires wrap around the hollow trigger guard and reach over the firing bracket to attach to the circuit board, just to the left of the trigger bracket. It dips down slightly where it meets the firing bracket for some extra length on the wire.
Rotary Encoder
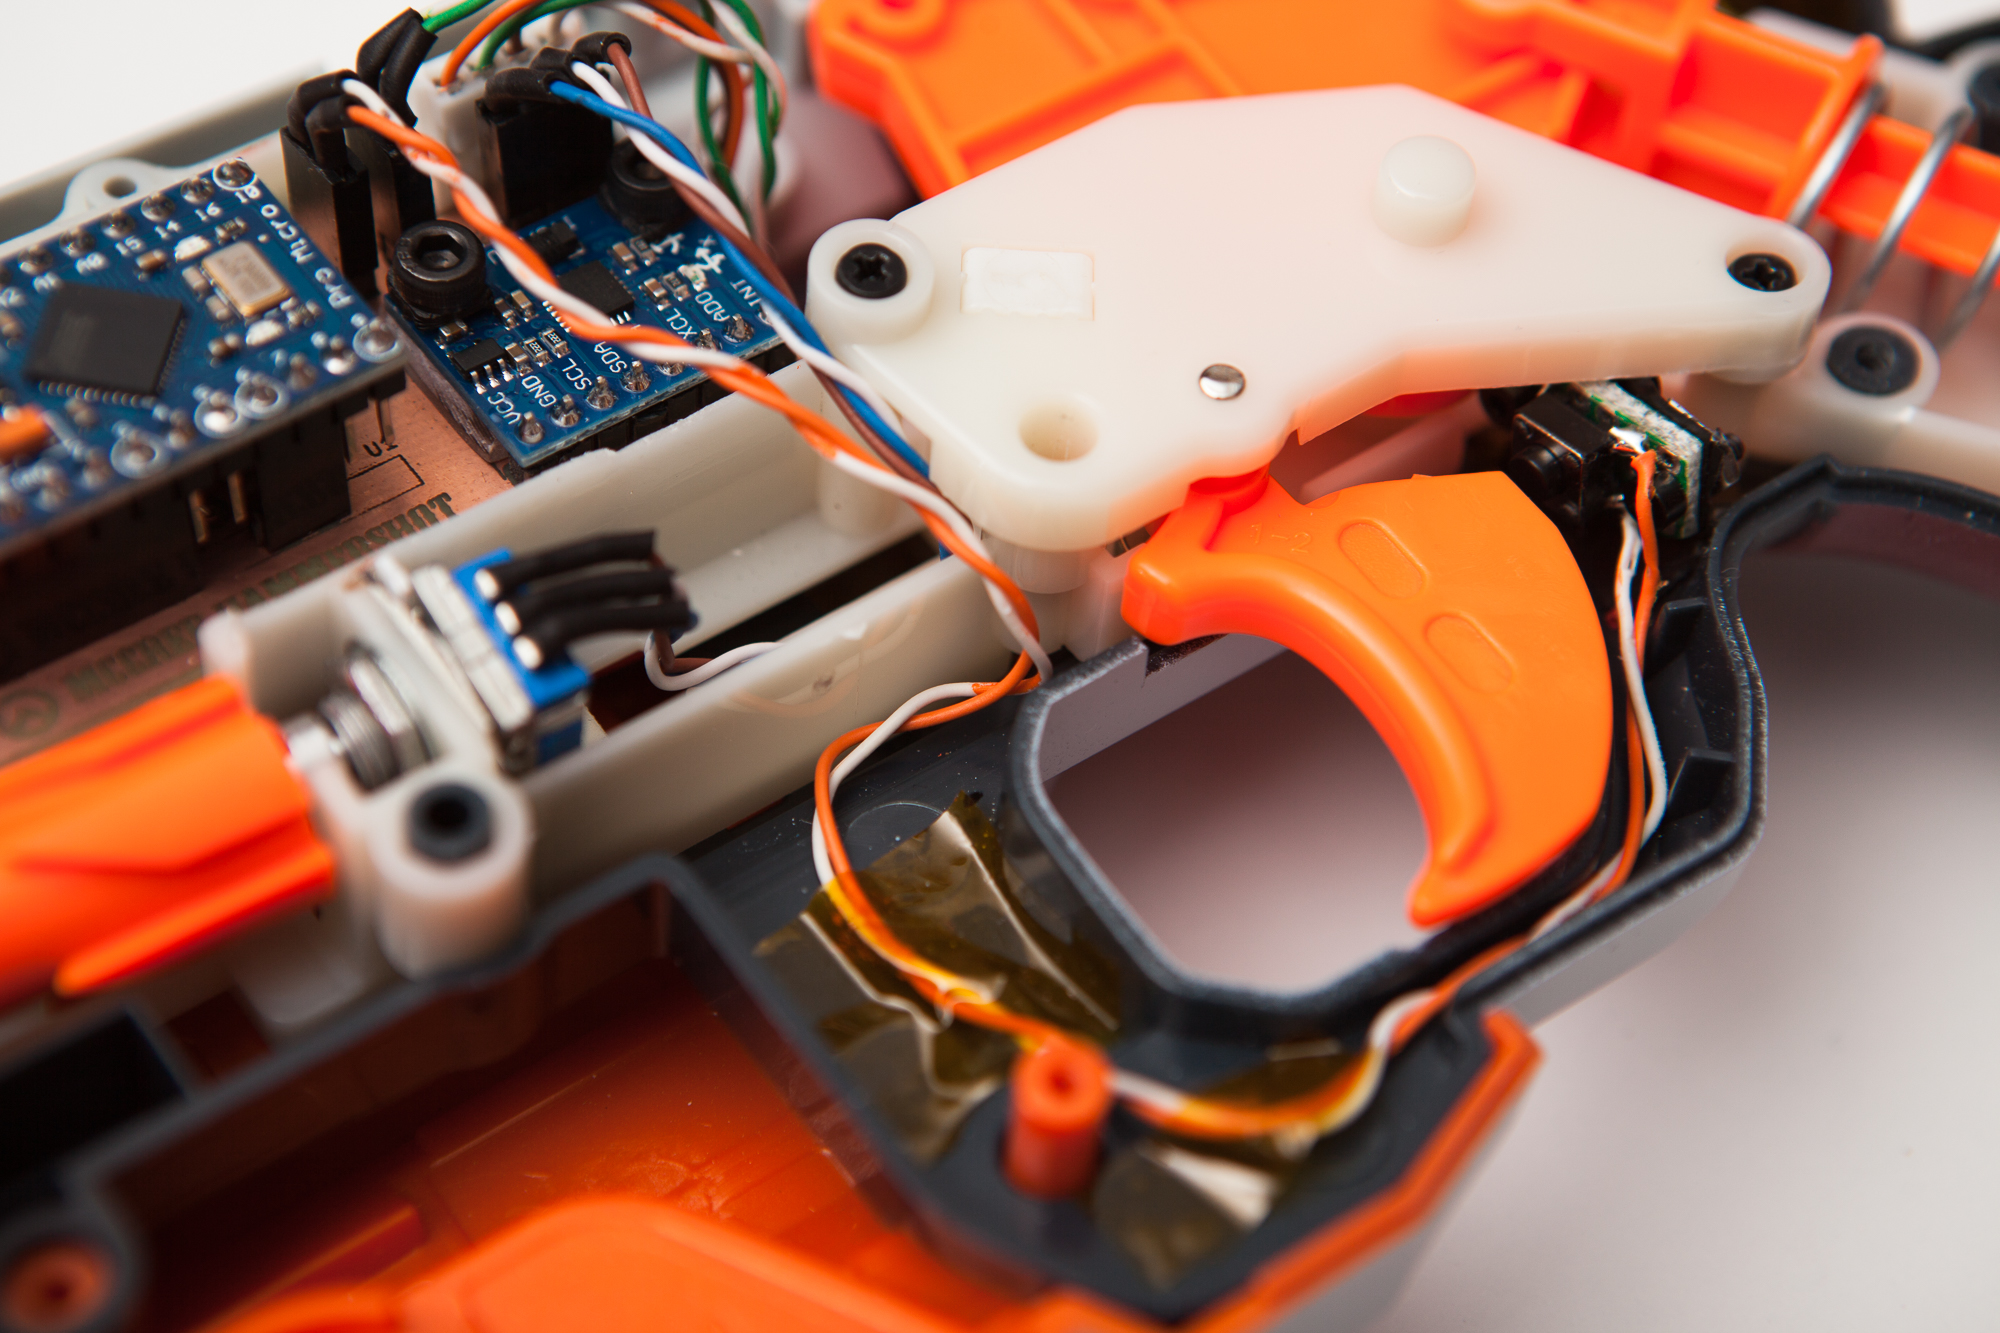
The rotary encoder uses the blue wire pair with an additional brown wire wrapped on top. Blue is wired to encoderA, brown is wired to encoderB, and the white wire is the common. The wires were soldered to the encoder pins and then covered in 2.0 mm heatshrink.
Coming out of the encoder, the wires go straight down to run along the base of the bracket, and then turn back up and run over to the circuit board. Because the encoder screws into the same bracket as the circuit board it can stay connected all the time, which is convenient.
Hammer Button and Shell Connection
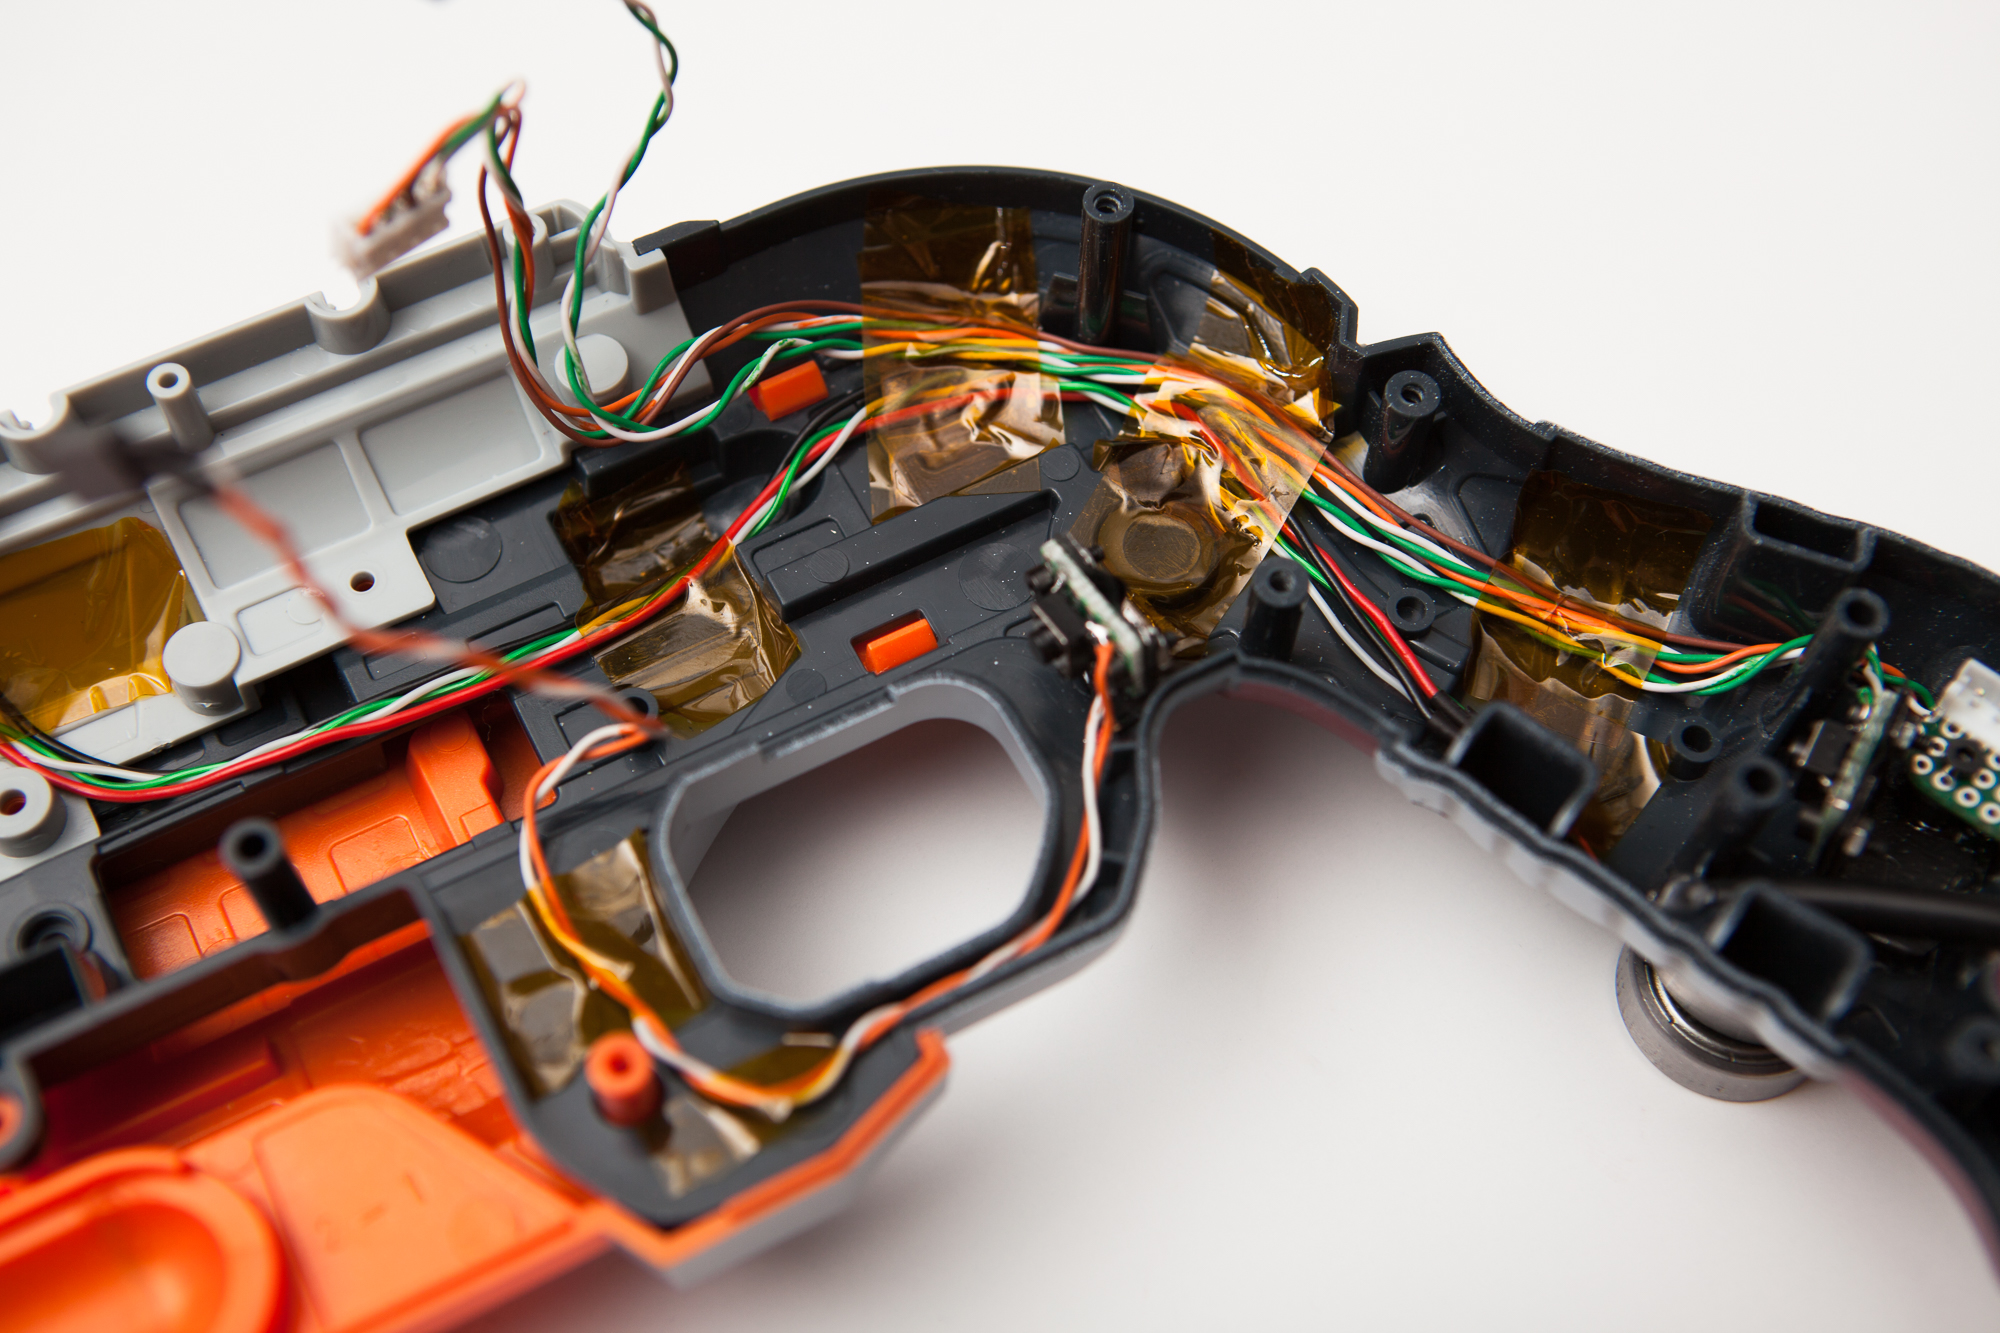
For both connections, the wires run along the base of the grip on the right side of the standoffs supporting the firing bracket, and then up against the curve surrounding the hammer. When the wires reach the edge of the firing bracket, they curve down into a divot in the shell for extra length and then wrap up to the circuit board.
The hammer button uses a twisted green wiring pair, while the LED / capacitive bundle uses an orange pair with an additional green and brown wire. The brown wire, again, is not twisted with the rest to avoid inductive effects.
Shell Connector PCB
The 4 wires for the shell connection terminate in a PCB with a connector, attached to the shell with standoffs. The PCB was made from more of that perf-board that I had also used for the buttons, trimmed with shears and then sanded smooth. I drilled two holes out as clearance for M2 bolts and set the connector in place.
The standoffs are similar to the standoff used for the LED mount: 3D printed with an embedded nut. These standoffs are significantly taller though, so to make sure the nut didn’t fall down I used a tiny dab of cyanoacrylate glue applied with a toothpick to secure the nut in place.
One standoff had to be notched so it fit cleanly on top of the hammer’s button bracket, which was done with a file. I then filled the bottom of both standoffs with some tiny bits of plasticine clay so the epoxy wouldn’t get inside. After bolting the board in place the assembly was epoxied to the Nerf gun with some more of that 5 minute epoxy. I tried to line up the connector with the rectangular plastic socket on the shell.
24 hours later after the epoxy was fully cured, I unbolted the PCB and soldered the wires to the connector.
LED and Capacitive Sensor
That’s everything on the right shell for the moment, so let’s move over to the left one.
When I added the LED I soldered the wires to the pads on the strip: orange for +5V, green for data in (DIN), and white for ground. The wires run over and then up through the gap between the shells. I notched the gray shell with a Dremel and covered the notch with a piece of electrical tape so the wires would be flush, then ran the wires back towards the grip along an edge.
The capacitive sensing wire runs separately from the LED bundle to avoid the aforementioned issues with inductance. I decided to use brown for the sense wire.
As an aside: see that thick plastic bar at the top of the grip, going from from left to right, that both wires cross? It’s a real pain for running the wires, but it’s actually thin-walled – on the outside of the gun there’s a channel in the grip. I tried cutting into it on the right shell but it immediately cut through to the outside. Just something I need to live with.
Adding Connectors
With all of the wires routed, the last step is to terminate the ends with connectors.
Hissssssssss
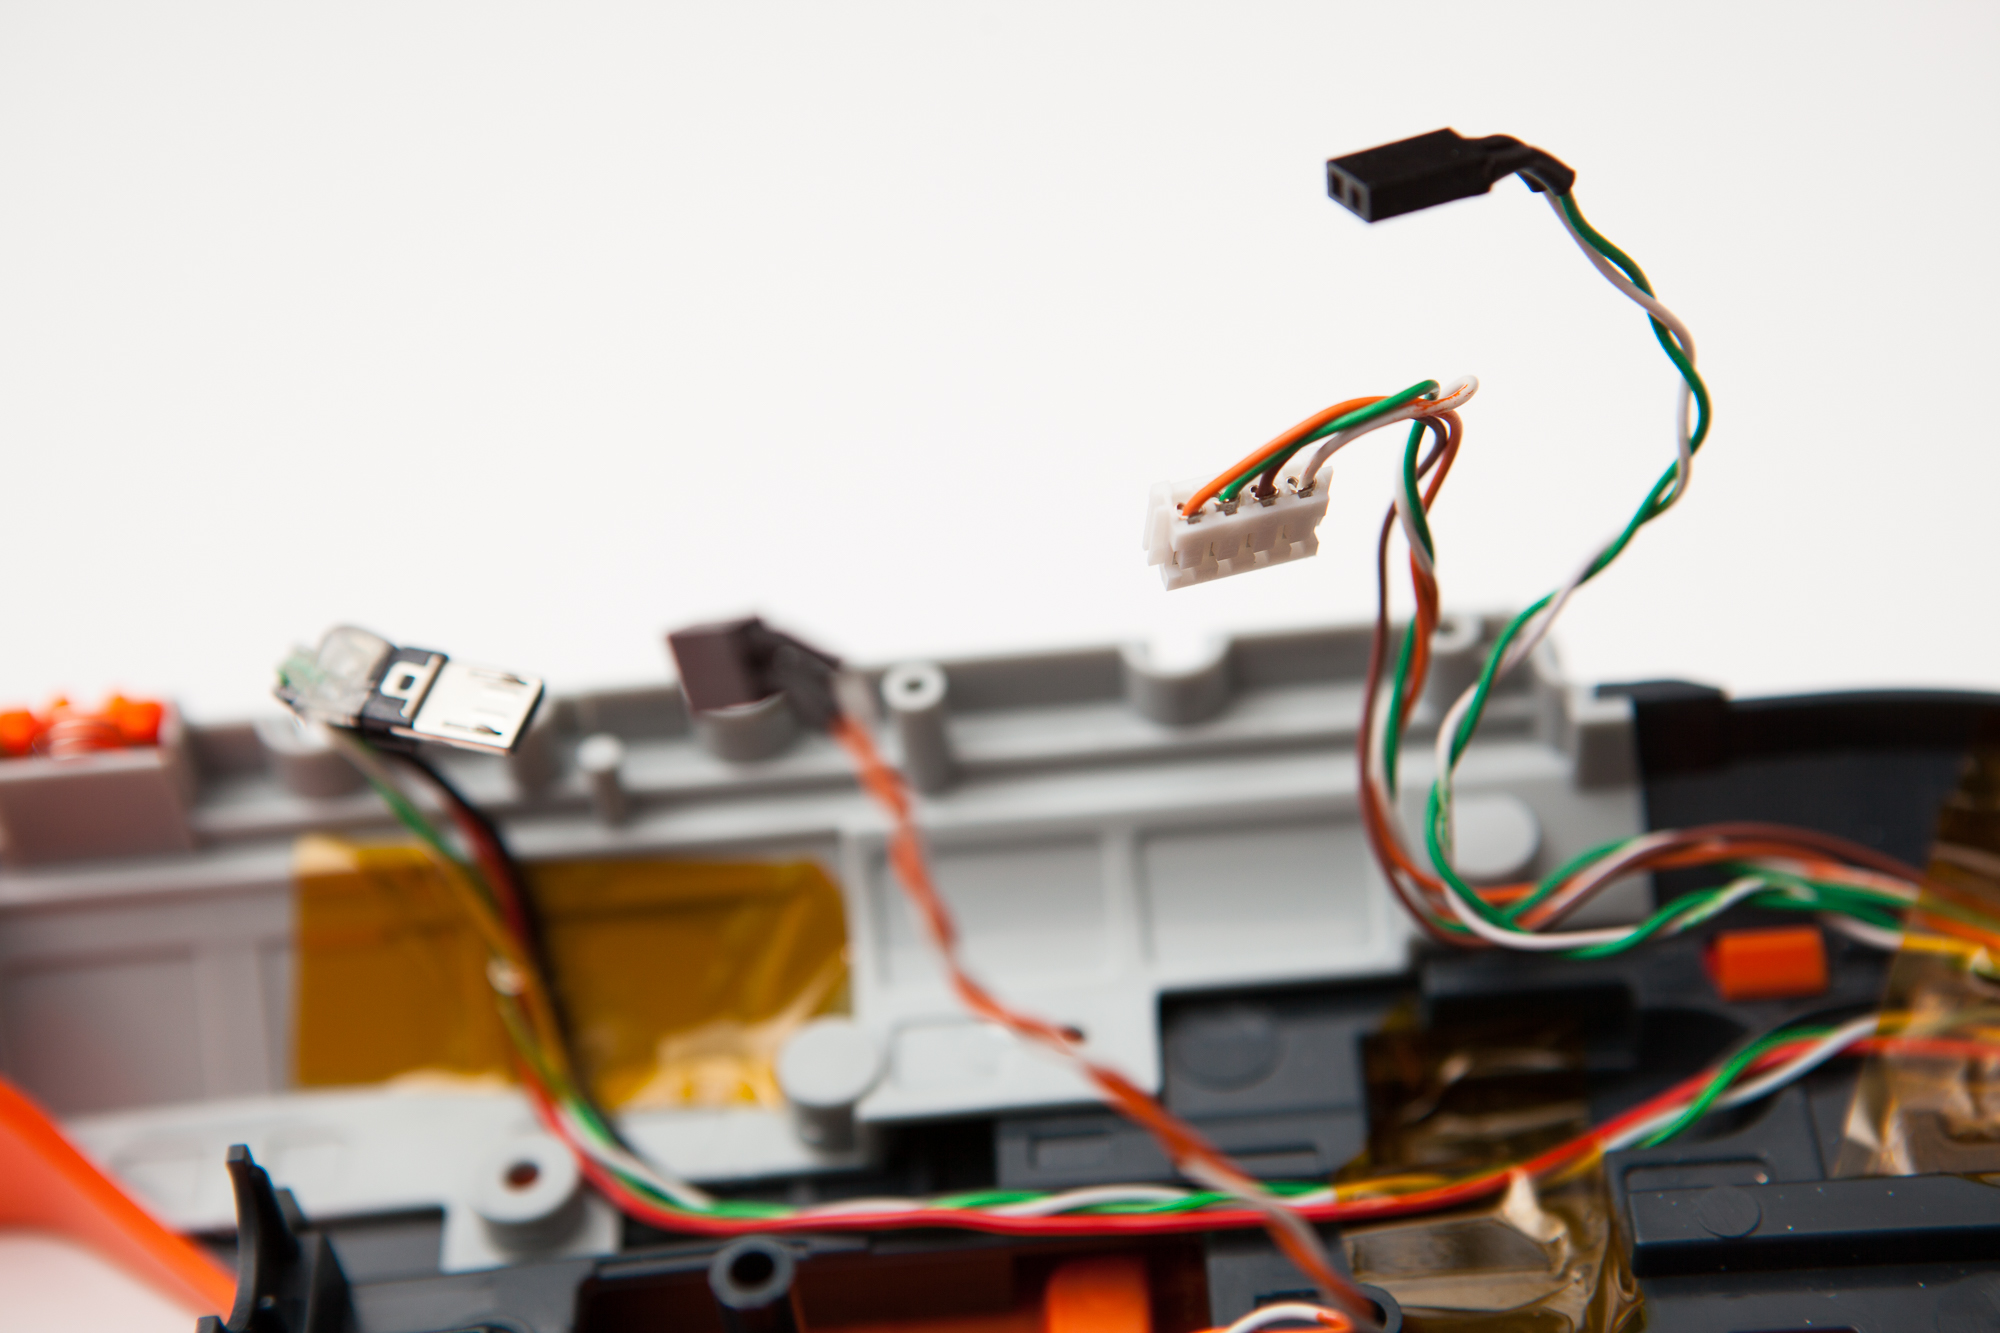
For each connection I left a solid 2 ft. of extra wire on the ends. This let me run the wires out of the shell and test everything while it was apart. When it was time to add a connector to a wire, I tried to route it in a way that gave me at least 1″ or extra length in case there was a problem adding the connector.
DuPont Sockets
DuPont connectors were used for everything where polarity doesn’t matter: the trigger button, hammer button, and rotary encoder. For the buttons it only matters that the loop is completed, so reversed polarity makes no difference. For the 3-pin rotary encoder the pinout is symmetrical: encoder outputs on the edges and ground in the center, so reversed polarity would just change the read directions of the encoder. With how the encoder is being used in this controller it’s a non-issue.
The DuPont pins do have corresponding crimped sockets that you can buy from electrical suppliers. I have some of the two-pin variety on hand, but they are almost twice as tall as the two-pin board sockets. This is an issue in the narrow center of the controller, where the larger crimped sockets won’t fit.
I used this header assortment for the female connectors. Each wire was stripped, soldered, and sealed with heatshrink. I then (carefully!) bent the pin + wire combinations over so they would clear. This is bad form, but if it works it works. When the connections were finished I tested continuity with a multimeter.
JST EH Connectors
There are four wires coming off of the left shell: +5V, DIN, CapSense, and GND. It only makes sense to me to include all of these together in one connector.
Unlike the other connectors on the board, this connection has power and an integrated circuit on the other end. The last thing I want to do is damage the LED, as it’s going to be a pain to pull out of the shell and replace. This means I need a polarized connector so that I can’t accidentally plug it in backwards and send power where I don’t want it.
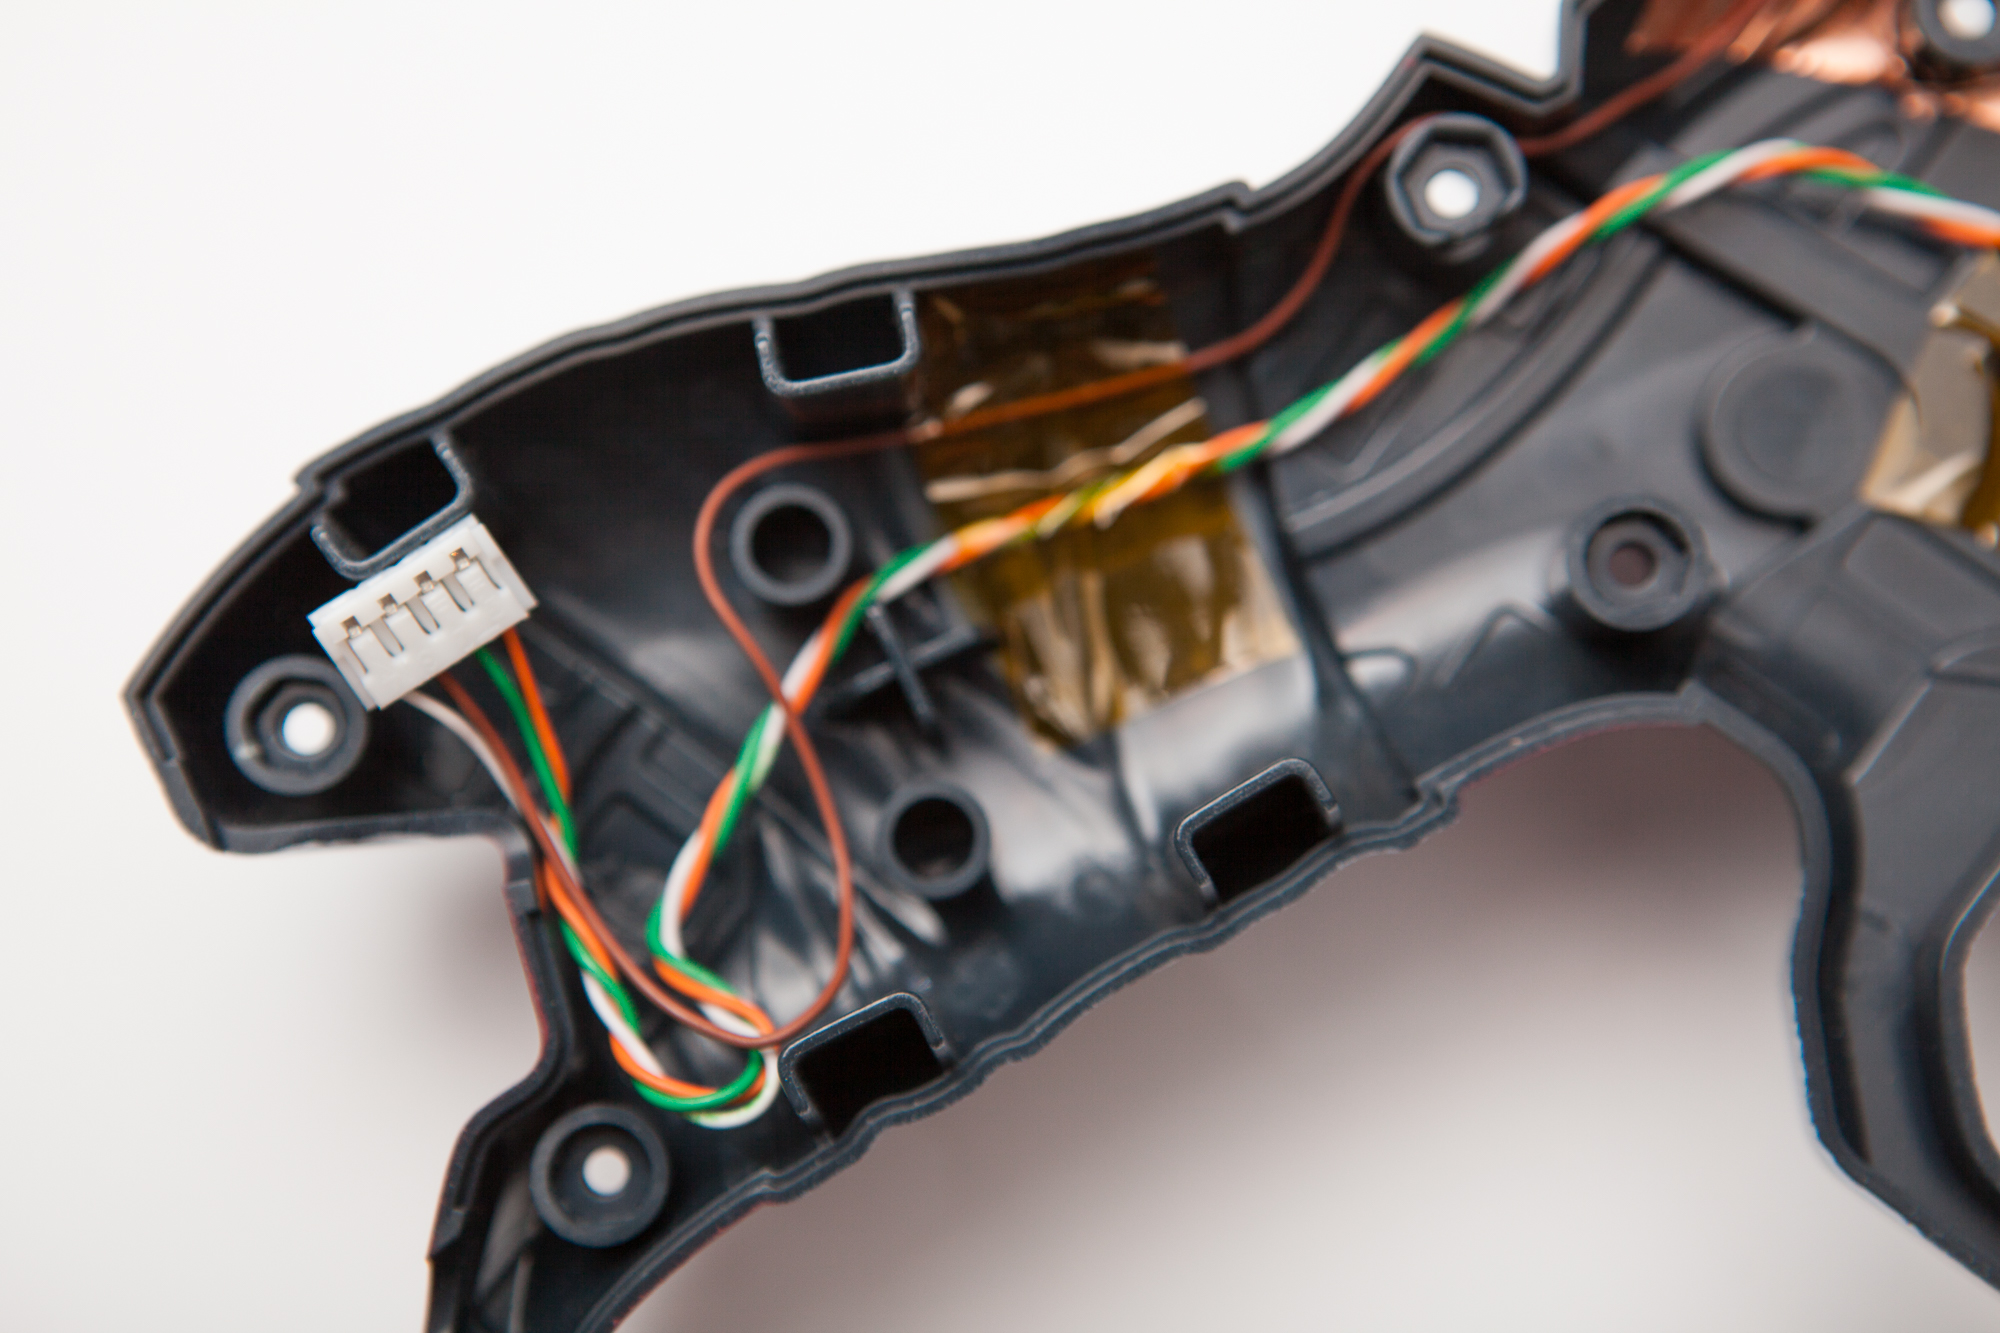
The crimped shell connector on the left shell.
Conveniently, I have some 4-pin polarized connectors from the time circuits project! These are JST EH connectors, which are very small and secure. I had to pick up a new crimper for these, but otherwise they work like a treat.
Following power / signal / ground convention, from 1-4 the pins are mapped as +5V, DIN, CapSense, and GND. I left an extra 2-3″ on the left side shell’s wires so that when disassembling I can lift the shell away before disconnecting the plug.
The four wires running through the right shell for these connections also received a JST EH connector where they mate with the circuit board.
With the connectors attached to their respective wires, all of the components are wired to the Arduino! There’s just one more connection to make before the controller can be assembled.
USB
For the USB connection, I decided to butcher a set of USB cables rather than buy a nice new long one. In this case, a short cable and a long USB extension.
The Arduino Pro Micro uses a USB Micro-B connection. I bought this assortment of micro USB cables awhile back to chop one up for another project, so it seemed appropriate to chop up another for this.
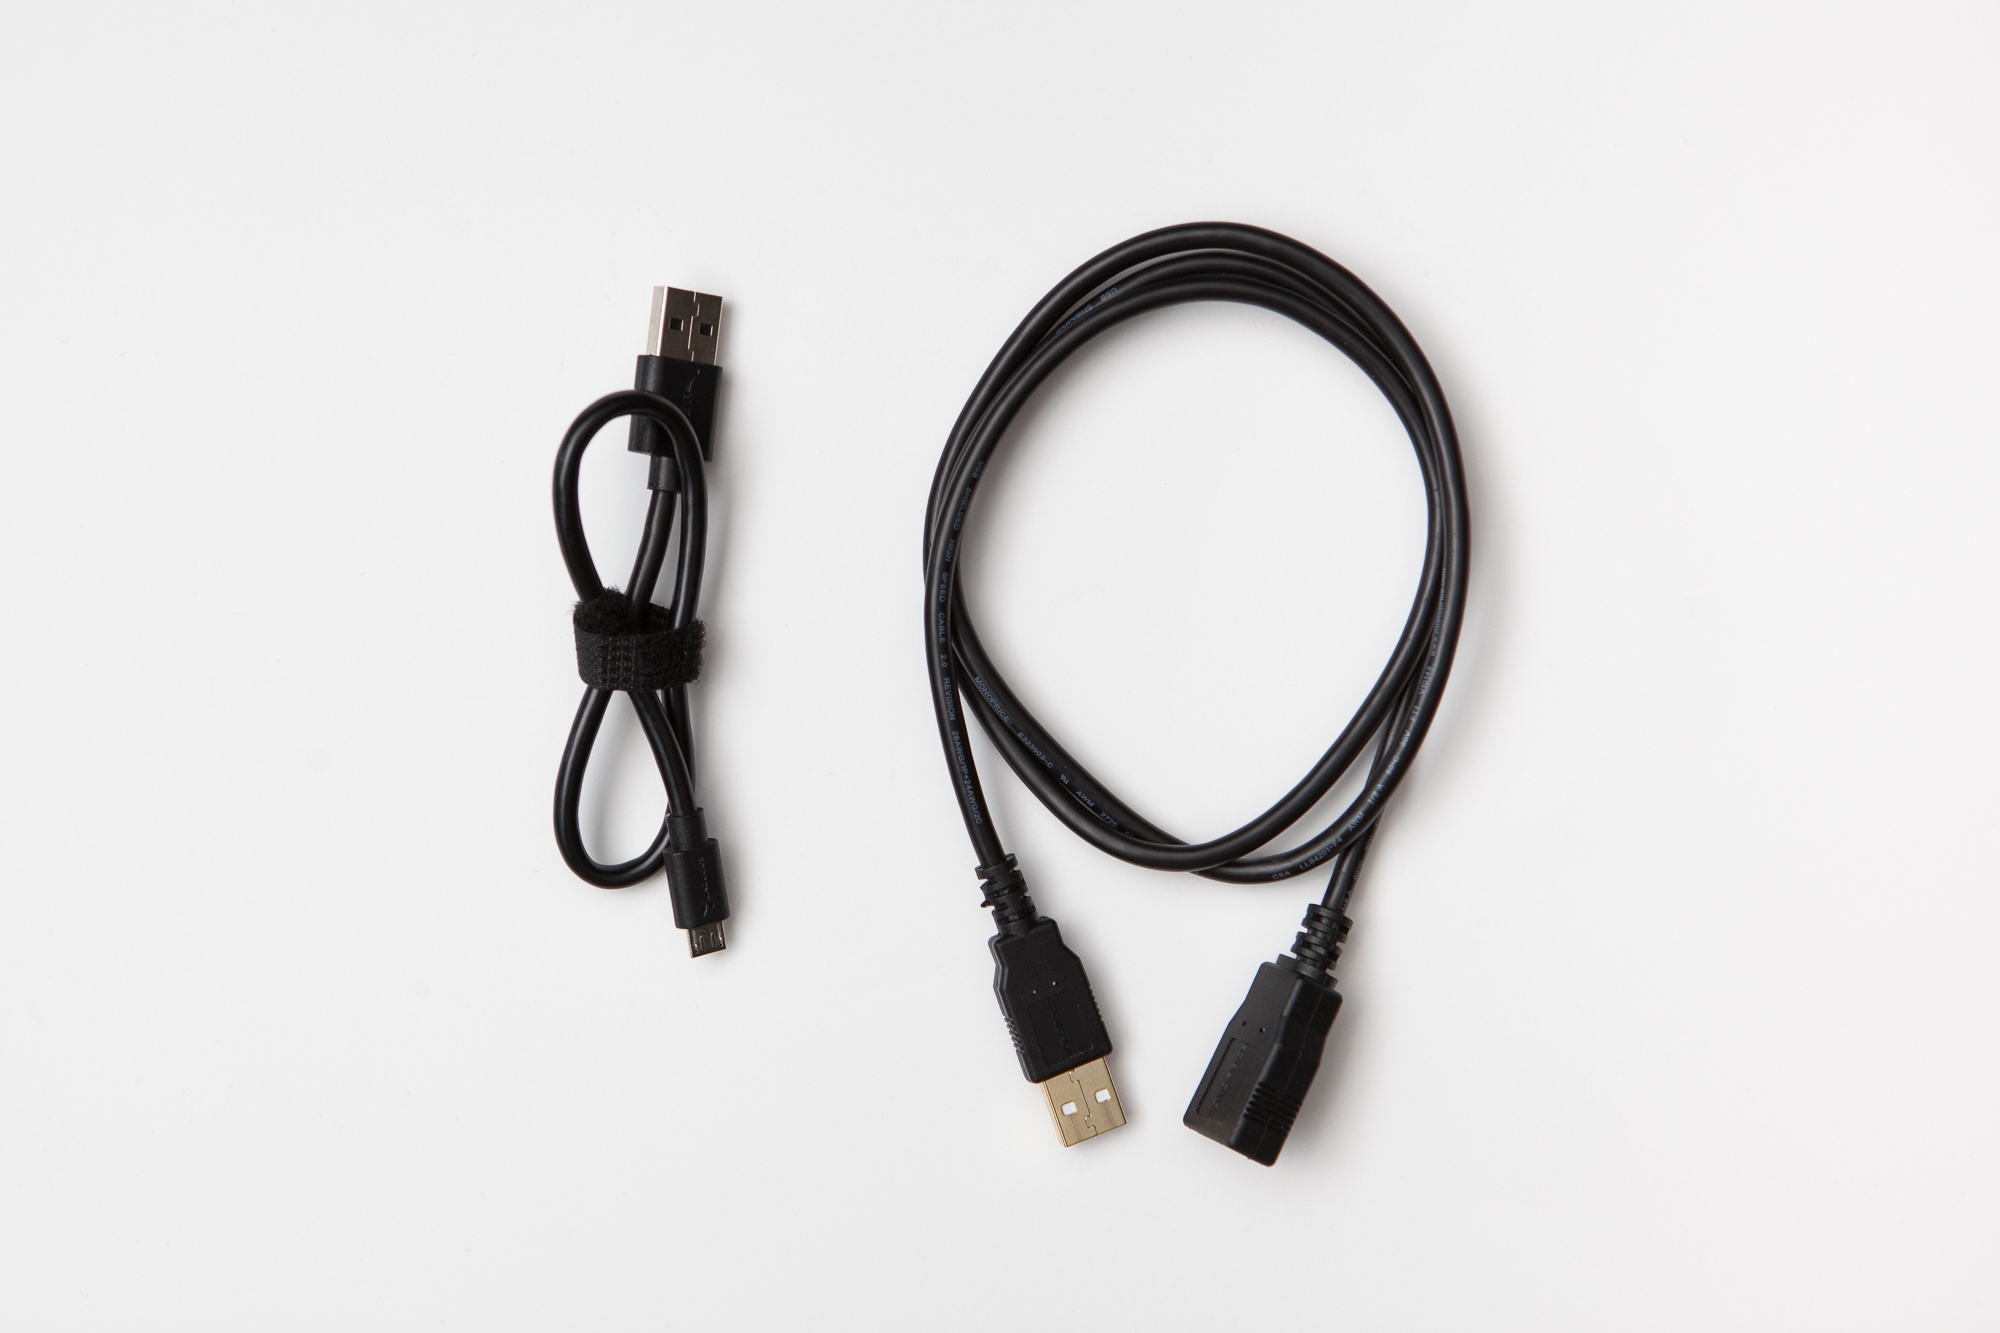
Micro USB cable and extension, before cutting them up.
I first tested the cable set without any modifications to make sure they would work, then I started cutting. First to go was the wire sheathing on the short cable. I carefully scraped away at the cable until I could see the wires underneath, and then slowly cut along the cable with a pair of side cutters until it was removed.
Using a cutoff wheel on a Dremel I then carefully cut slits in the plastic casing around the USB micro plug and pulled it off with a pair of pliers. I trimmed back the silicone protection around the wires so that I could bend the bundle downwards, and then repaired it with a bit of hot glue.
I removed the sheathing on the extension cable in the same way, only removing as much as was needed to get the wires routed through the Nerf gun. Although the colors of the separate cables matched up (Red / Black / Green / White), I did my due diligence to test continuity between them while the connectors were still on the cable. After I confirmed that the colors matched up I snipped off the connectors, soldered the wires together, and added heatshrink.
To get the wires flat against the body of the gun I had to get rid of the cable’s shielding. For a short run at low data speeds it hopefully won’t be an issue. The wires were run directly underneath the firing assembly, and then joined with the rest of the wires in the grip. In this case, the USB wires went on the left side of the grip standoffs.
To finish it off, I cut a hole at the base of the grip for the cable and then added a dab of hot glue to secure it inside of the body. Unfortunately there isn’t enough room to bend the cable for any sort of strain relief.
Assembly
With the USB cable in place and working, it’s time for final assembly!
First to be assembled is the firing bracket. The rotary encoder is inserted into its mounting bracket and bolted in using a pair of needle-nose pliers to twist the nut from the front. Next the PCB is bolted into place and the two are connected.
After pushing the cylinder onto the rotary encoder, the firing bracket slides into the right shell of the gun. Next is the small torsion spring for the trigger and then the trigger itself, which go onto a smooth rod attached to the firing bracket. With the trigger in place the hammer can be added, paying close attention to make sure the spring sits securely at the base of the grip. After pulling the hammer back the retaining bracket can go on top and be securely fastened with three screws.
At this point the connectors can all be plugged into the circuit board: the trigger, hammer, rotary encoder, left shell connector, and USB plug. After doing a brief test to make sure everything works, I then plugged in the left shell and laid it on top. The connector wires on top of the circuit board just barely clear, and I needed to bend one or two just a hair farther.
Everything lined up and I secured the shells together using all 12 screws. Due to the thickness of the wire bundle running through the grip, the firing bracket is pushed up a bit and the shell won’t fully join. There’s a small gap at the top of the grip, but this is unavoidable if I want to keep all of the connections internal.
Conclusion
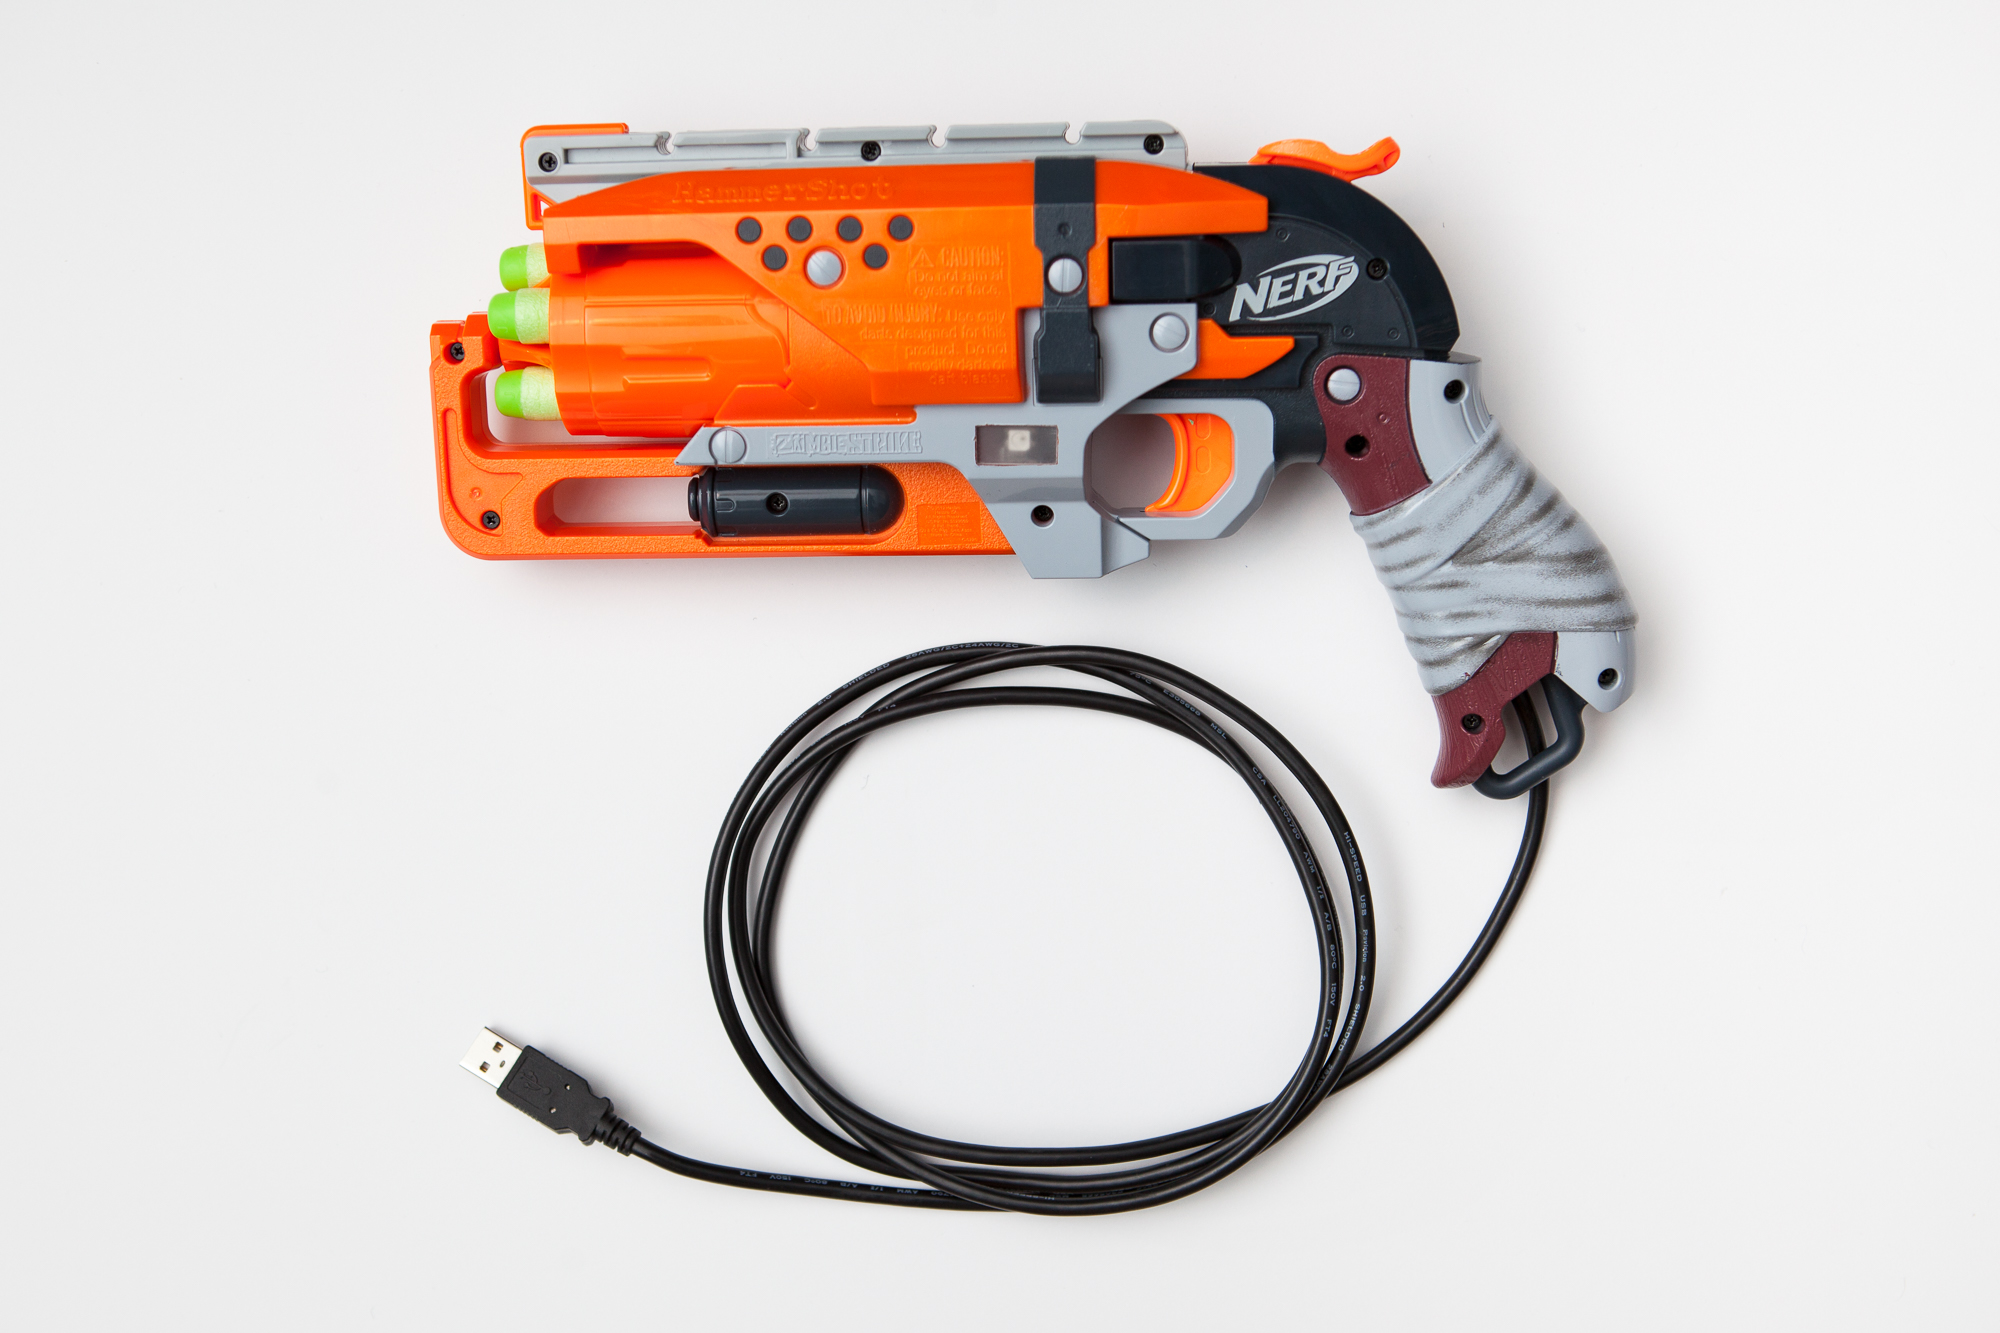
The hardware for the Nerf controller is done! Everything is assembled and nearly-playable. All that’s left to do is write the program to control Overwatch from the Arduino’s inputs.


