With enough ingenuity, you can turn just about anything into a musical instrument. A few years ago, some inspired makers did just that using floppy drives. By manipulating the drive’s read-head motor, you can produce different pitches and therefore play music!
After doing a bit of research this seemed surprisingly simple, so I thought I would take a crack at it.
Basic Principles
Making music with floppy drives works because the stepper motor that drives the read-head is so noisy. By moving the read head at different speeds, the motor produces different pitches which are then amplified by the drive casing.
Floppy drives are old enough technology that they don’t have integrated drivers. That is to say, the host computer is directly responsible for controlling the floppy drive in order to read data. This means the hardware is close to directly accessible, so you can do this trick with any 3.5″ desktop floppy drive without disassembling it or doing any soldering.
Connections
On the back of the drive there are two connectors. The small 4-pin one is the power connector, which connects to a standard PC power supply. For musical floppies, you just need to provide ~0.5A of 5V power per drive (12V isn’t needed). The larger 34-pin one is the IDC connector, used to link the floppy drive to the PC motherboard (or in this case, an Arduino).
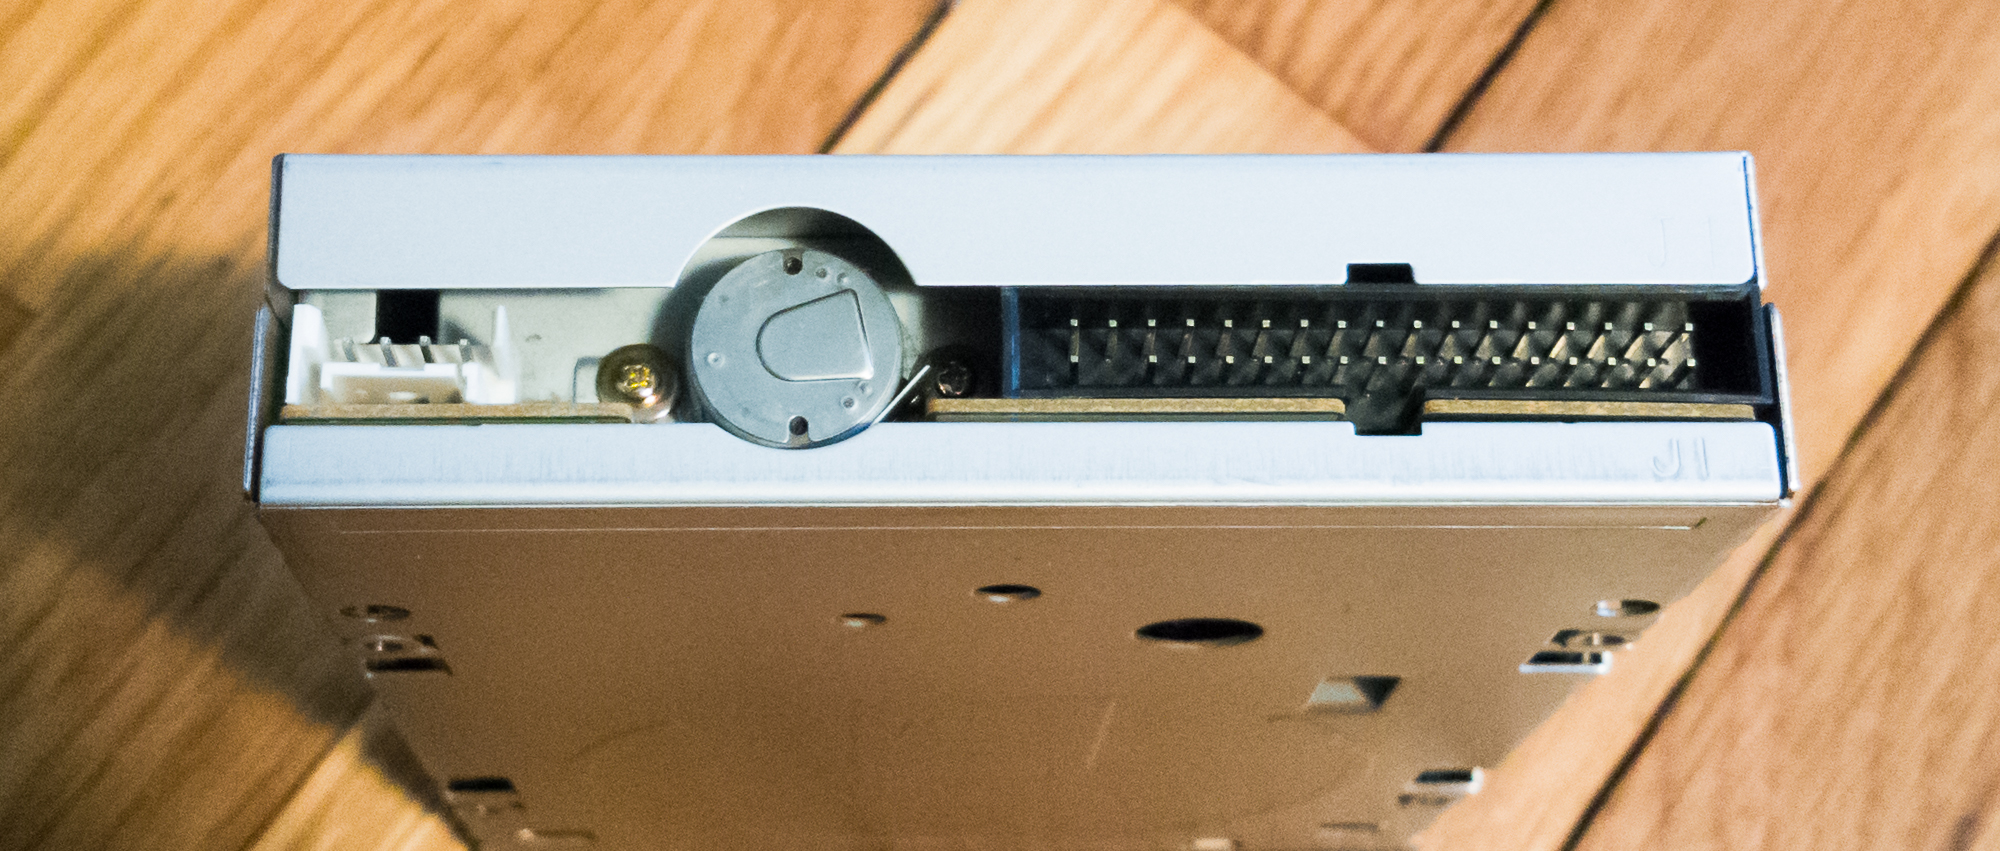
On the IDC connector, there are four connections that need to be made:
- Step (Pin 20)
- Direction (Pin 18)
- Drive Select (Pin 12)
- Ground (Any odd # pin)
Both “Step” and “Direction” are connected directly to the Arduino’s I/O pins. The “Drive Select” pin needs to be grounded so the drive is active, otherwise it won’t respond to commands. Ground needs to be connected between the Arduino and the power supply so they share a common reference. (This doesn’t need to be via the IDC port, but it’s convenient.)
The pin numbering begins from 1 at the bottom-left of the connector, and increments upwards and to the right. This means all pins on the bottom row are odd, and all pins on the top are even. The missing pin, on the left, is #3.
Grounding the ‘step’ pin will cause the read head stepper motor to advance 1 step, and the state of the ‘direction’ pin dictates which way the motor rotates. The driver software on the Arduino keeps track of the read head’s position, so the motor reverses automatically when it reaches either end.
These connections can be made either with female jumper cables, or with a 34-pin IDC cable. Be aware that 34-pin IDC cables made for floppy drives have a clever 7-wire twist in them that allows for using two separate drives on a single cable. This twist means the drive select pin is 12 for a ‘B’ drive (before the twist) and 14 for an ‘A’ drive (after the twist).
Moppy
The most popular software for this is “Moppy”, short for Musical Floppy. The project is from GitHub user SammyIAm, and takes care of both the driver code for the Arduino and the MIDI-ingesting software on the computer. Moppy in its current state works pretty well, so there’s no reason to re-invent the wheel (at least, not yet). You can download Moppy from the Github repository here.
The .ino file needs to be uploaded to the Arduino without any changes. The Arduino code is not built to digest the MIDI protocol in order to keep things lightweight, so that is handled by the host program on your PC. The host program needs to be compiled in your Java IDE of choice before it can be executed. I used NetBeans to compile mine.
From there, it’s simply a matter of finding a MIDI file you like and pressing play! The Moppy repository contains a few test MIDI files, and you can find a few more properly formatted ones in this repository.
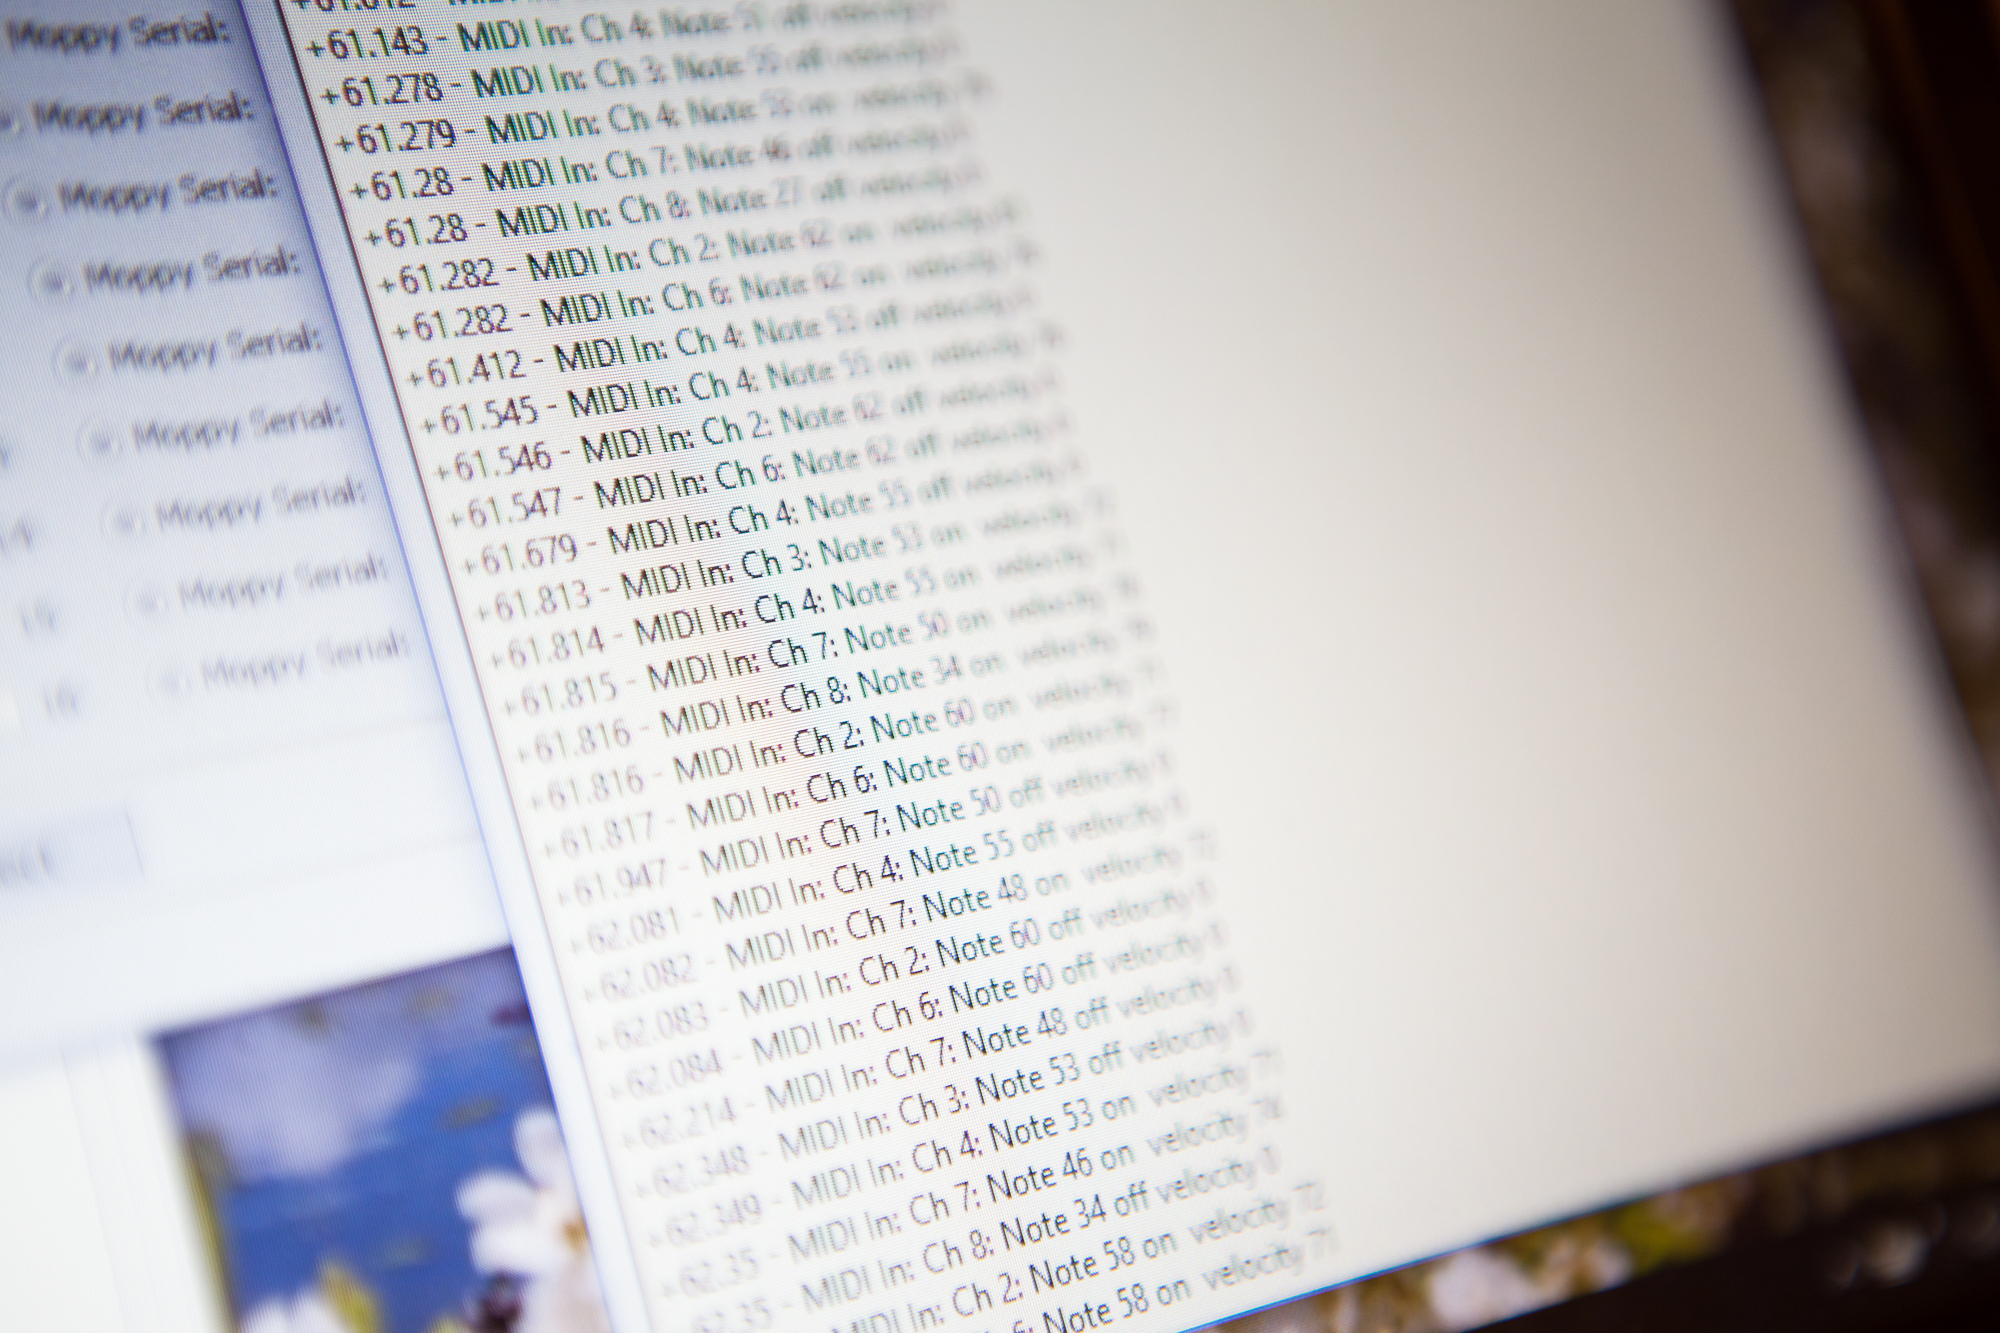
Note that not every MIDI file works. Floppy drives aren’t polyphonic, meaning they can only play one note at a time. The Moppy software is also set up to send each MIDI channel to a single drive (e.g. Channel 1 to drive 1, Channel 2 to drive 2, etc.). This means a ‘proper’ MIDI file for Moppy has only one note at a time per channel, and takes full use of as many channels as you have drives. On an Arduino Uno, Moppy supports 8 drives in total.
A Demonstration
I put together a short video to demonstrate everything in action. This is the overworld theme from The Legend of Zelda, as played on a single floppy drive.
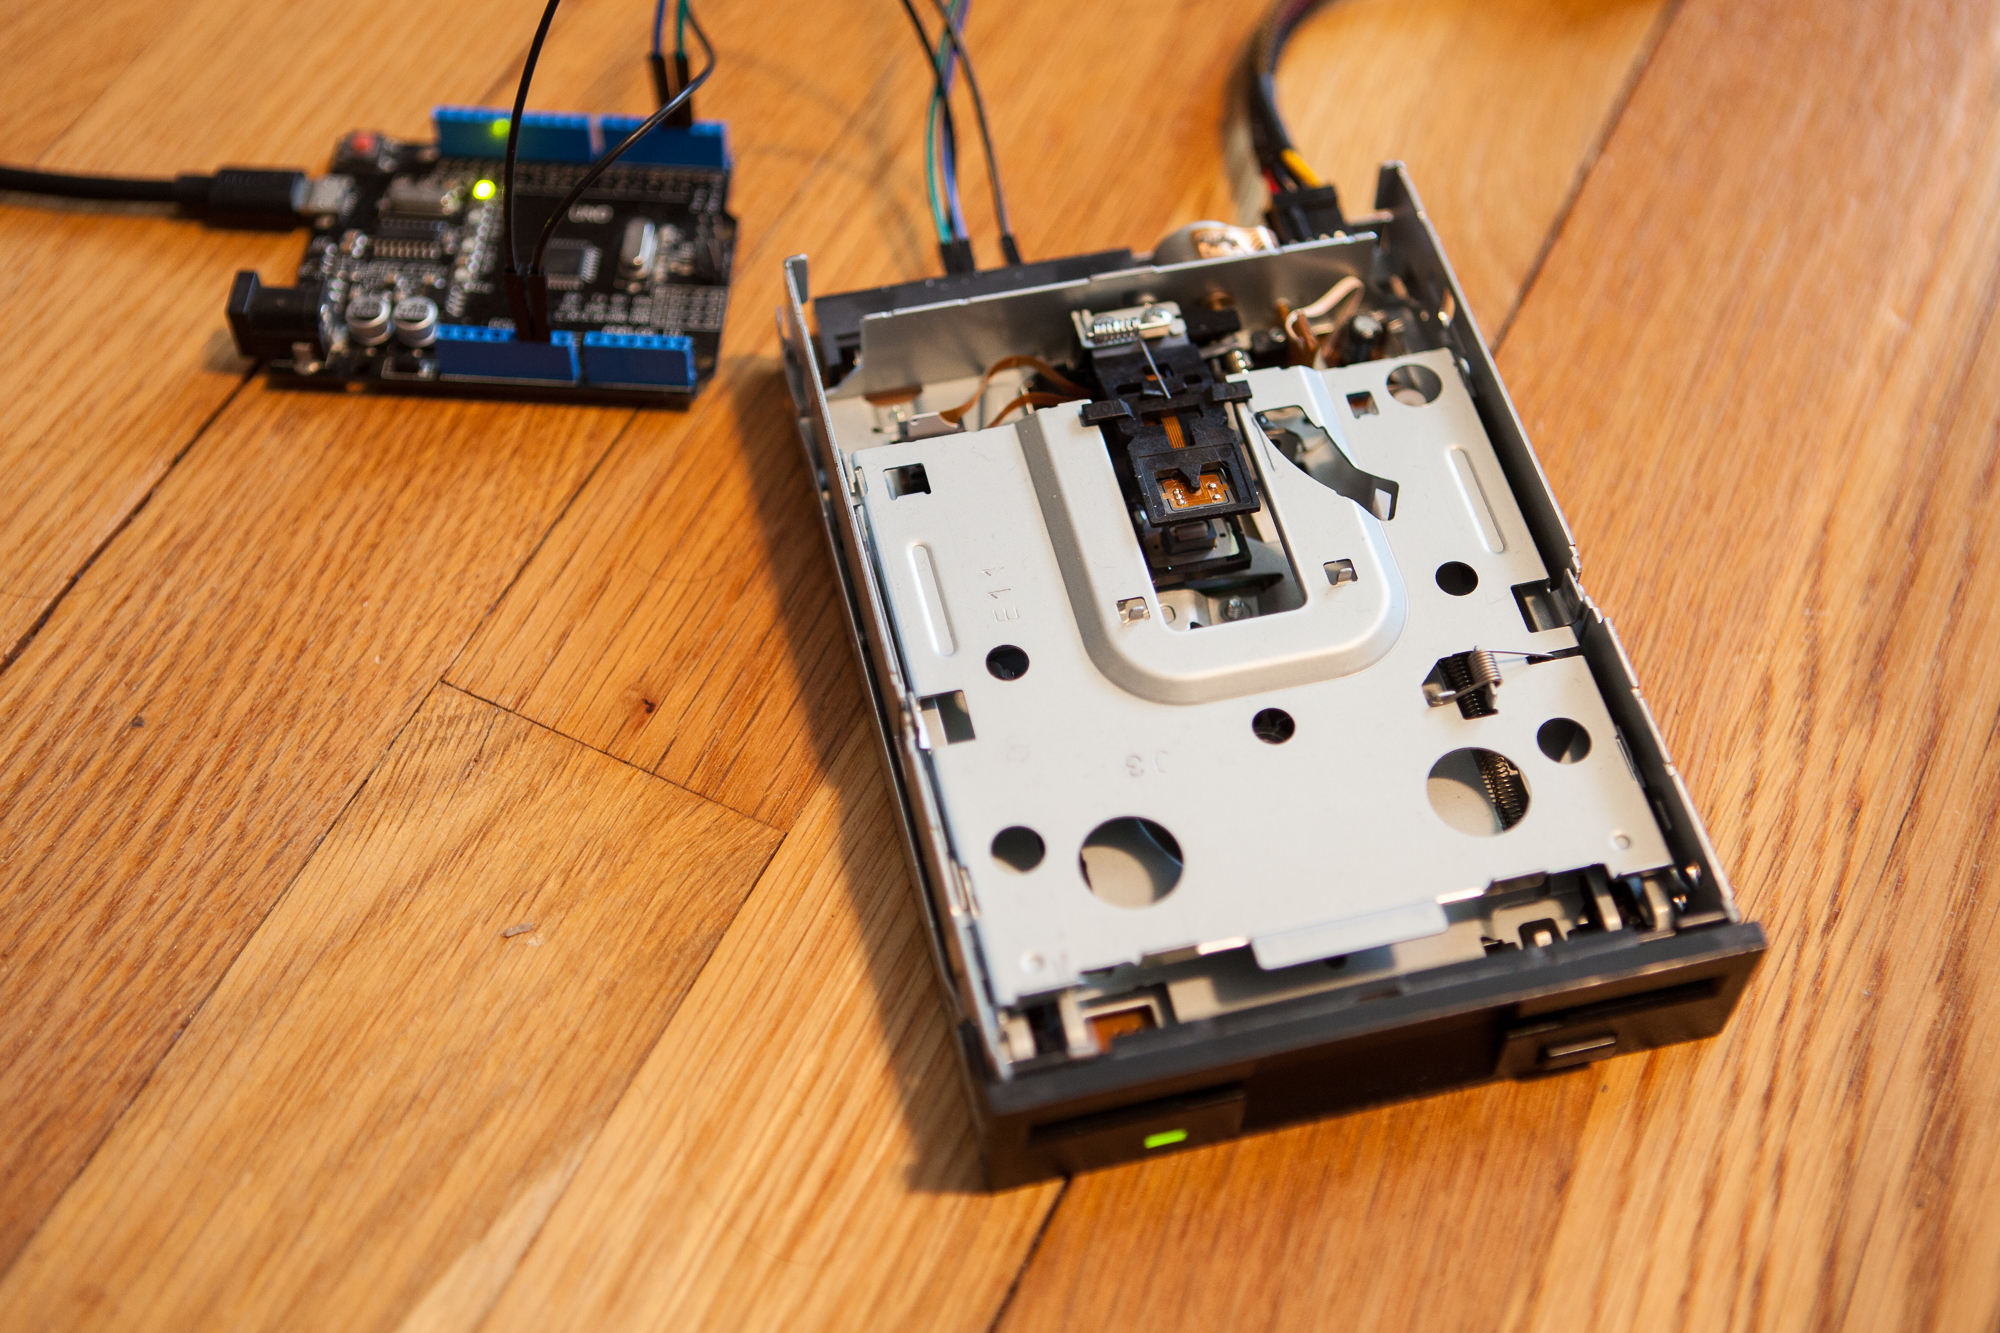
The floppy drive is connected to pins 2 and 3 of the Arduino Uno via female jumper wires, and is being powered by a desktop PC power supply.
You can find the MIDI file here. The drive is playing Channel 1 (Melody) via the Moppy Control Application running on my desktop.
Conclusion
This is fun to play around with, and there is still plenty more to do!
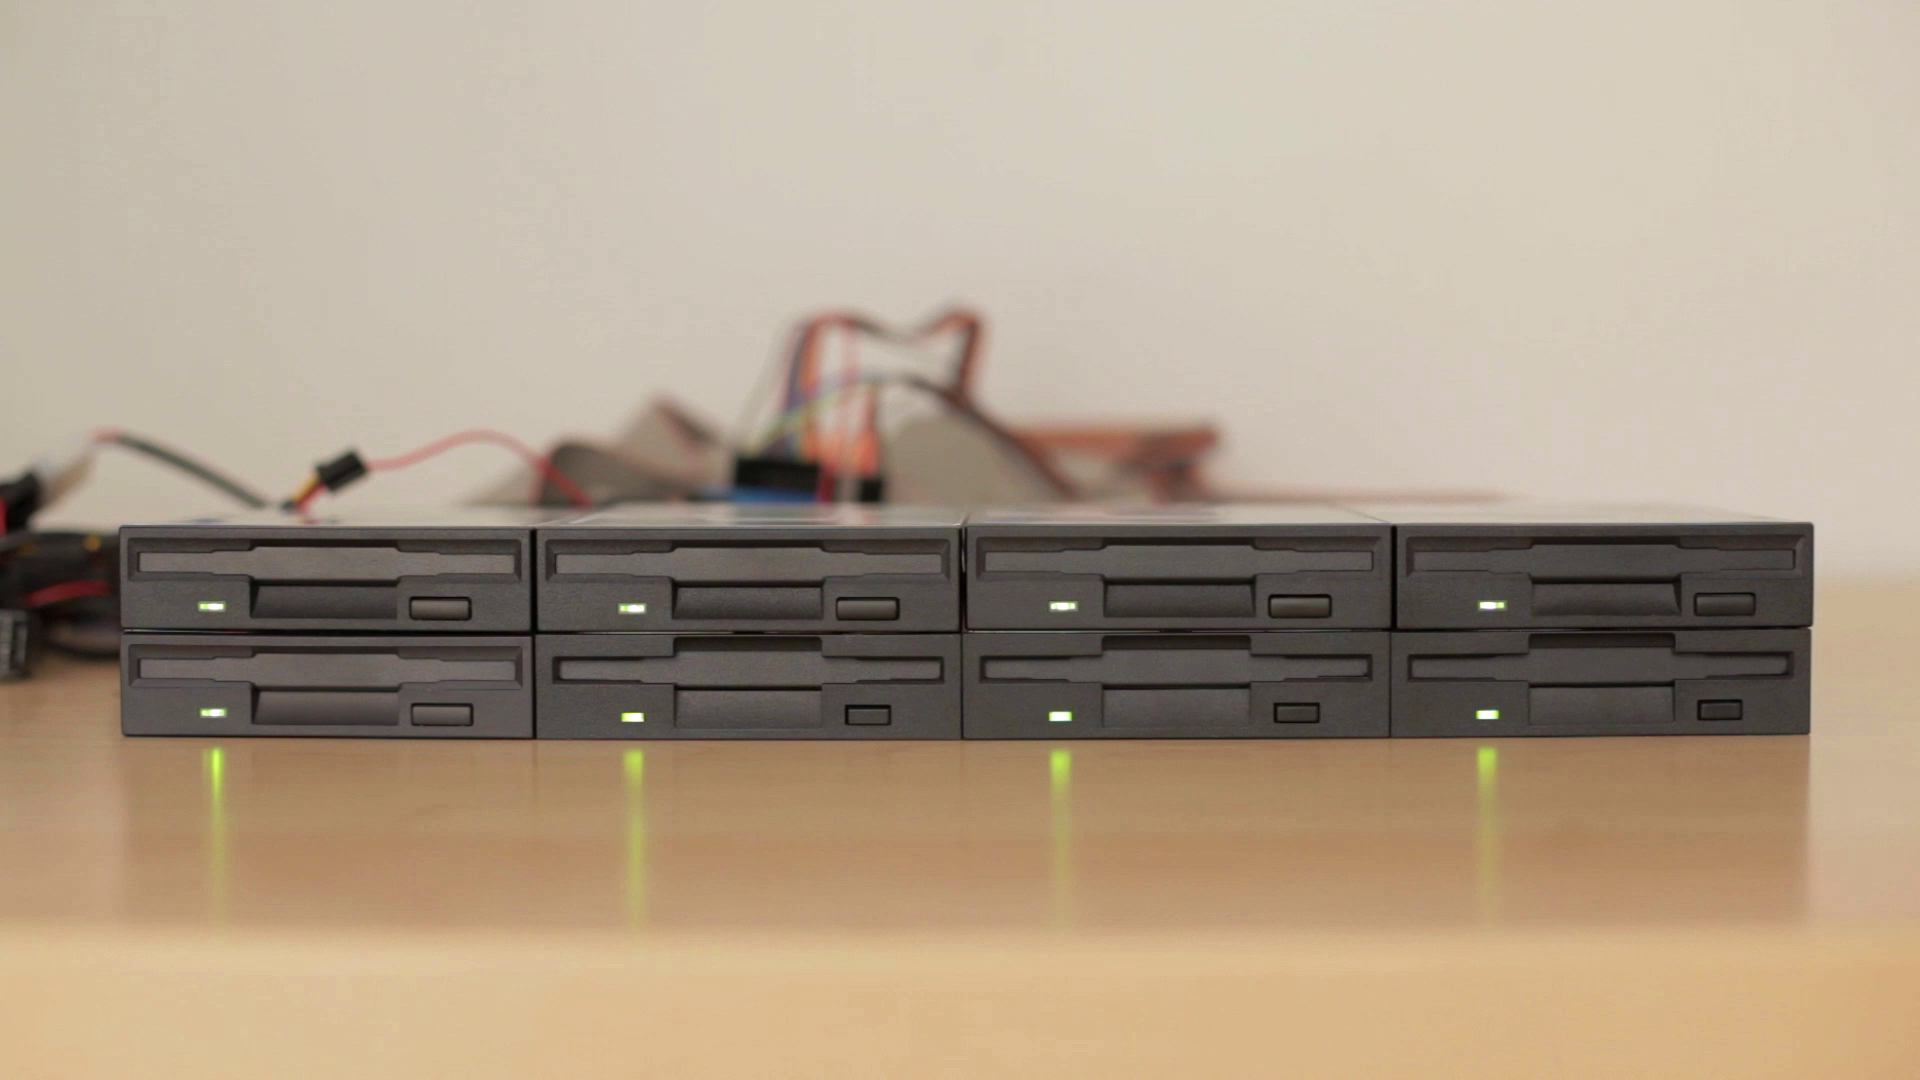
The next steps are to build a setup for easily running all 8 drives, and then building some music that spans 8 MIDI channels.
2 Comments
SammyIAm · May 21, 2018 at 7:47 pm
Can’t remember if I told you how nice this blog / series is back when it was first posted, but I came across it again today because someone on GitHub was talking about PCBs and I remembered having seen it done already. So in case I didn’t: This is very well done, nice job!
(P.S. There’s a Moppy 2.0 now because “no need to reinvent the wheel” and “software engineer” don’t always get along 😉 , and some people were asking about PCBs so I linked to your post about that bit)
Dave · May 22, 2018 at 8:27 pm
Thanks Sammy! I really appreciate that.
I always meant to get back to messing around with Moppy and put those PCB files online but never found the time. I’m perpetually distracted by other projects!