Overview
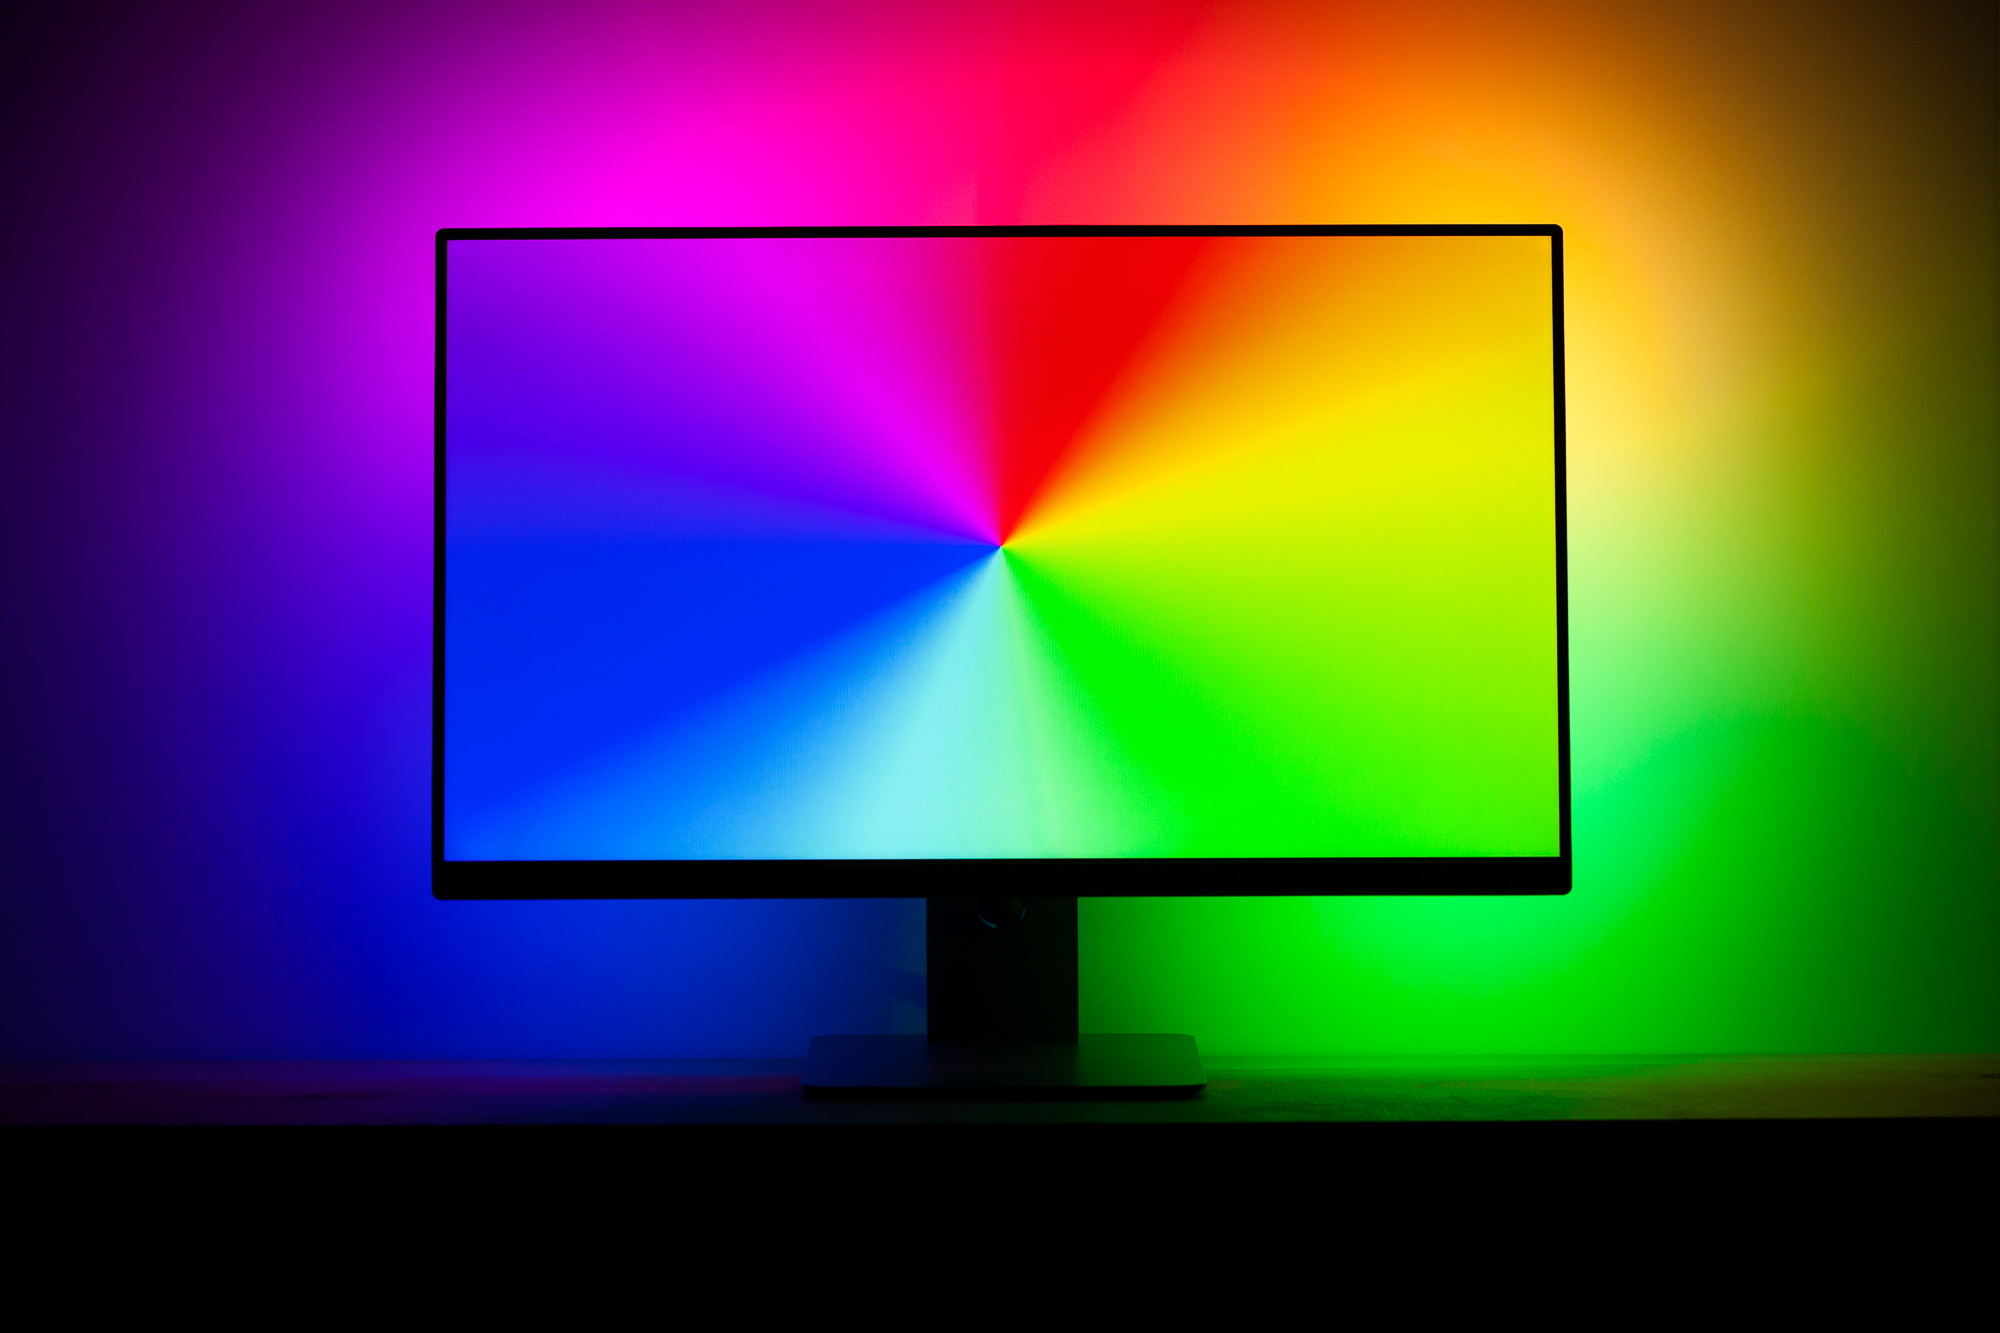
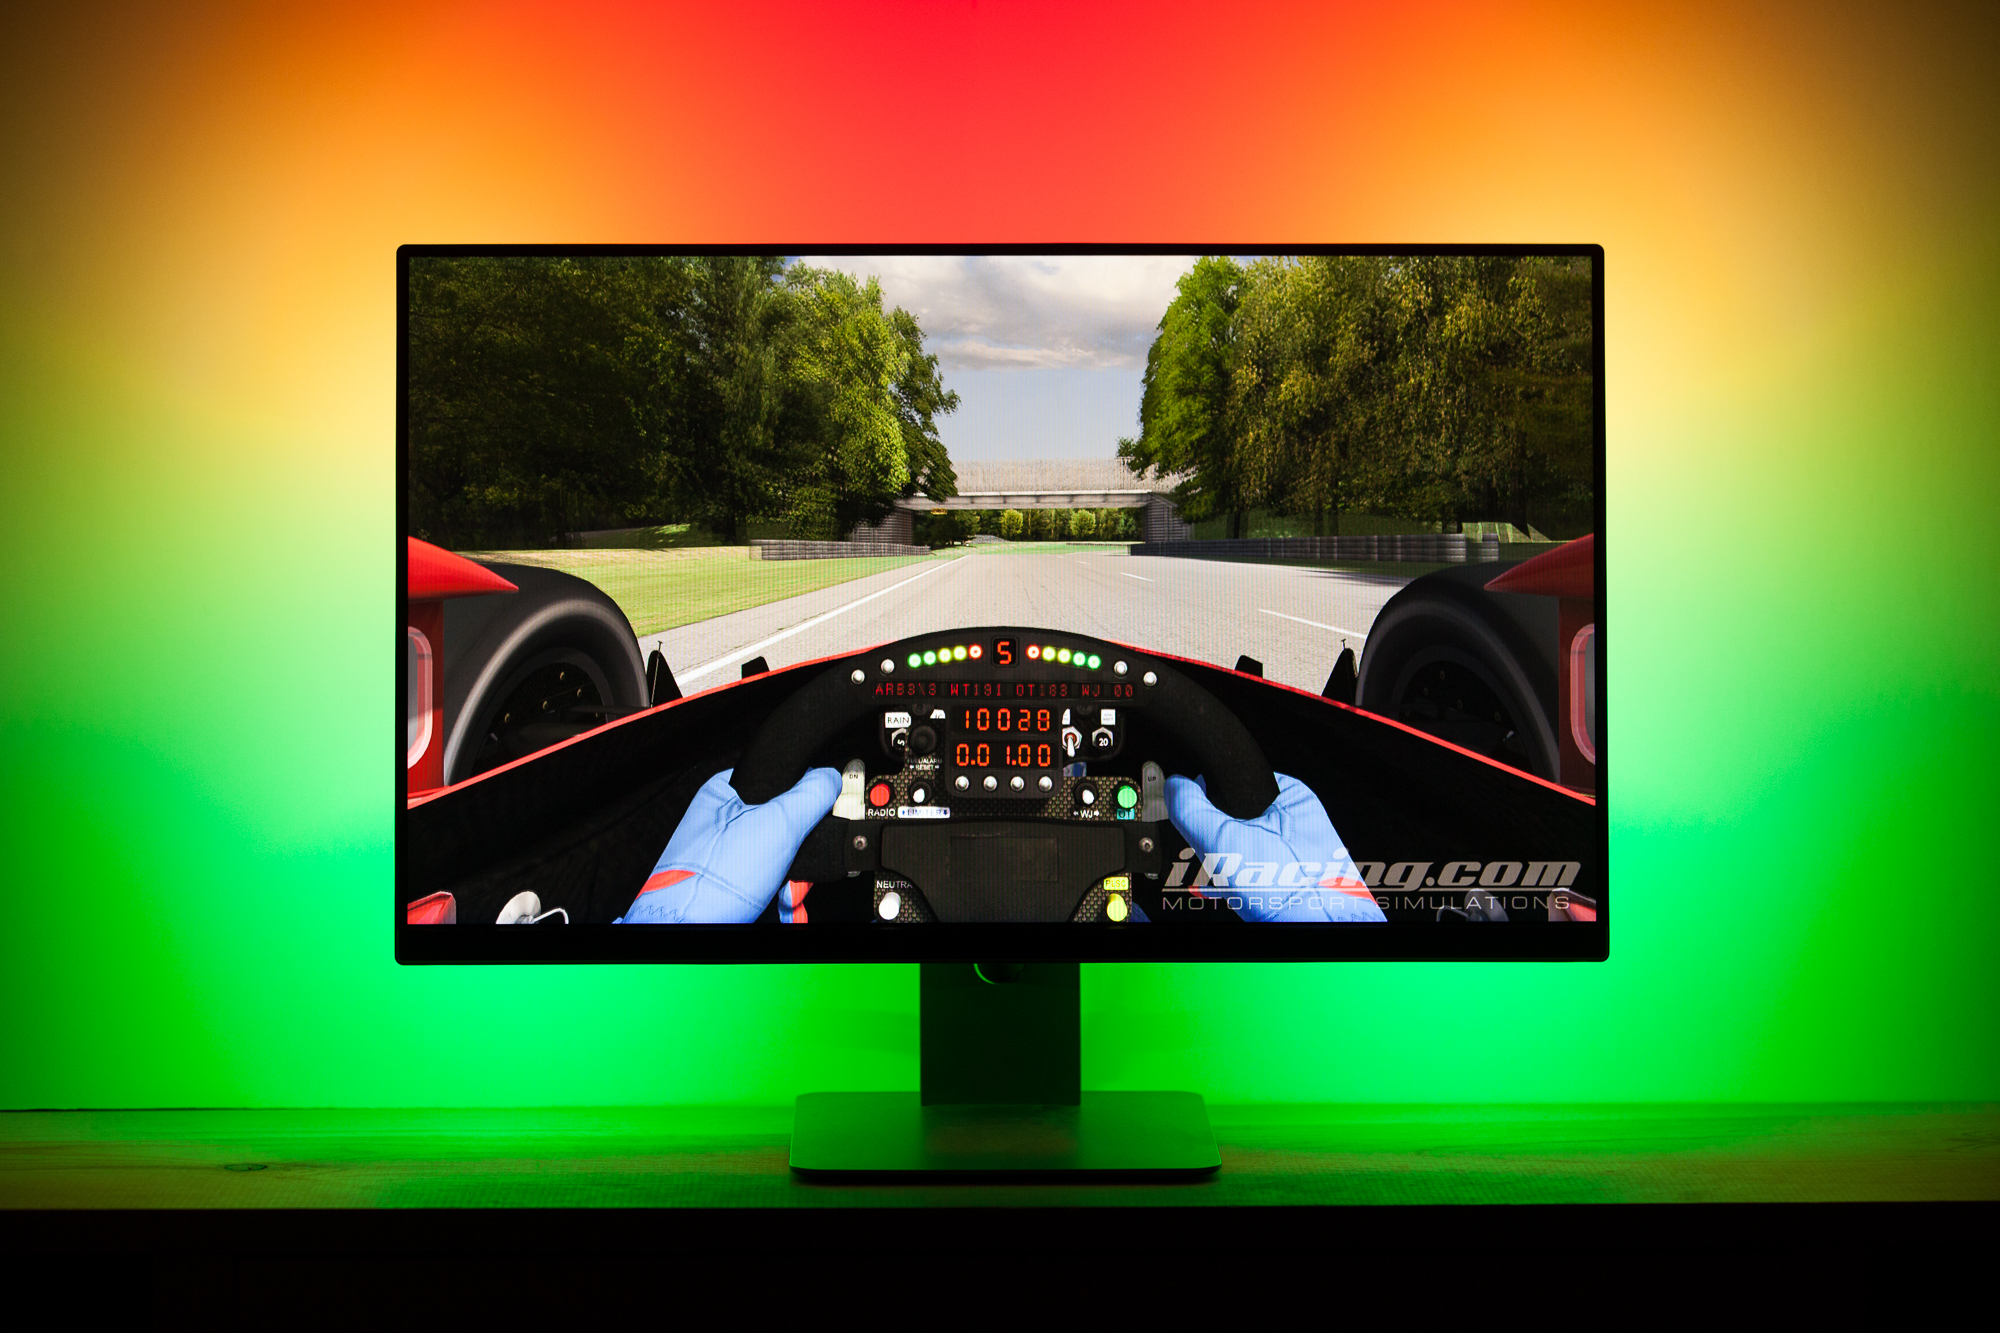
The goal of this project is to build a dynamic backlight, also known as an ‘ambilight’, for my PC monitor. An ambilight changes colors based on the content onscreen, extending your monitor to the wall behind it. By reducing the contrast between the monitor and the background it can also help with eye strain.
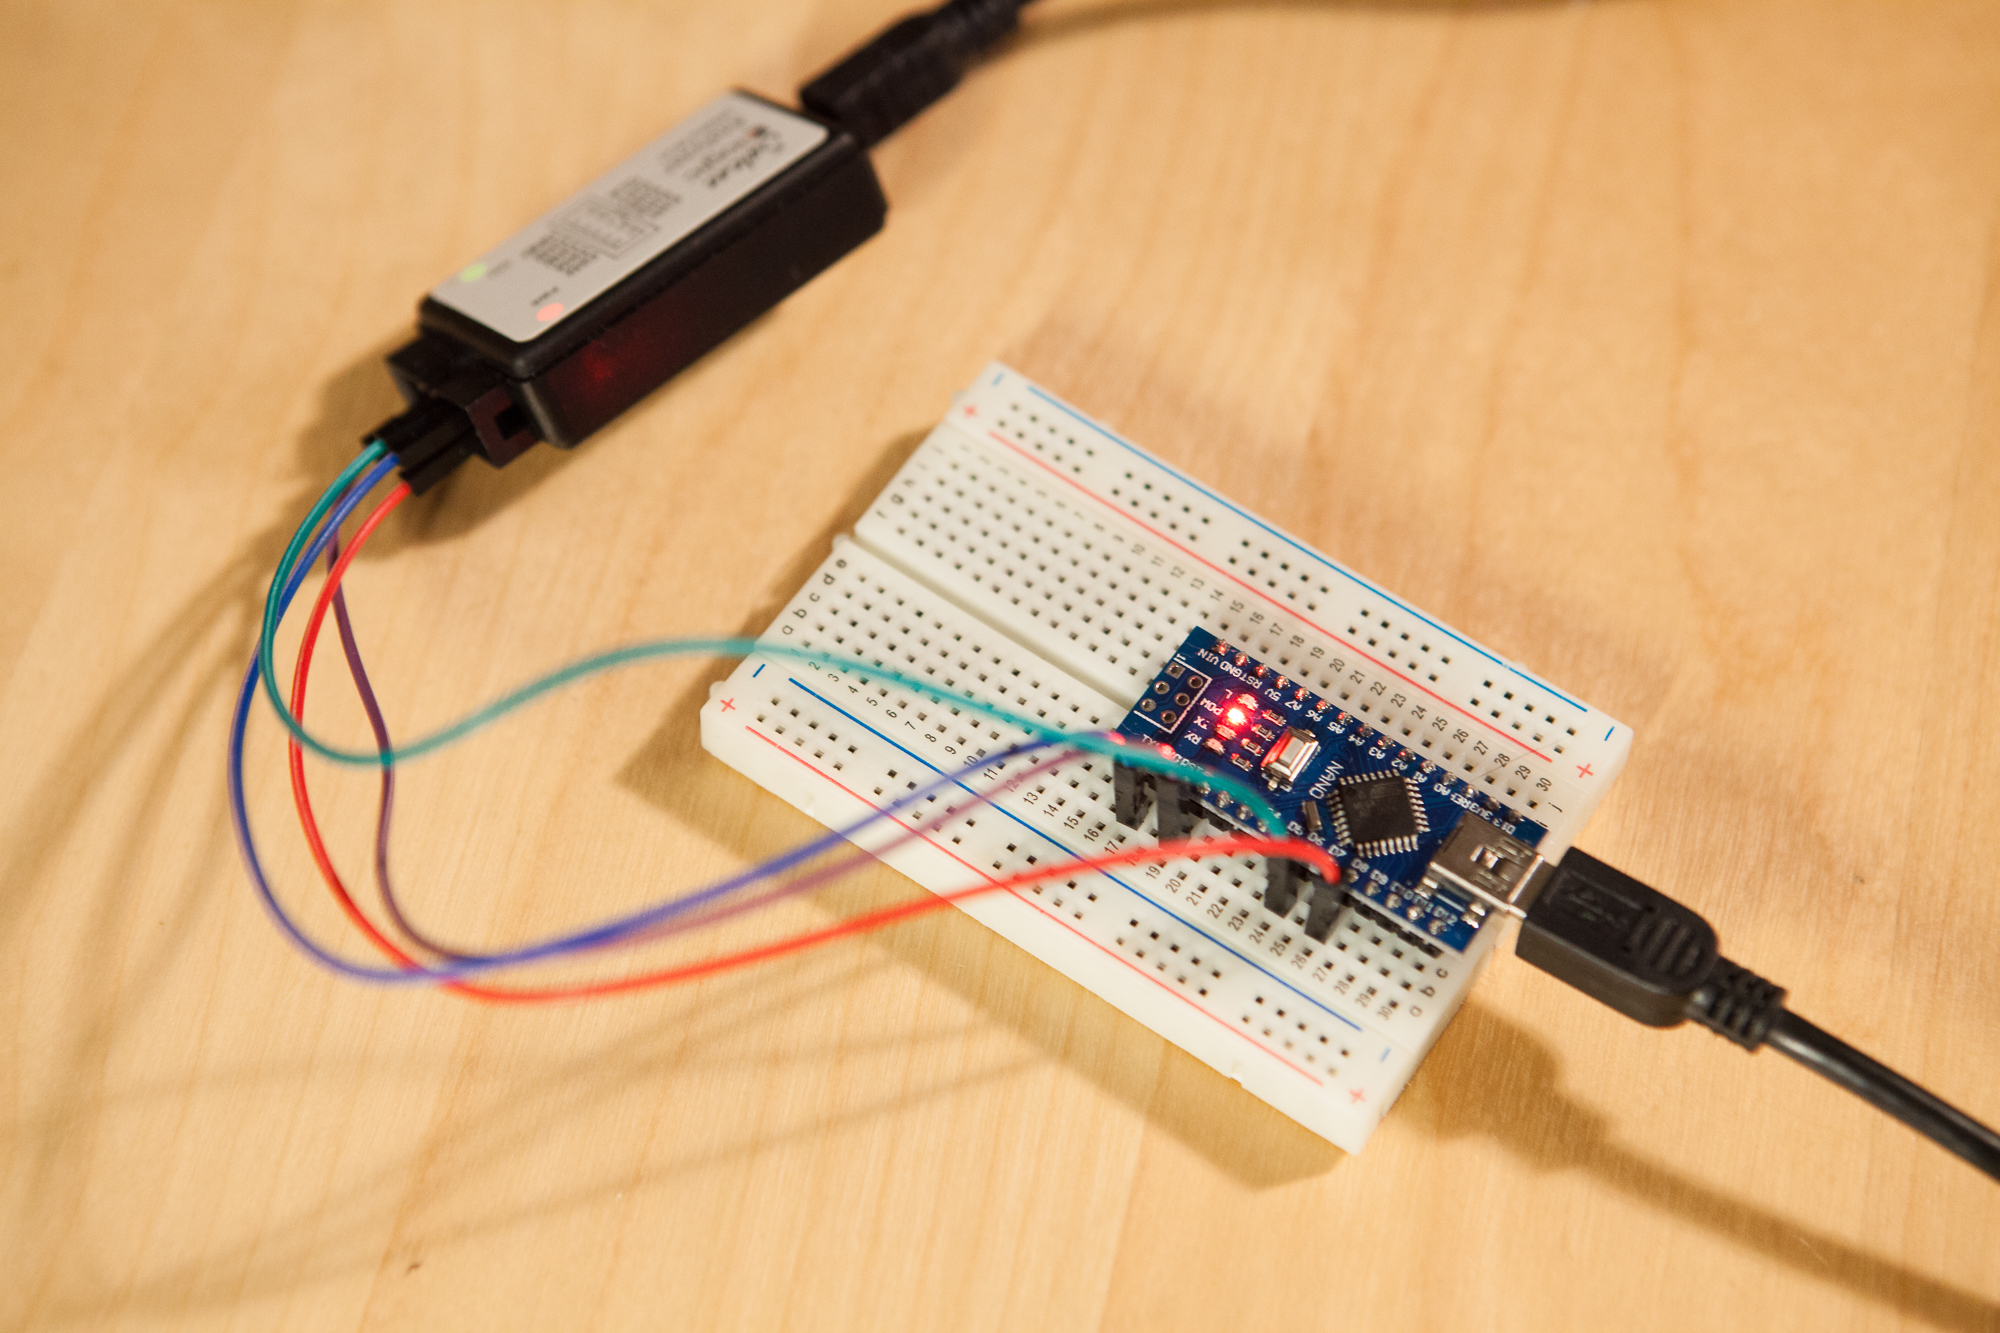
There are some commercial versions of this product, but I wanted to see if I could make one myself with WS2812B addressable LEDs (also known as NeoPixels) and an Arduino.
This was a fun project and I’m really happy with the end result. If you’d like to build your own, I would suggest reading through all of the posts before starting. I’ve also included direct links to the software downloads and a parts list below that you may find useful.
Posts
- Part 1: Proof of Concept
- Part 2: Prepping the WS2812B Strip
- Part 3: PC Software Options
- Part 4: Calibrating Ambilight Color in Prismatik
- Part 5: Making a Custom PCB and Case
- Part 6: Adalight with FastLED
- Part 7: Videos and Gifs
- Part 8: Conclusion
Addendums
- Improving Adalight Framerate
- Calculating Adalight Framerate Limits
- Custom Serial Baud Rates in Prismatik
- Measuring Adalight Framerate from Prismatik
- Visualizing Adalight Header Information
Software Download Links
I wrote my own version of the Adalight code which works with FastLED and WS2812B LEDs (and, in theory, with all other FastLED supported LED types). The PC software I’m using for screen-grabbing is Patrick Siegler’s fork of Lightpack’s Prismatik, which supports the Adalight protocol out of the box. You can download both of these from their respective GitHub repositories:
Settings
My settings have changed throughout this project, so you may find that they vary between the different posts. Here are the current settings for my setup:
--Data Rates:
Baud Rate: 250000
Grab Rate: 14 ms
Framerate: ~60 fps

--Calibration (Standard / Eyeball):
CoefRed=1
CoefGreen=0.67
CoefBlue=0.33

--Calibration (Camera / Color-Accurate):
CoefRed=1
CoefGreen=0.78
CoefBlue=0.23

--Appearance Settings:
Over-brightening: 0
Scene luminosity threshold: 3 (minimum luminosity level)
Overall brightness: 100%
Gamma Correction: 2.0
You can find more information on each of these settings in the framerate and color correction posts above.
These settings are current as of: October 21st, 2019.
Parts List:
For full disclosure, note that some of these are Amazon affiliate links that help fund the content on this site. Thank you for your support!
LED Strip
- WS2812B LED strip, 1.5m (AliExpress)
- 10mm Double-Sided Tape
PCB
- Arduino Nano
- Double-Sided Copper Clad
- 3-Pin JST Connectors
- 2.10mm Barrel Power Jack
- 470 Ω 1/4W Through-Hole Resistor
- 1000µF 25V Aluminum Capacitor
- 15 Position 0.100″ Header Connector (2x)
Connections
As of October 21st 2019, I’ve changed monitors and no longer have this ambilight set up. It worked great while I had it, and I may end up building an improved version some day.
If you’re looking to build your own ambilight, I do not recommend using WS2812B LEDs (“NeoPixels”) with an Arduino because of the issues with interrupts causing dropped frames. Read the posts on improving framerate and calculating the framerate limits for more information. Instead, I recommend using APA102 LEDs or another chipset that won’t disable interrupts. All of the other information in this series stays the same, you would just use two wires for the LED data instead of one.


1 Comment
DIY Ambilight – Tom Archer · February 1, 2020 at 8:13 am
[…] so that it’d work with my Mote device, but before I did I stumbled across this series of blog posts which create an Ambilight using WS2812B […]