Nintendo Extension Ctrl Breakout Board
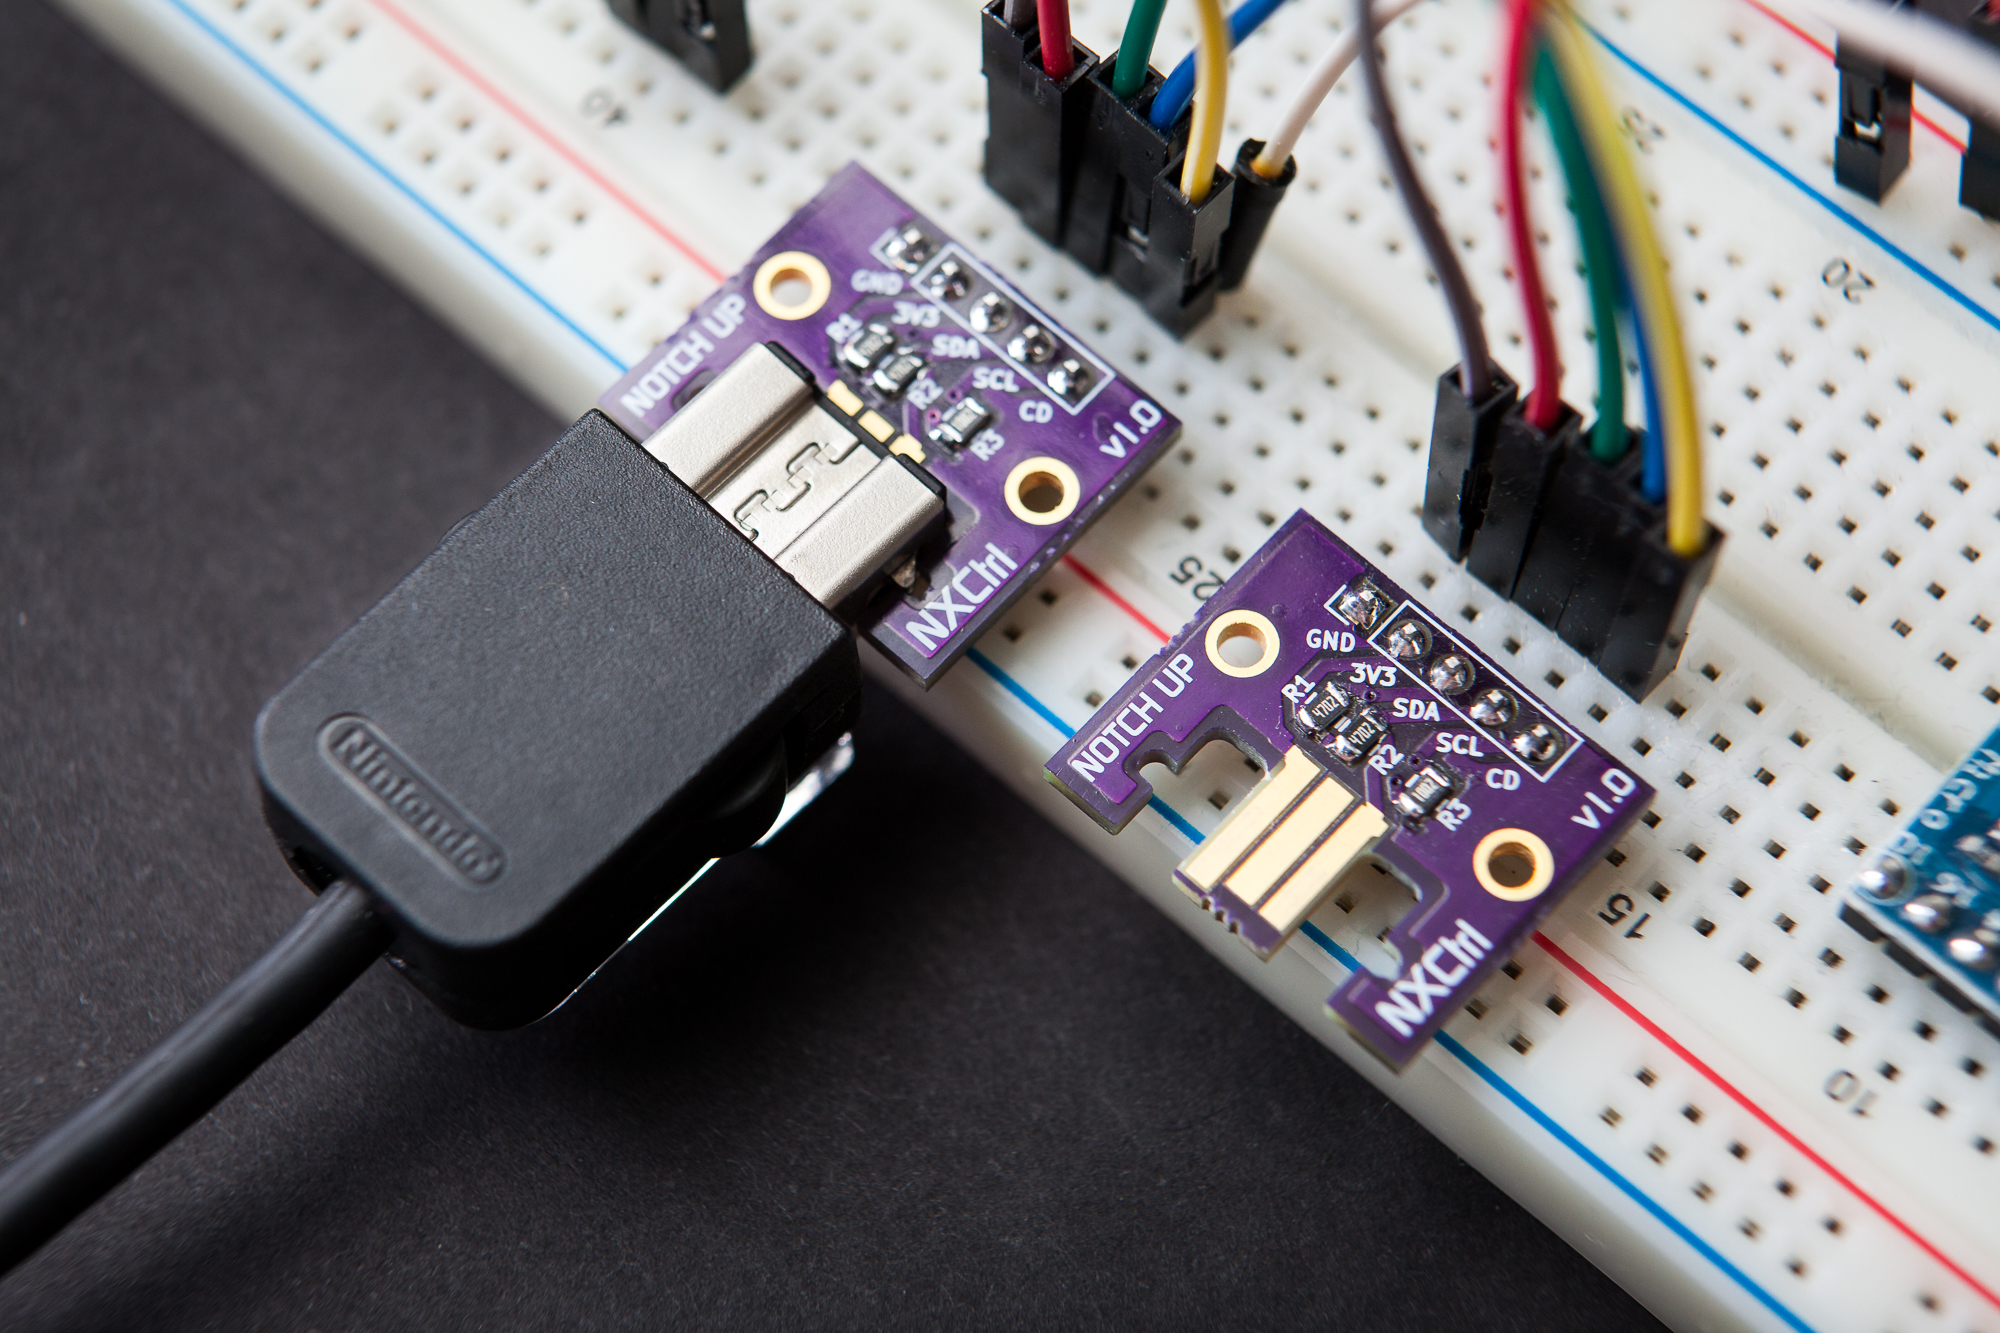
Now that the library is finished, it’s time to start putting it to use! The first step is building a better breakout board for connecting to the extension controllers.
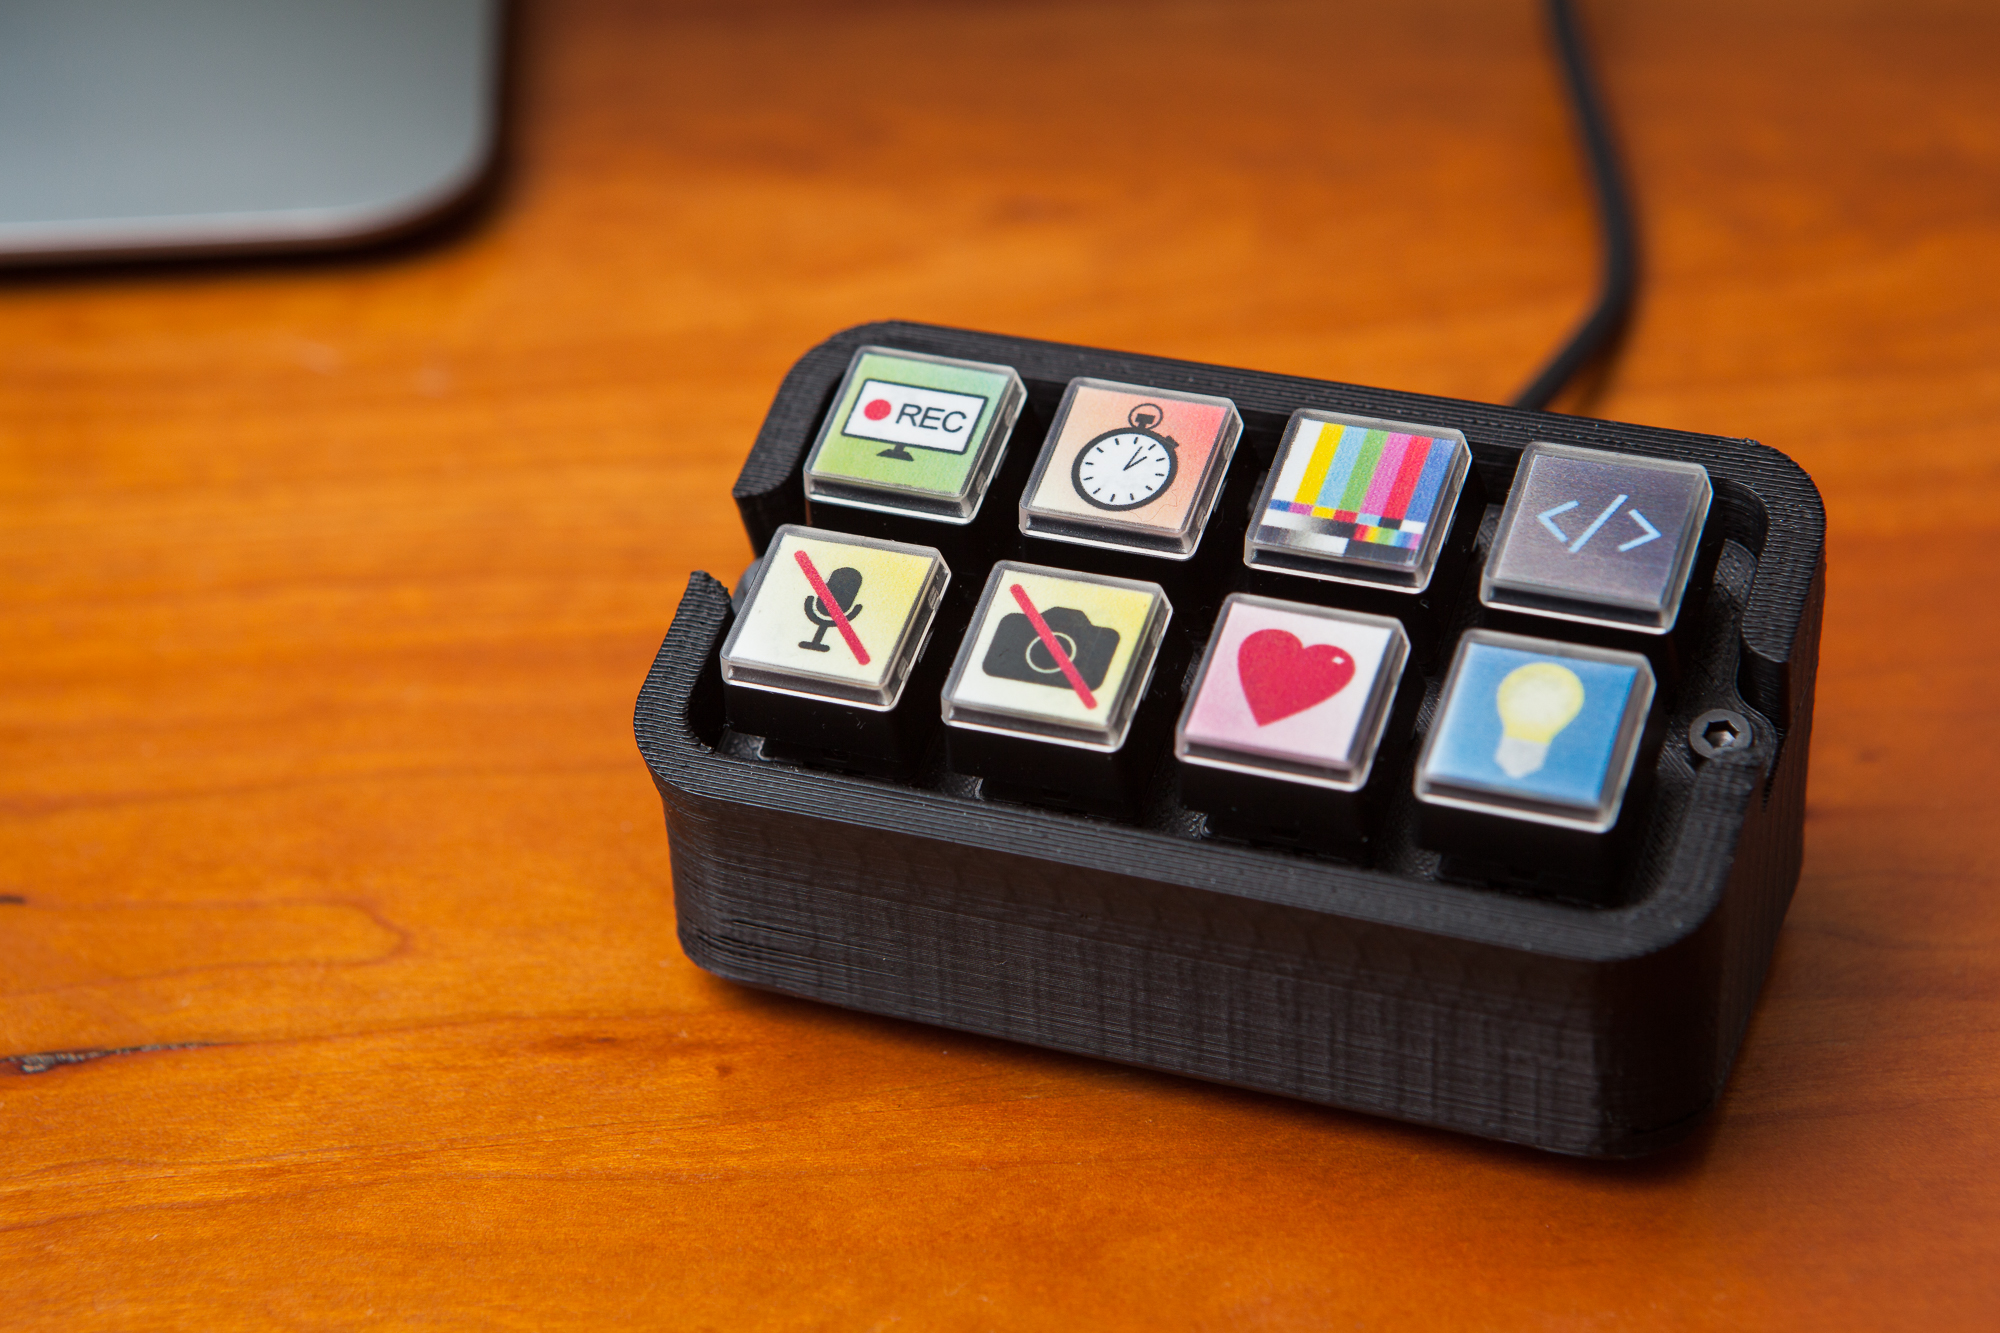
I’ve been doing a little streaming on Twitch, and a lot of streamers I follow have something called an Elgato Stream Deck. The Stream Deck is a small device with 15 buttons, each of which has its own customizable RGB icon. By configuring the bundled software, users can set button icons and macros to control your casting software, send messages in the stream chat, launch programs, and much much more.
Unfortunately the Stream Deck is out of my price range, at a whopping $149.99 retail. Fortunately I think I can make something that replicates the basic functionality for a fraction of that price: what I’m calling a “Stream Cheap”.
Although I’m focusing on using this as a replacement for a Stream Deck, at heart this is really a custom macro keyboard. It could be used as a hotkey board for any program. I’m just using it for OBS and Twitch.
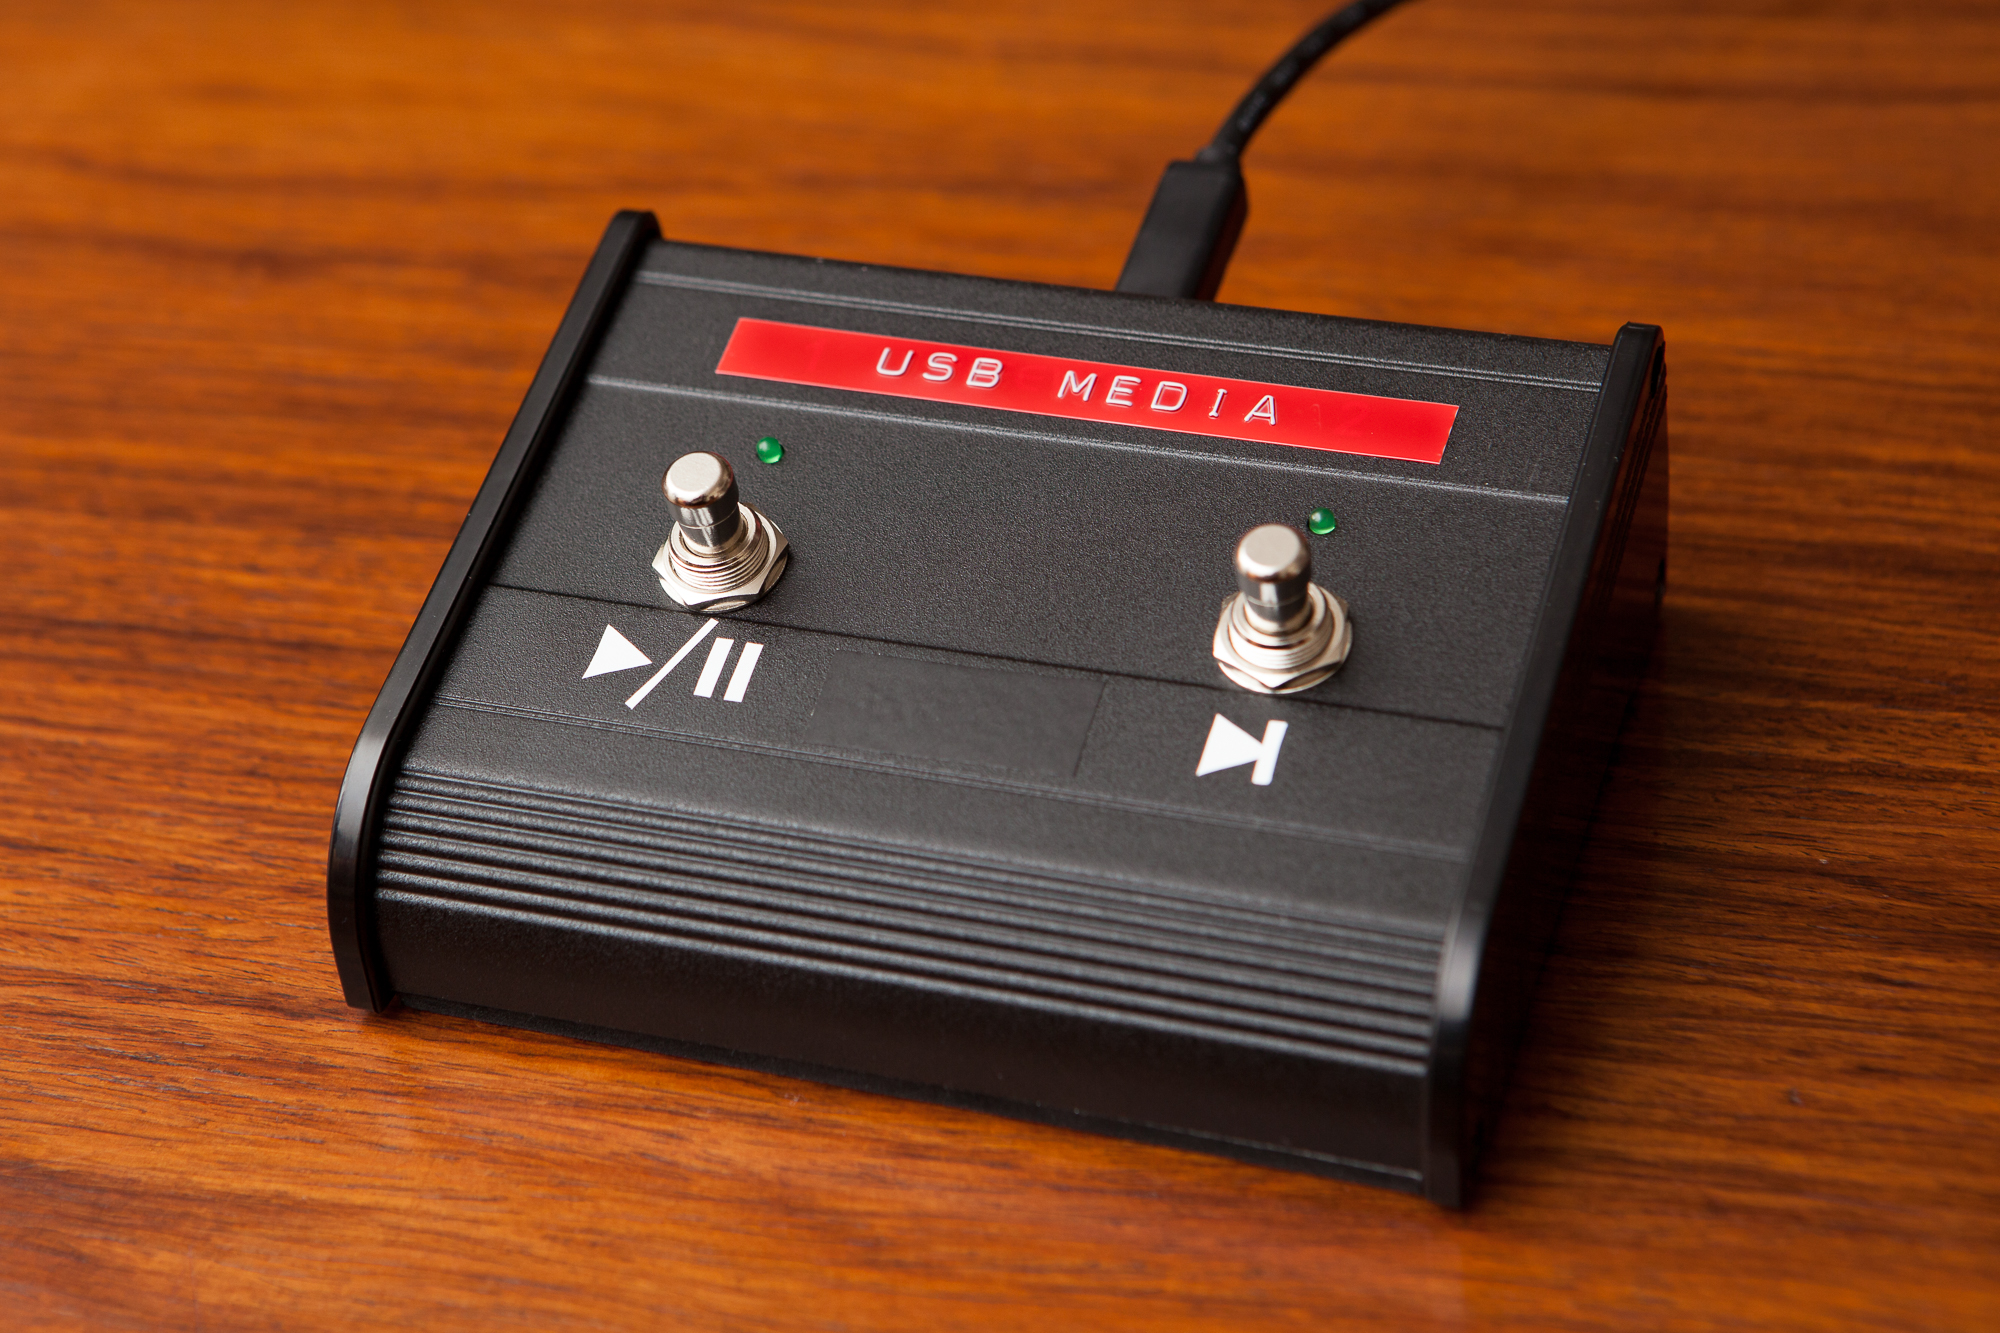
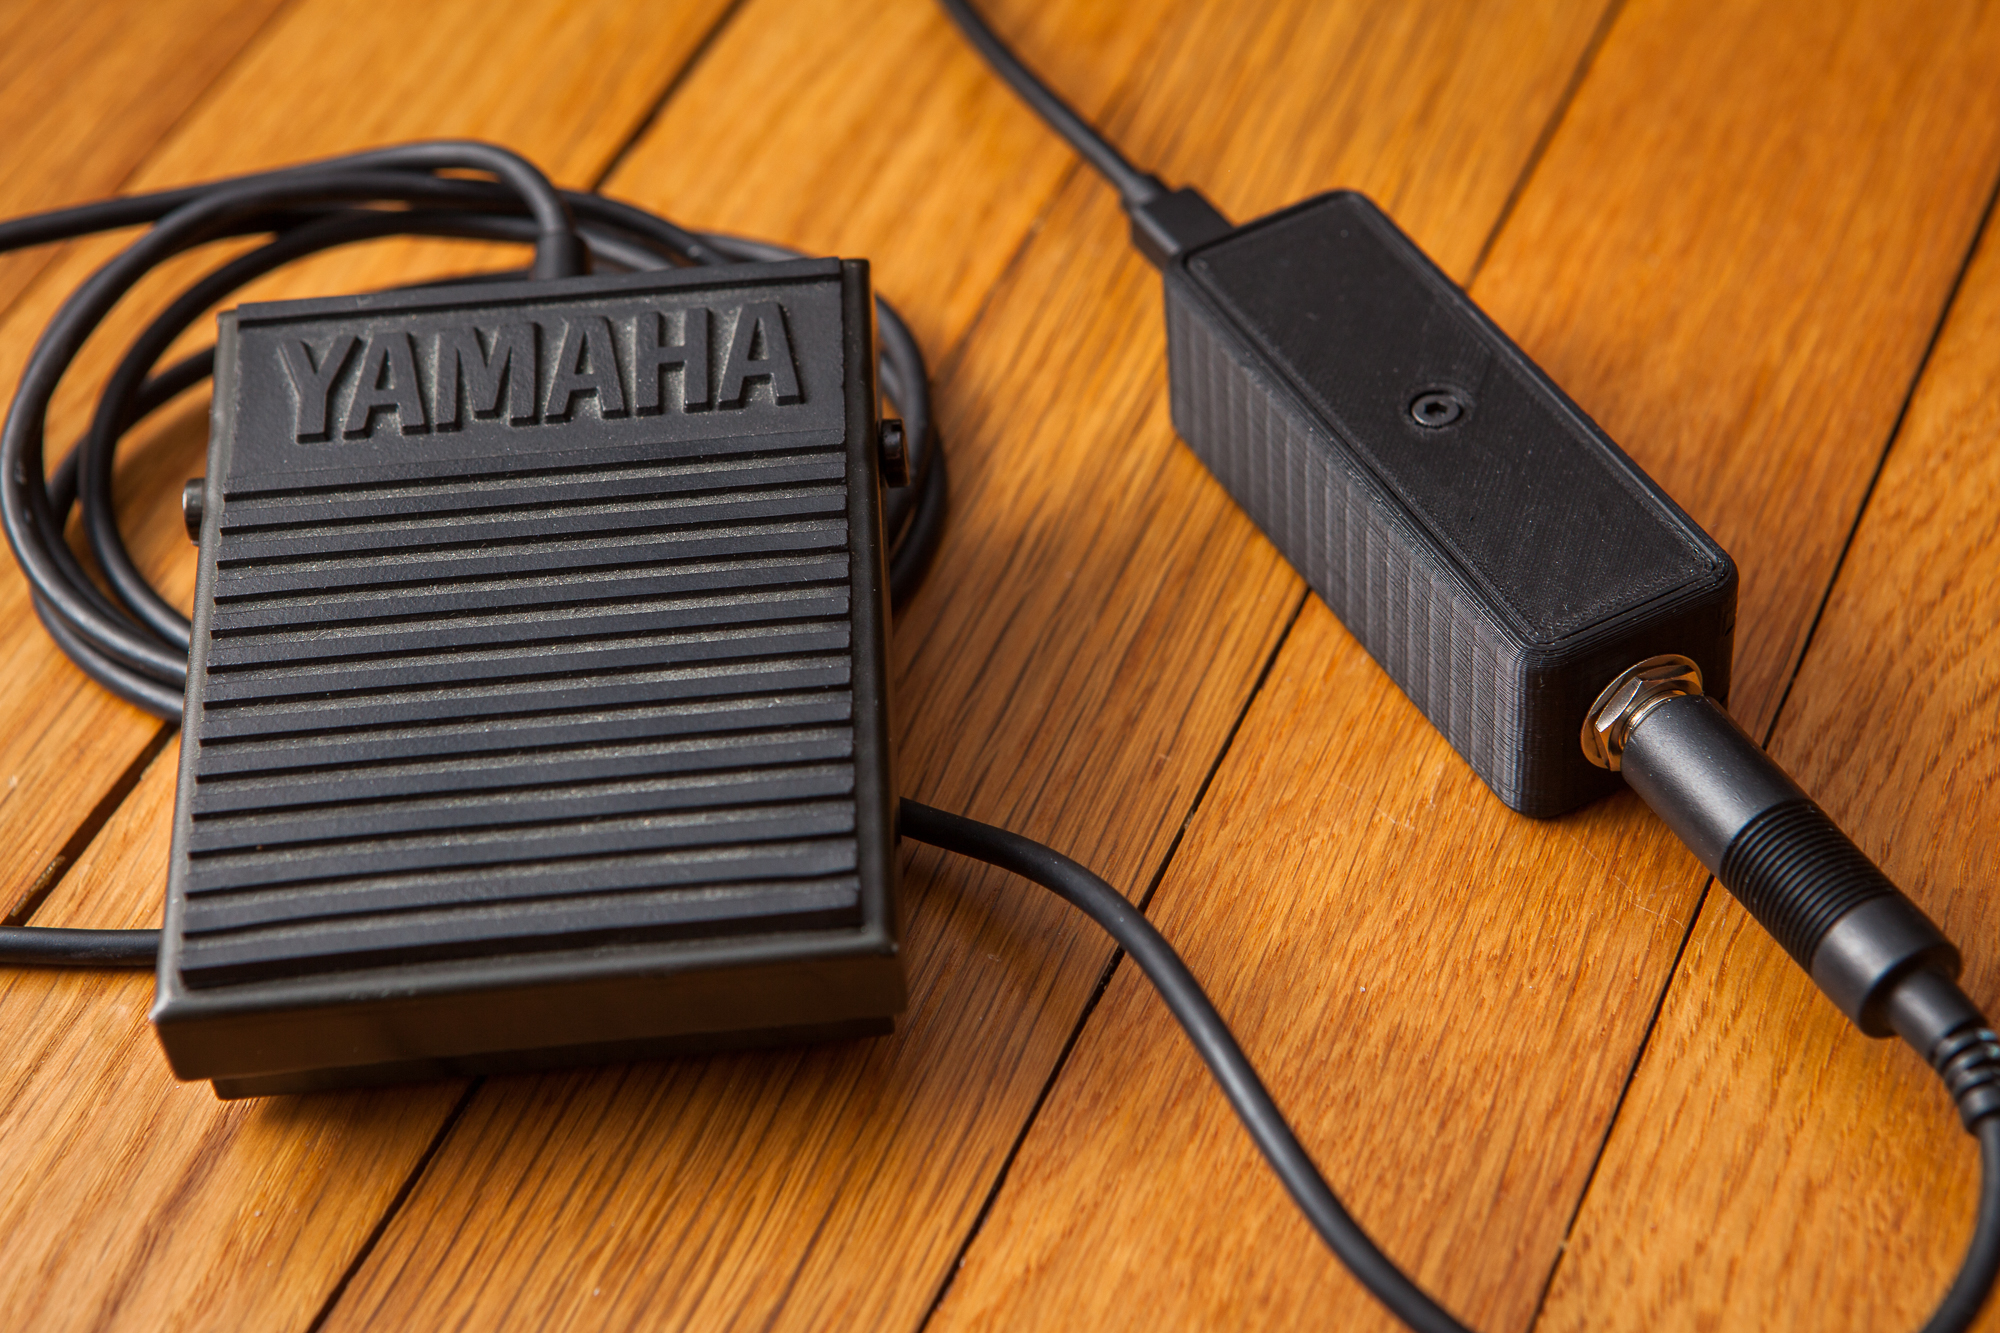
A couple of years ago I picked up an inexpensive sustain pedal for an electric piano at a garage sale. The piano itself wasn’t much to look at, but the pedal intrigued me… it’s a basic on/off switch, but the pedal itself feels fairly robust and I thought it would be a handy switch to have around.
This past week I finally got around to doing something with it! I built a small box that converts the signal from the pedal into a keypress, allowing me to use this pedal as a foot-controlled hotkey for my PC.
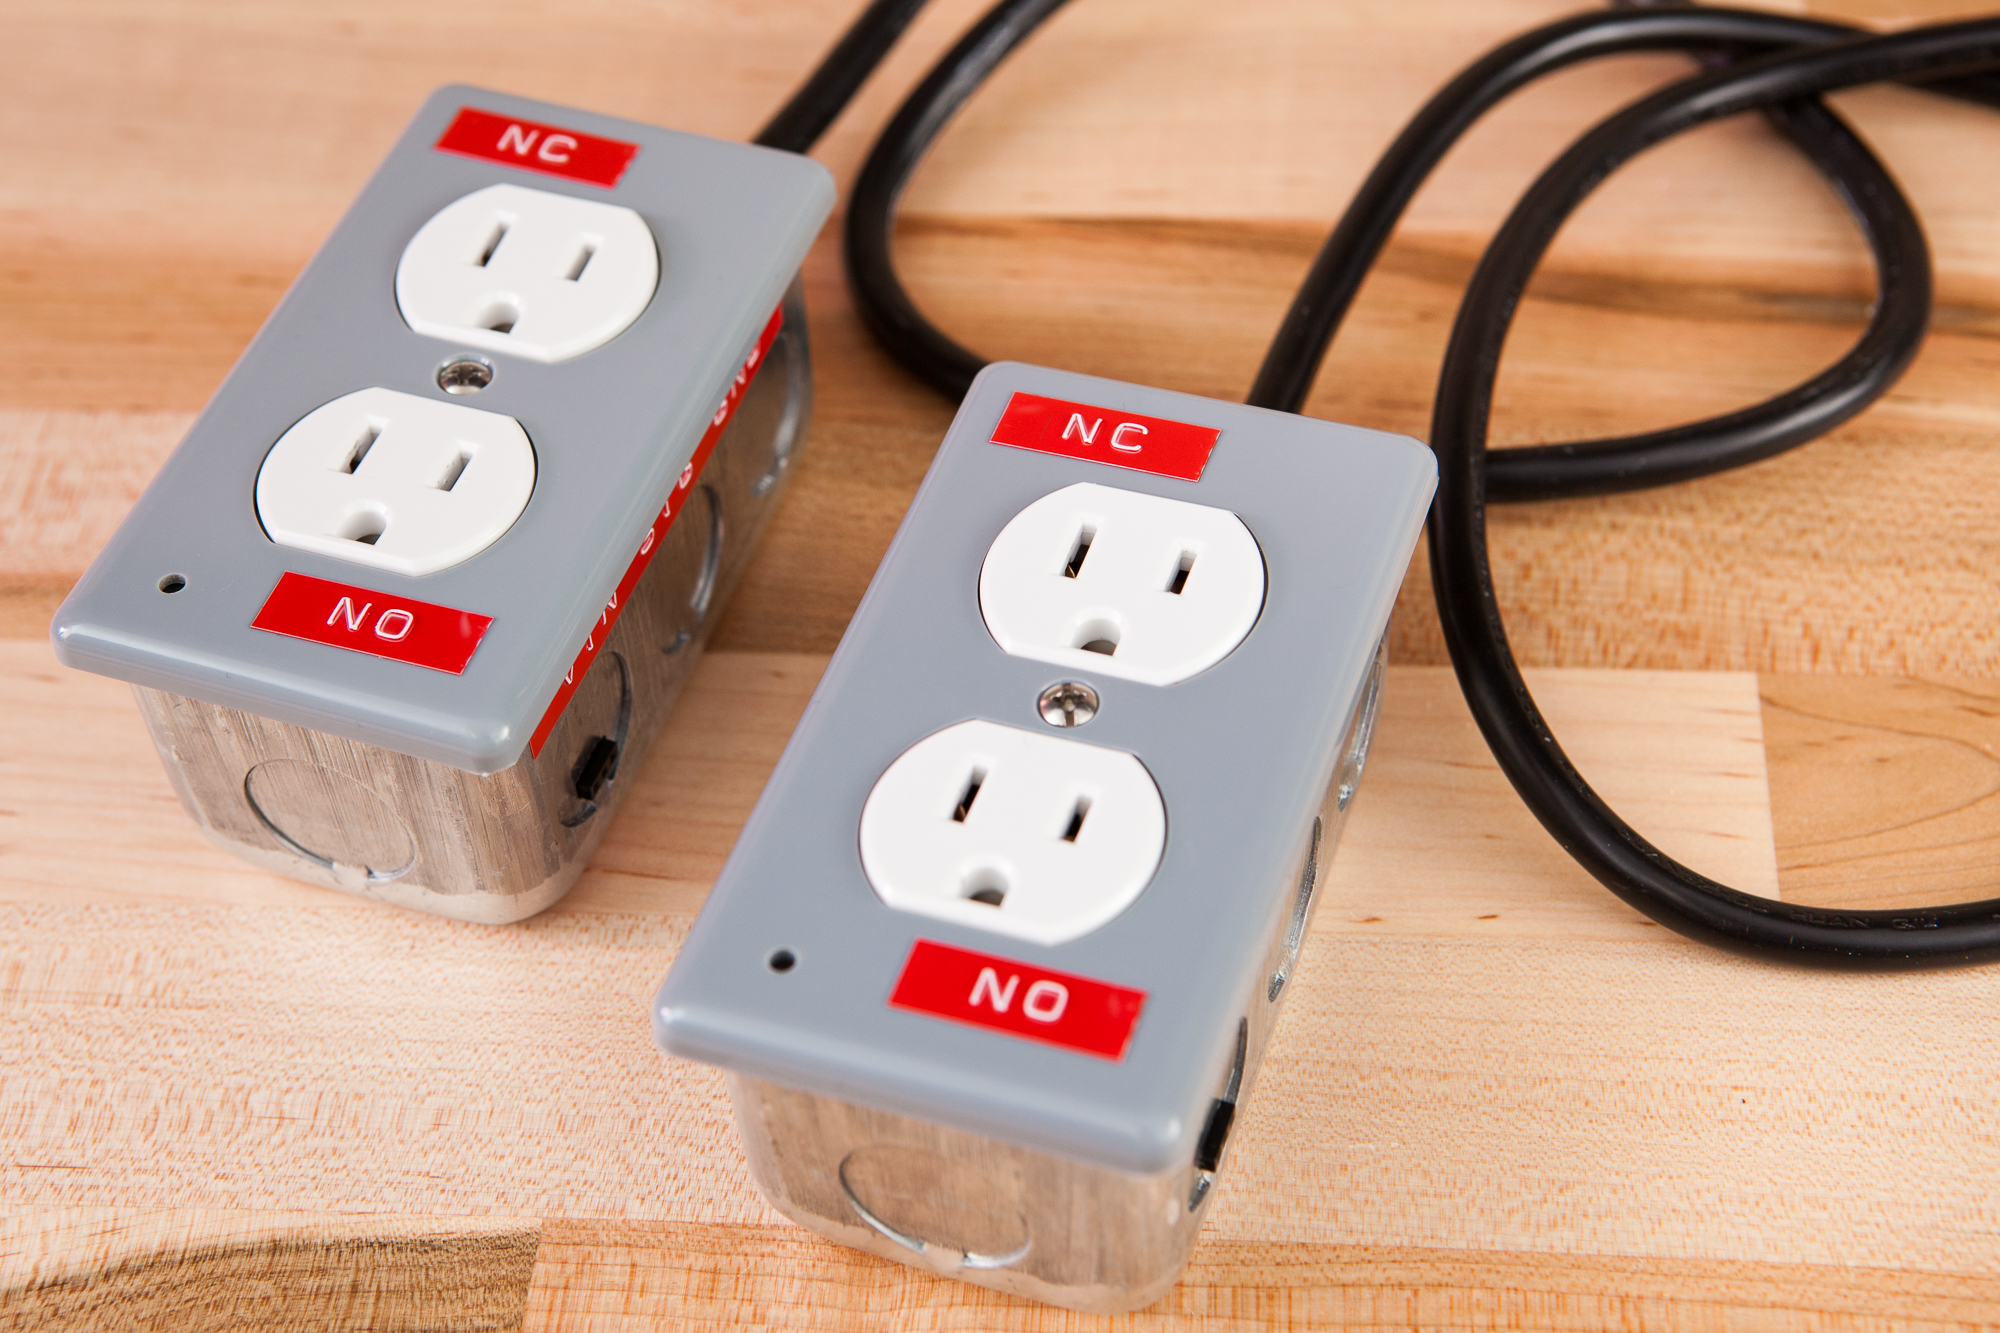
For one of my recent projects, I needed a way to control some lights powered by a 120V household wall socket. Rather than reverse-engineering some commercial “smart outlets” for the task, I decided to try and do this the old-fashioned way by embedding relays in electrical boxes.
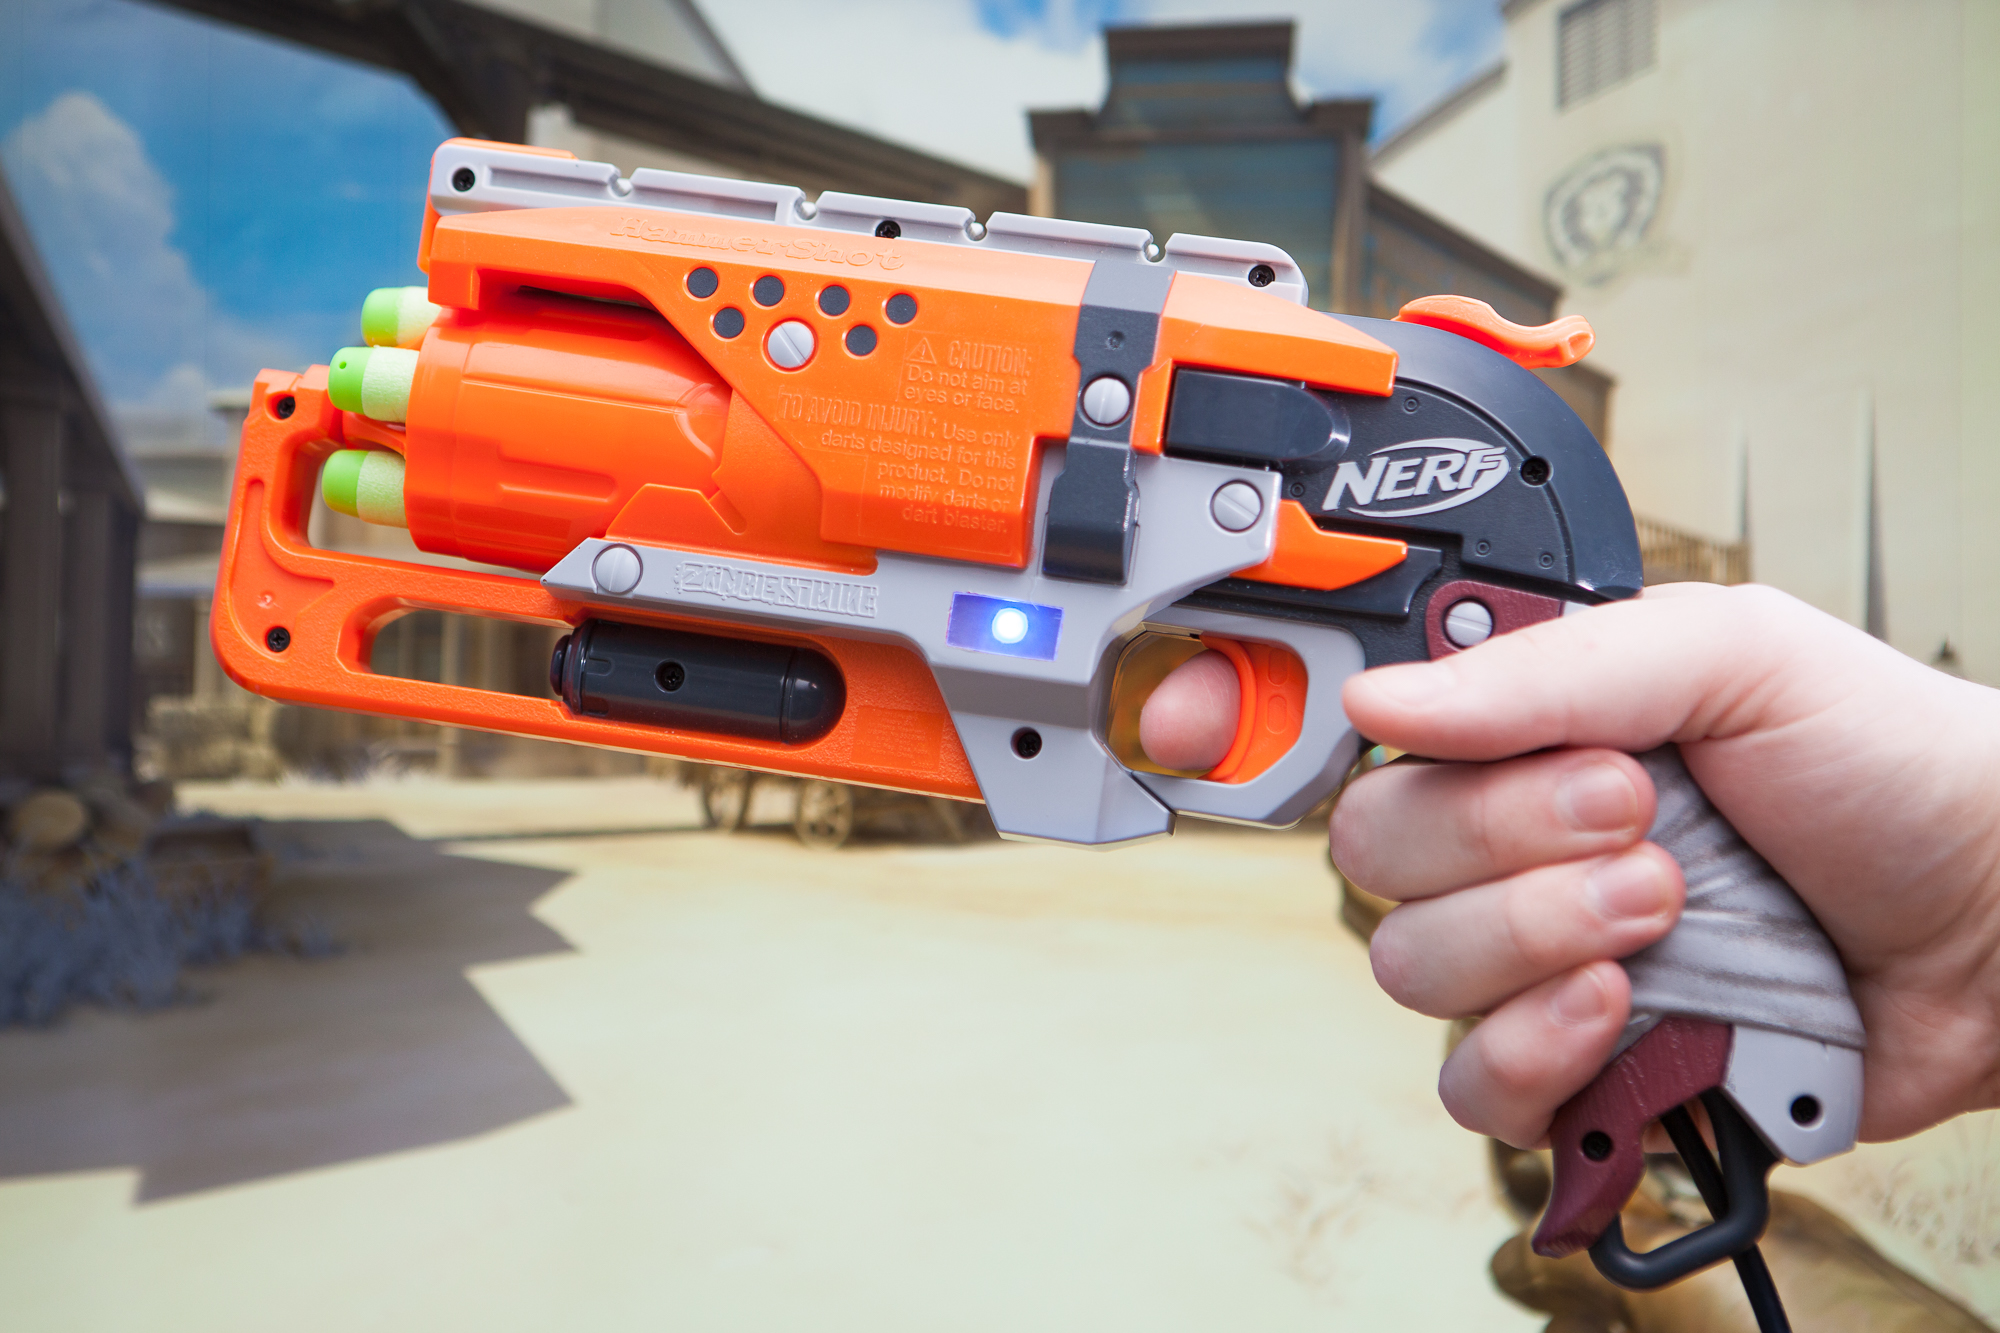
(more…)The McCree controller is done! Now it’s time to take a break and do a little postmortem: what worked well, what didn’t, and what I would do differently next time.
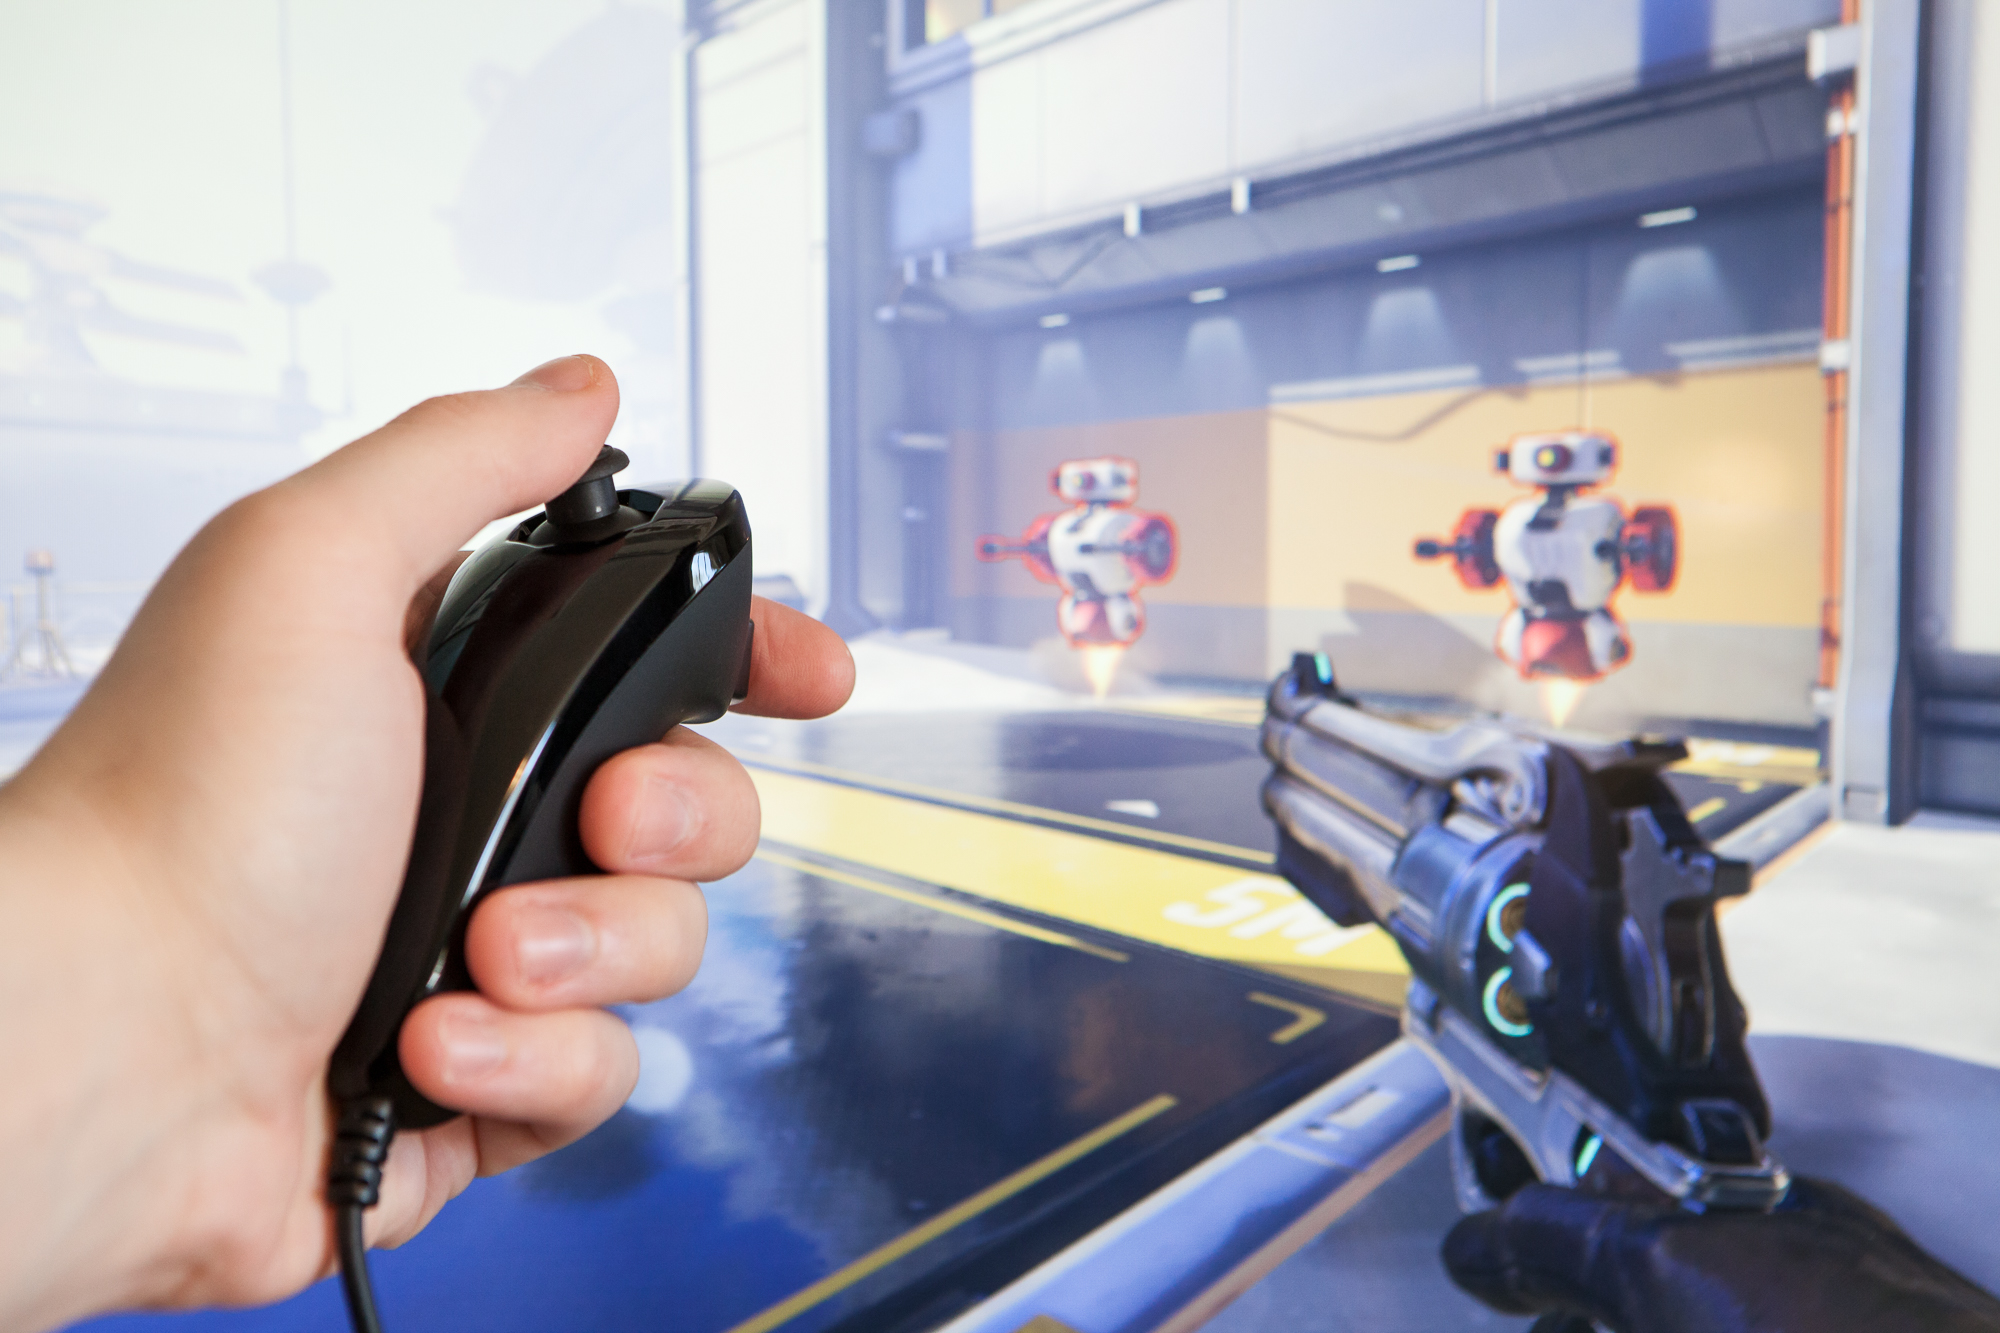
The McCree controller is so close to being done! There’s one last change to make: swapping out the DDR dance pad for a faster controller. That ‘faster controller’ is going to be a Wii Nunchuk, the one-handed extension controller for Nintendo’s 7th generation console.
(more…)When the Nintendo Wii was released in 2006, there was a lot of talk about their new weird control system. In place of a typical control pad, players would use a one-handed “remote” with infrared sensors and accelerometers in place of a joystick. For those games that required additional controls, players would use an accessory controller in their off-hand.
This ‘accessory’ controller is the Nunchuk. A strange, bean-shaped attachment with a joystick, two buttons, and a three-axis accelerometer. Although the Nunchuk had a lukewarm response when it was first released, it’s the perfect controller for makers who want to add some fine control to their projects.
In this tutorial I’m going to show you how to use a Wii Nunchuk with an Arduino: how to wire it, how to talk to it, and how to easily build programs using it and the NintendoExtensionCtrl library. Let’s get started!
(more…)The time is finally here! After a short hiatus to work on the McCree Hammershot project, I’m back to building my time circuits. The display circuit boards have arrived and it’s time to get them assembled and running!