
McCree Hammershot
McCree Hammershot Controller: Programming
The hardware is done and the Nerf gun is assembled, so all that’s left is to write the code to drive the controller!

The hardware is done and the Nerf gun is assembled, so all that’s left is to write the code to drive the controller!
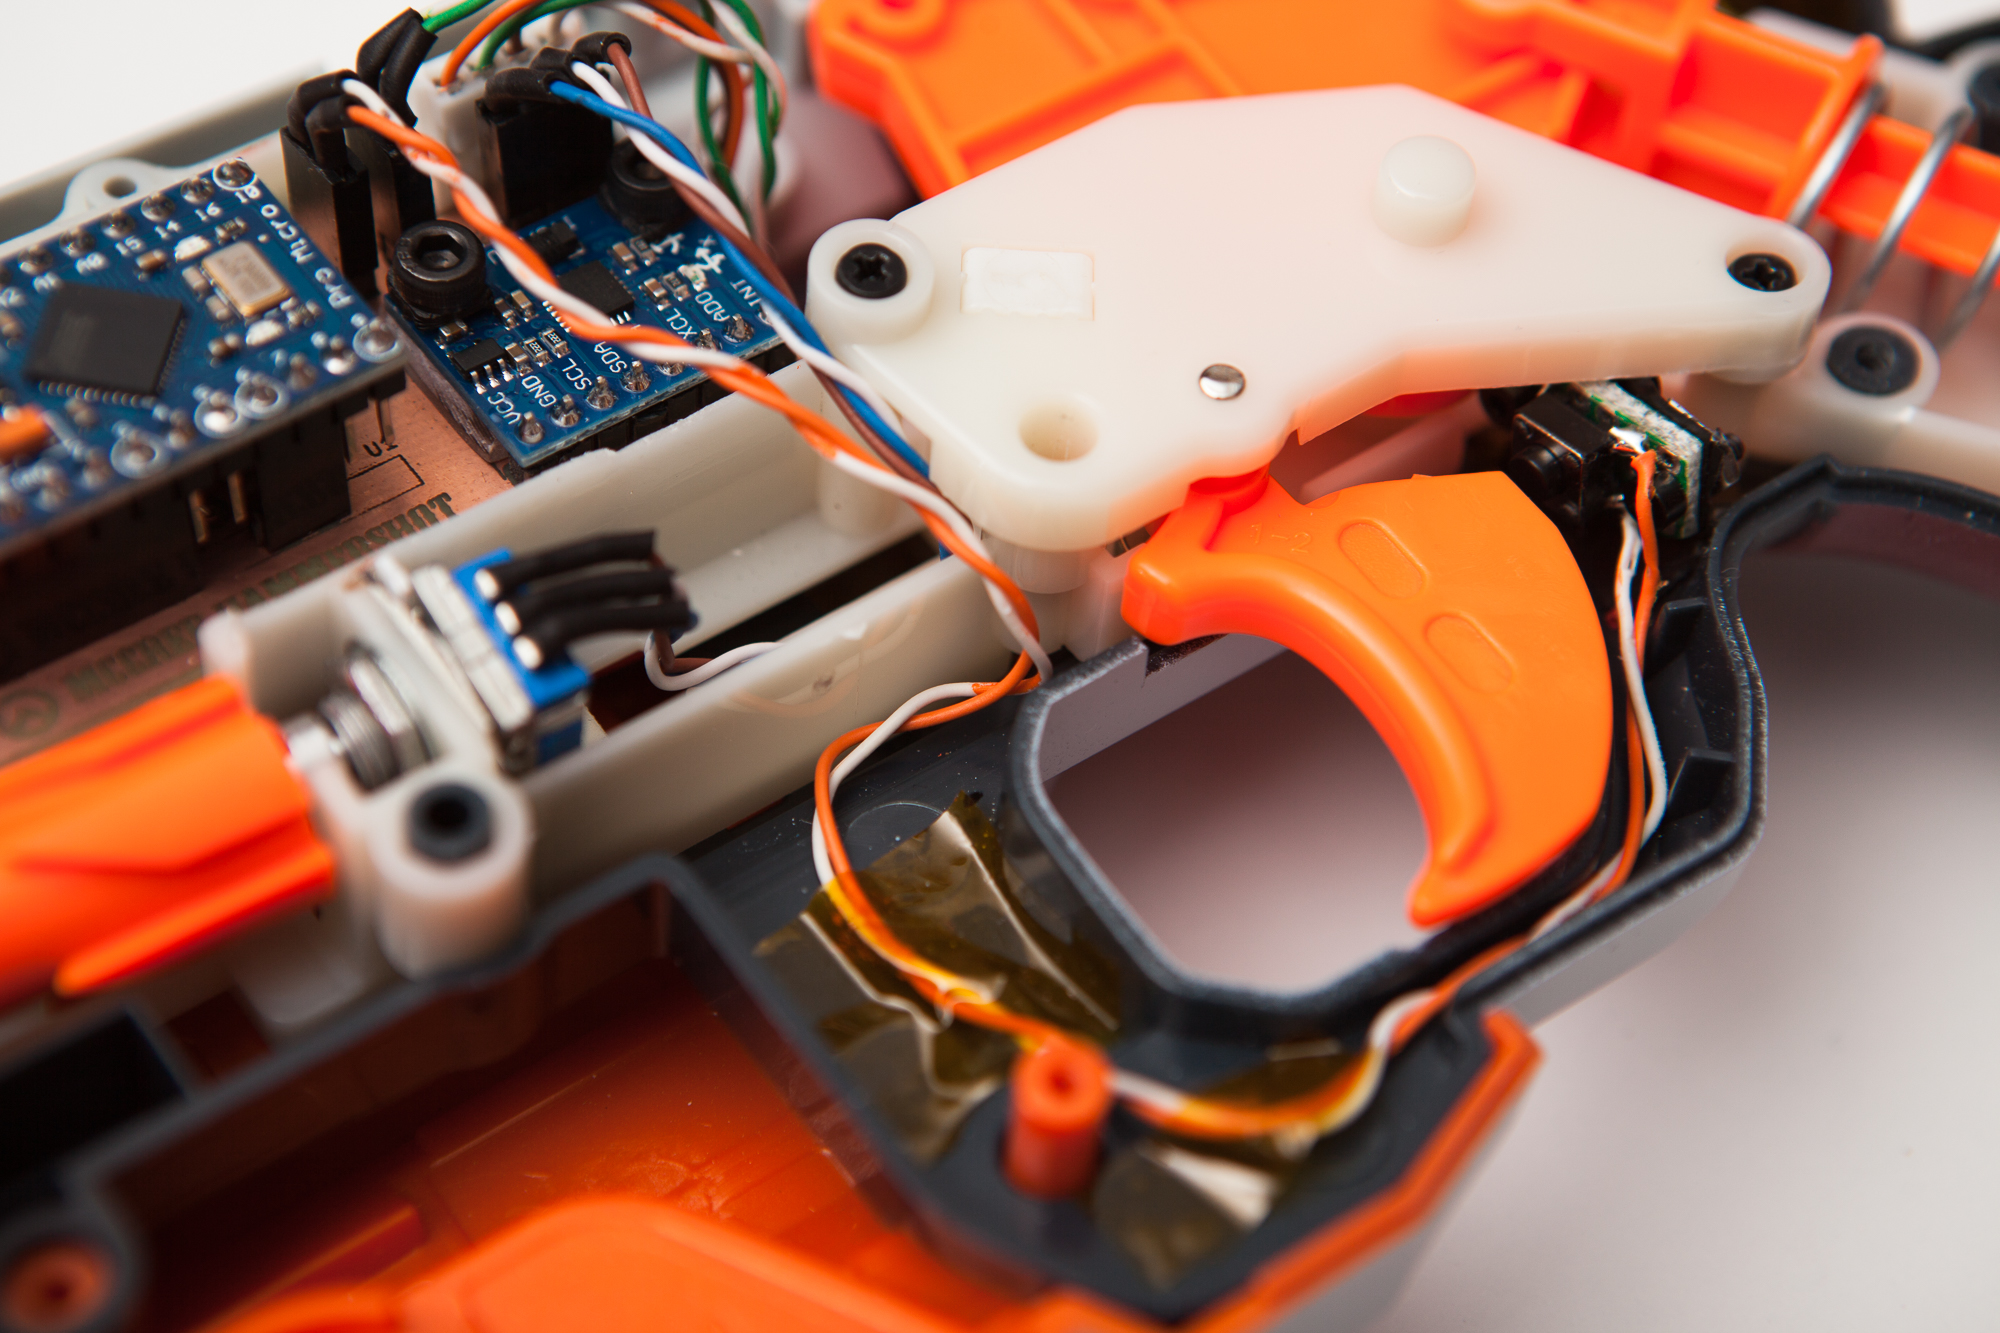
The controller hardware is so close to being done! The last step is to wire everything to the completed circuit board and then re-assemble the controller shell.
Most of this wiring I did as I went along, but since the same process was used throughout I thought it would be better to discuss everything at the same time.
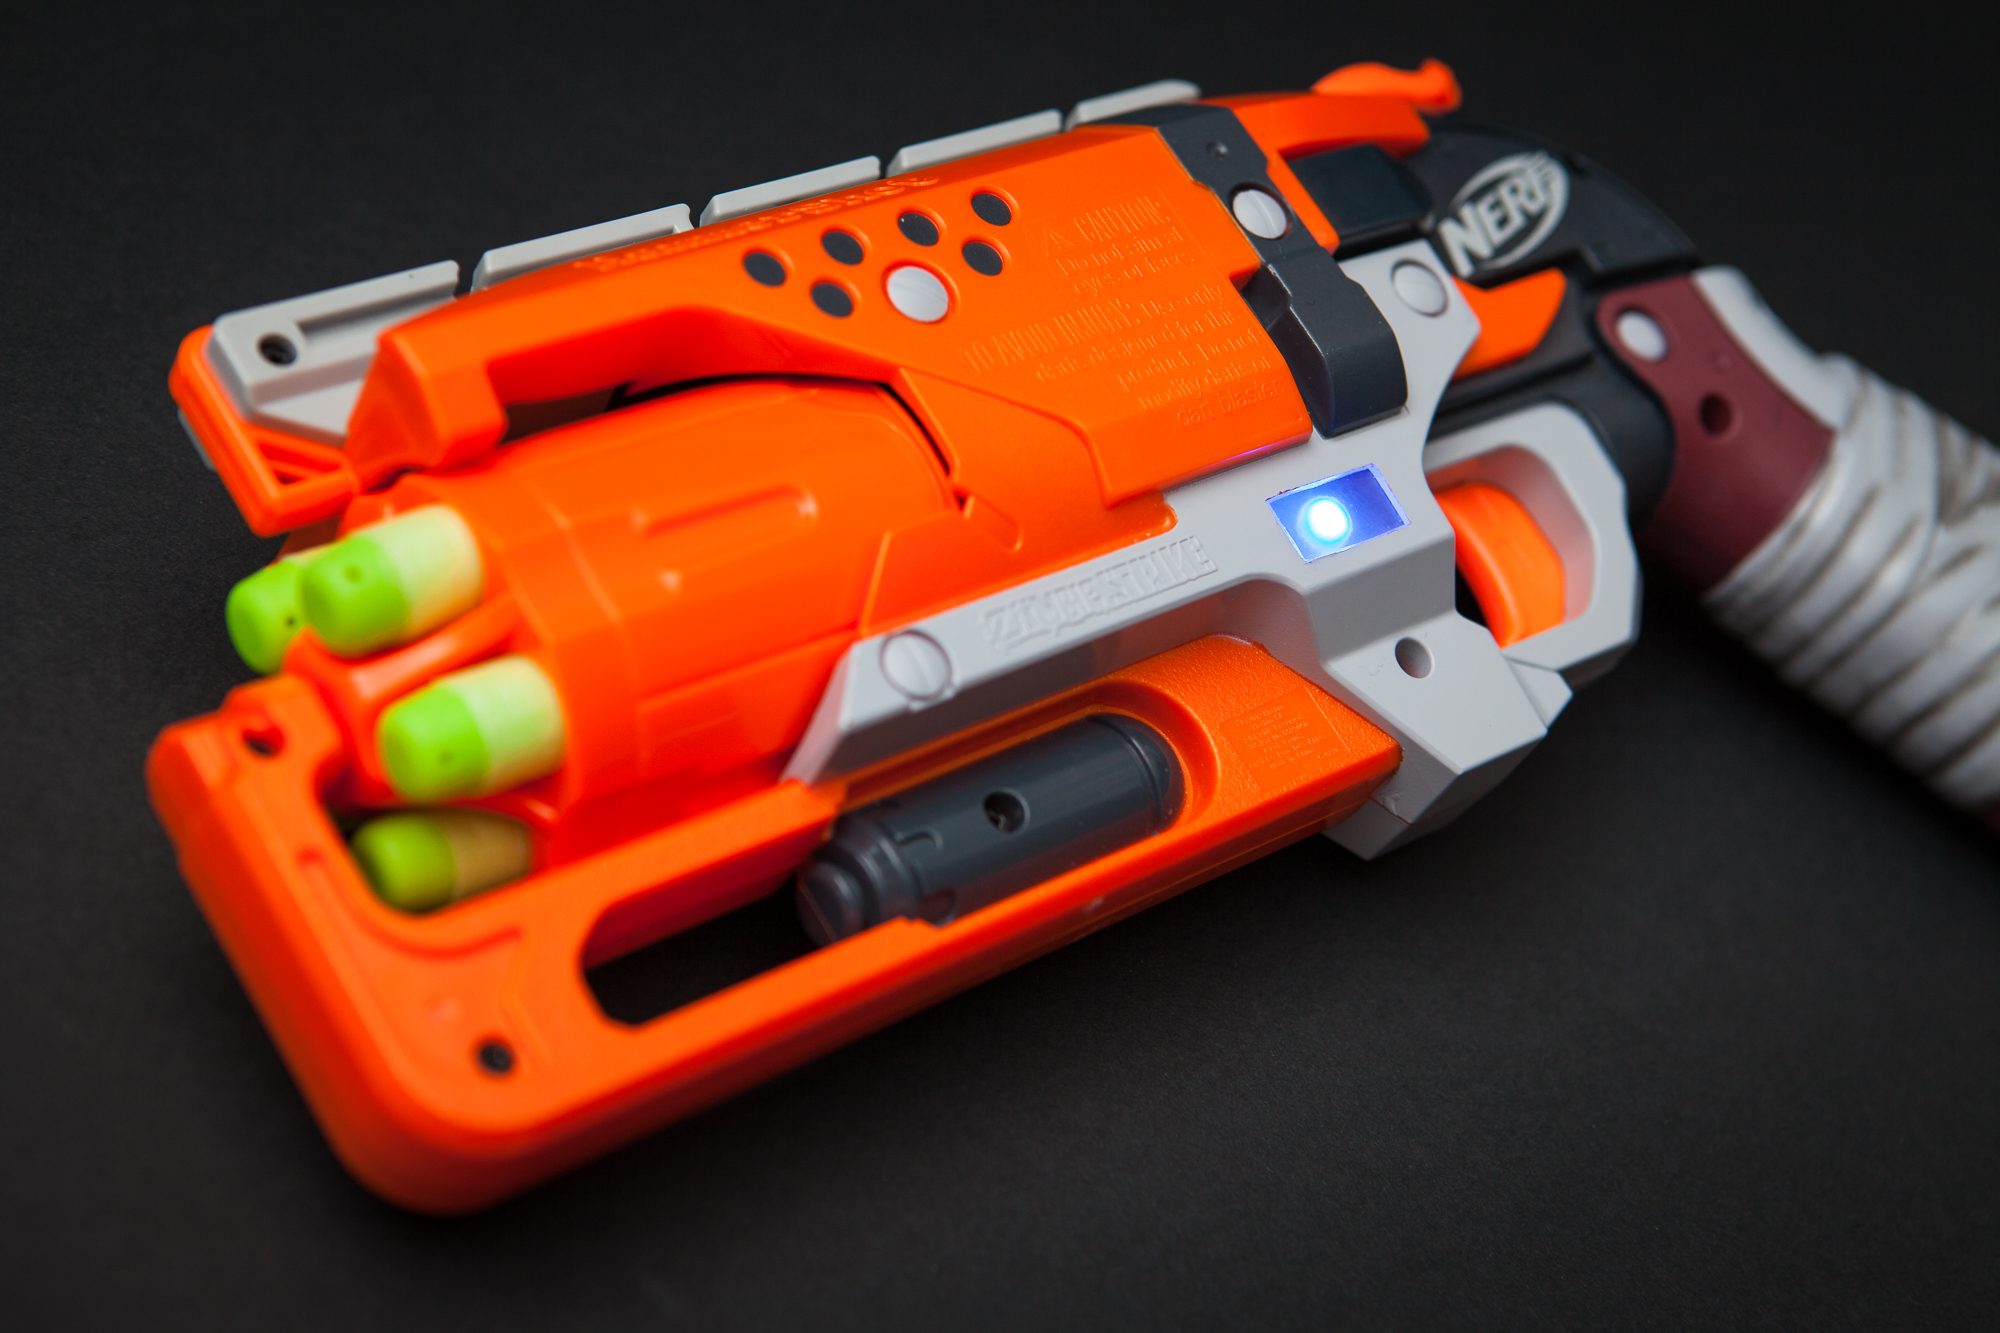
The basic button controls have been added to my Nerf controller, so now it’s time to add a bit of flash: an RGB indicator light and a hidden touch-sensitive button.
Using a Nerf Hammershot and an Arduino, I built my own custom video game controller for the character of McCree in Overwatch. Overview The Arduino inside of the Nerf gun acts as a mouse and keyboard, sending HID commands over USB to the computer. The trigger and hammer are wired to Read more…
With the LED characters in-hand, the next step is to write an embedded program to display integers and strings on the time circuit displays. The goal is to be able to set the characters for each display group based on simple variables, so doing something like displaying the time returned from a real-time clock (RTC) becomes trivial.
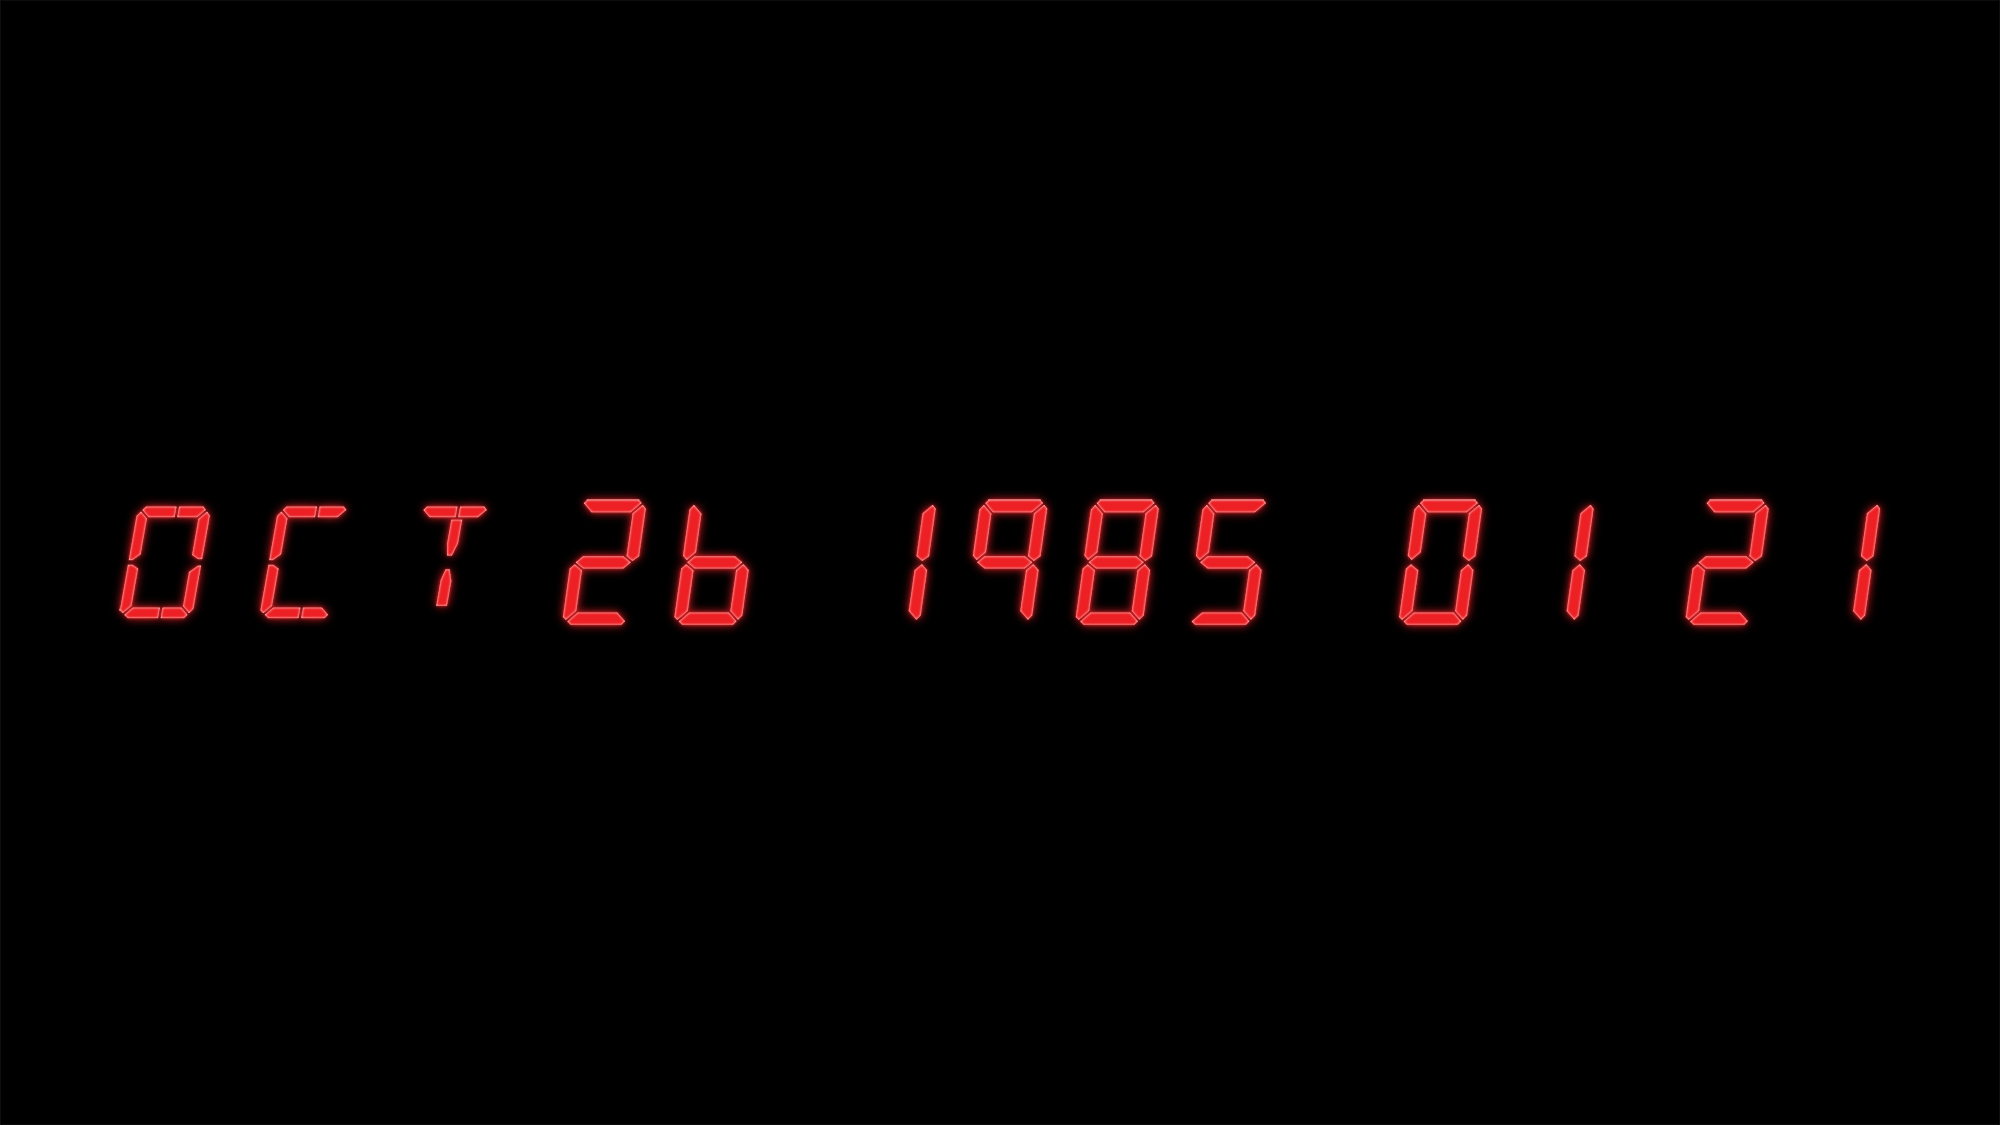
Before the time circuits can display the time, step one is figuring out what the “proper” LED characters actually are. There is in fact no standard set of characters for segmented LEDs, and the Back to the Future series takes some liberties with the alphanumeric segments. Still, I can do my best to reproduce them as faithfully as I can.
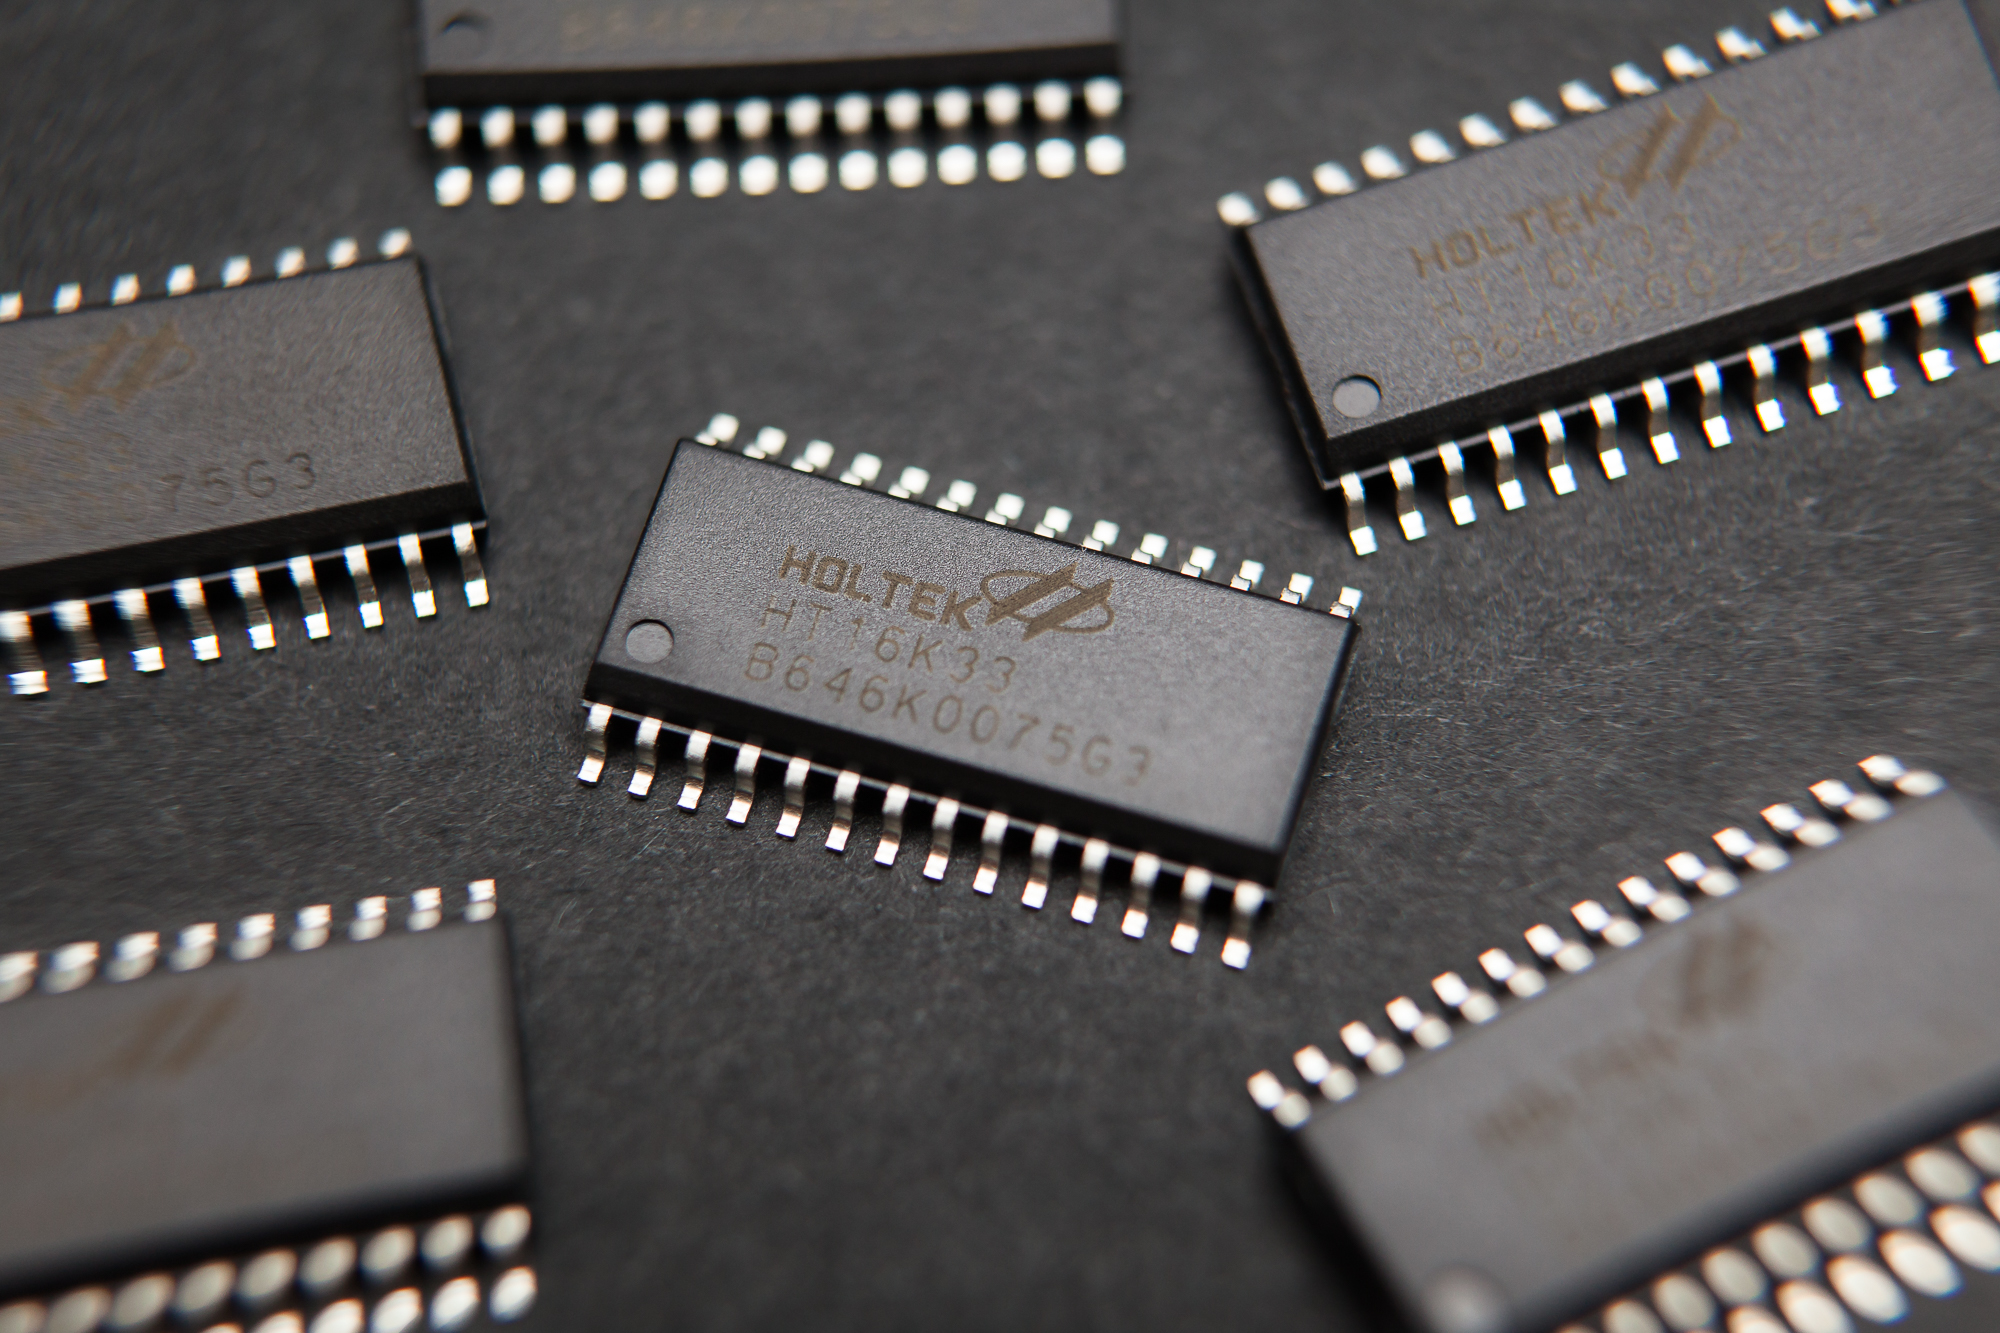
Now that all of the time circuit display electronics are in the mail it’s time to talk about programming the display. This starts with learning how to control LEDs with the Holtek HT16K33 integrated circuit (IC), which I’m using as the display’s matrix driver.
(more…)
The time circuit display is a mix of three LED types: alphanumeric displays, seven-segment displays, and standalone 3 mm LEDs. Each one has a different height off of the circuit board and a different distance to the faceplate. I need to offset the components so all of the parts mate with the faceplate correctly, which requires sourcing LED standoffs and designing my own custom ones.