The time is finally here! After a short hiatus to work on the McCree Hammershot project, I’m back to building my time circuits. The display circuit boards have arrived and it’s time to get them assembled and running!
The PCBs
I ordered the display circuit boards on August 6th and it took exactly a month for them to arrive from China. Next time I think I’ll end up spending the extra cash for expedited shipping; “anywhere between 1-8 weeks” is a huge time frame, and for a solid two weeks the package was marked as “shipped” without any tracking information. But thankfully it arrived safe and sound and the PCBs look beautiful!
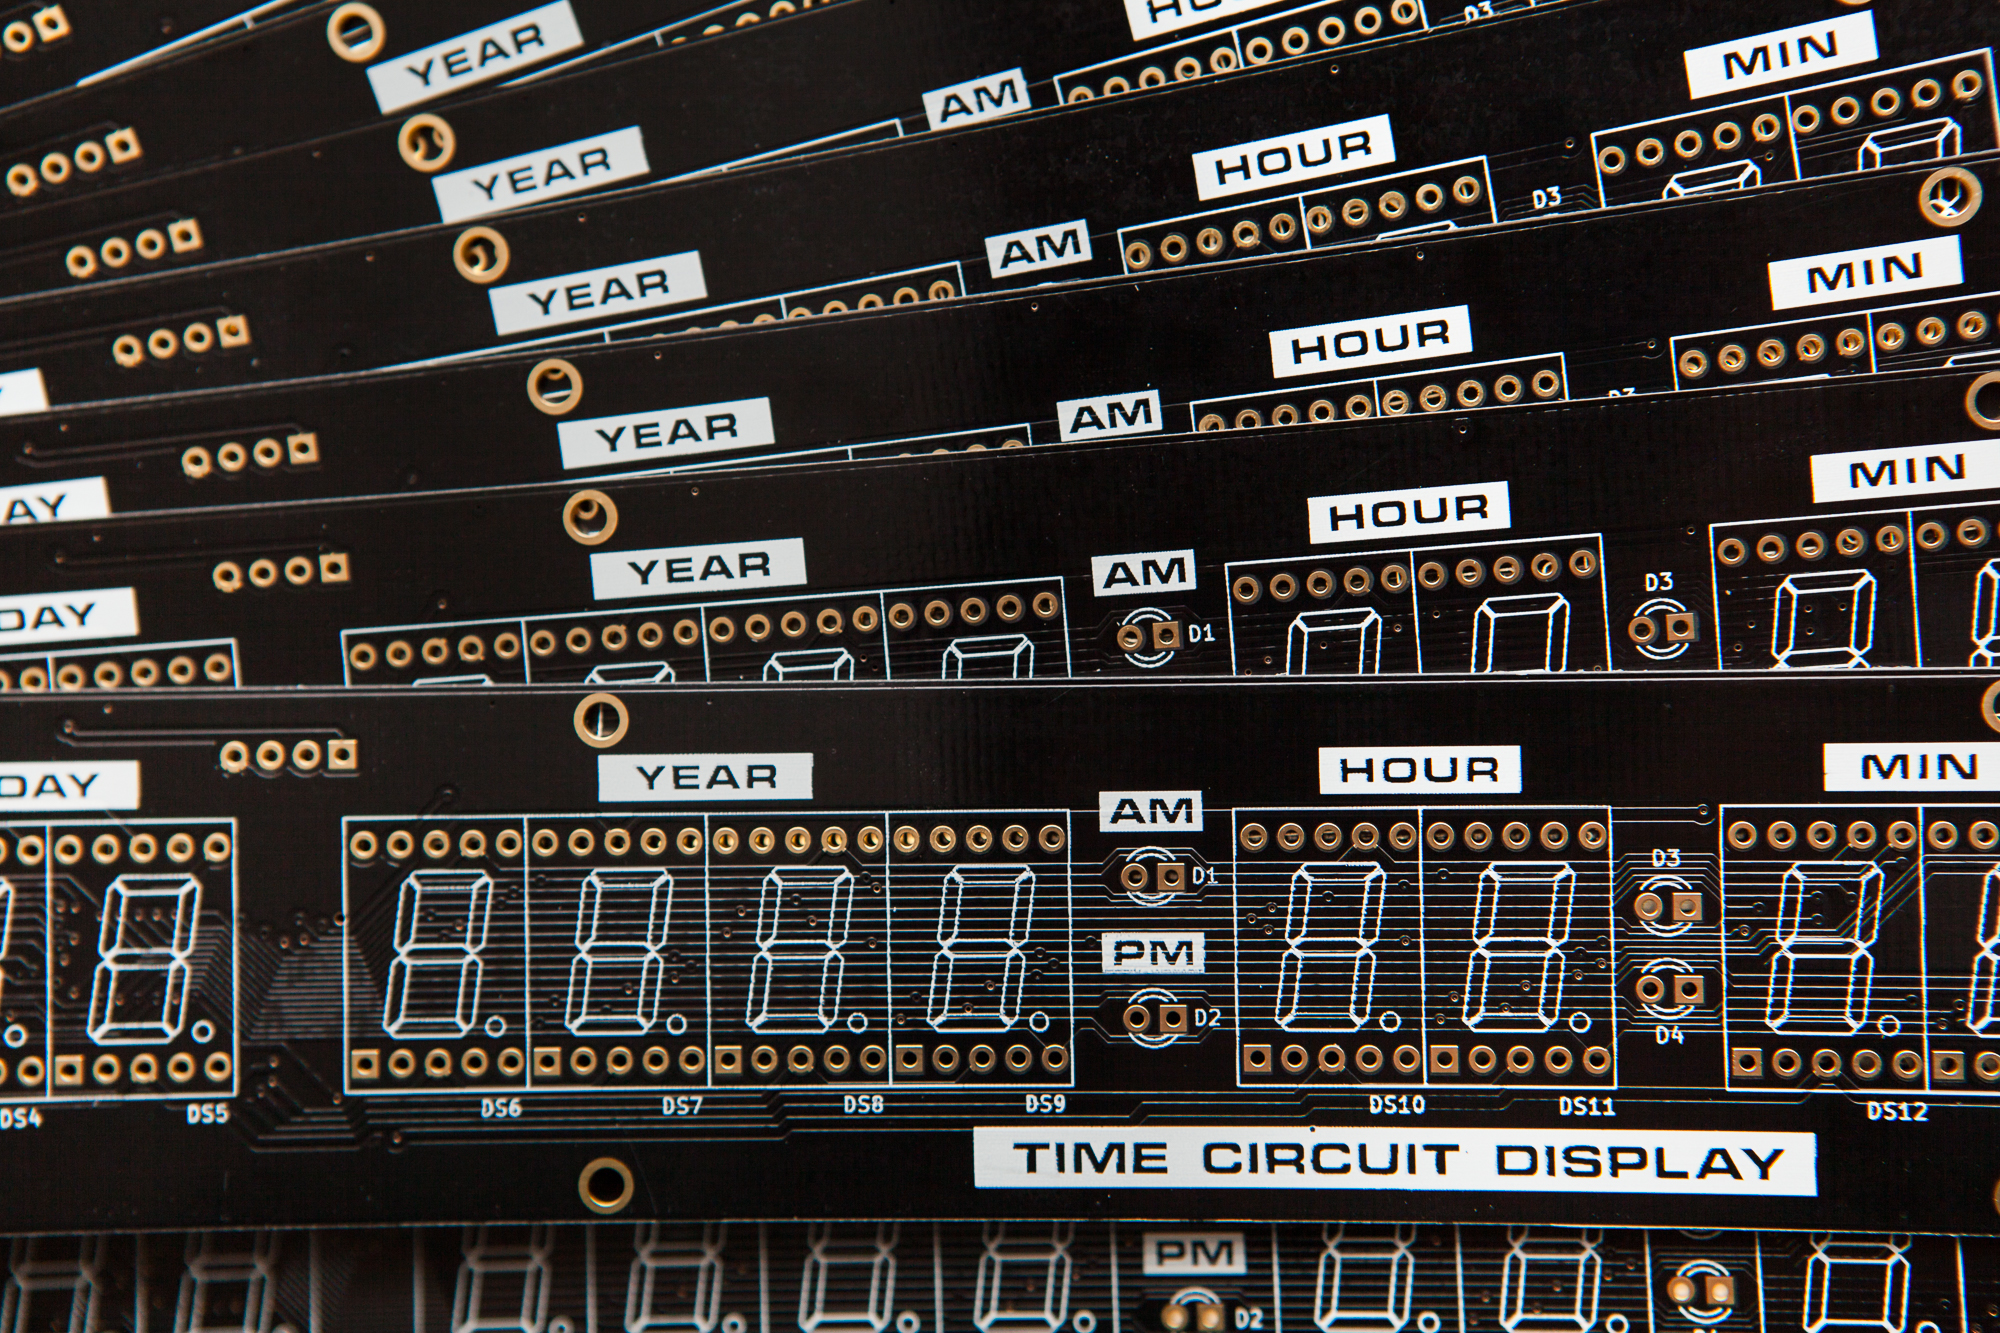
The black solder mask with ENIG coating looks great, and the silkscreen is nice and clean. A cursory test shows that all of the LED displays fit with plenty of clearance in the holes and butt up snugly next to each-other.
I’m really eager to start soldering, but there’s one thing to take care of first.
Finding the Other Components
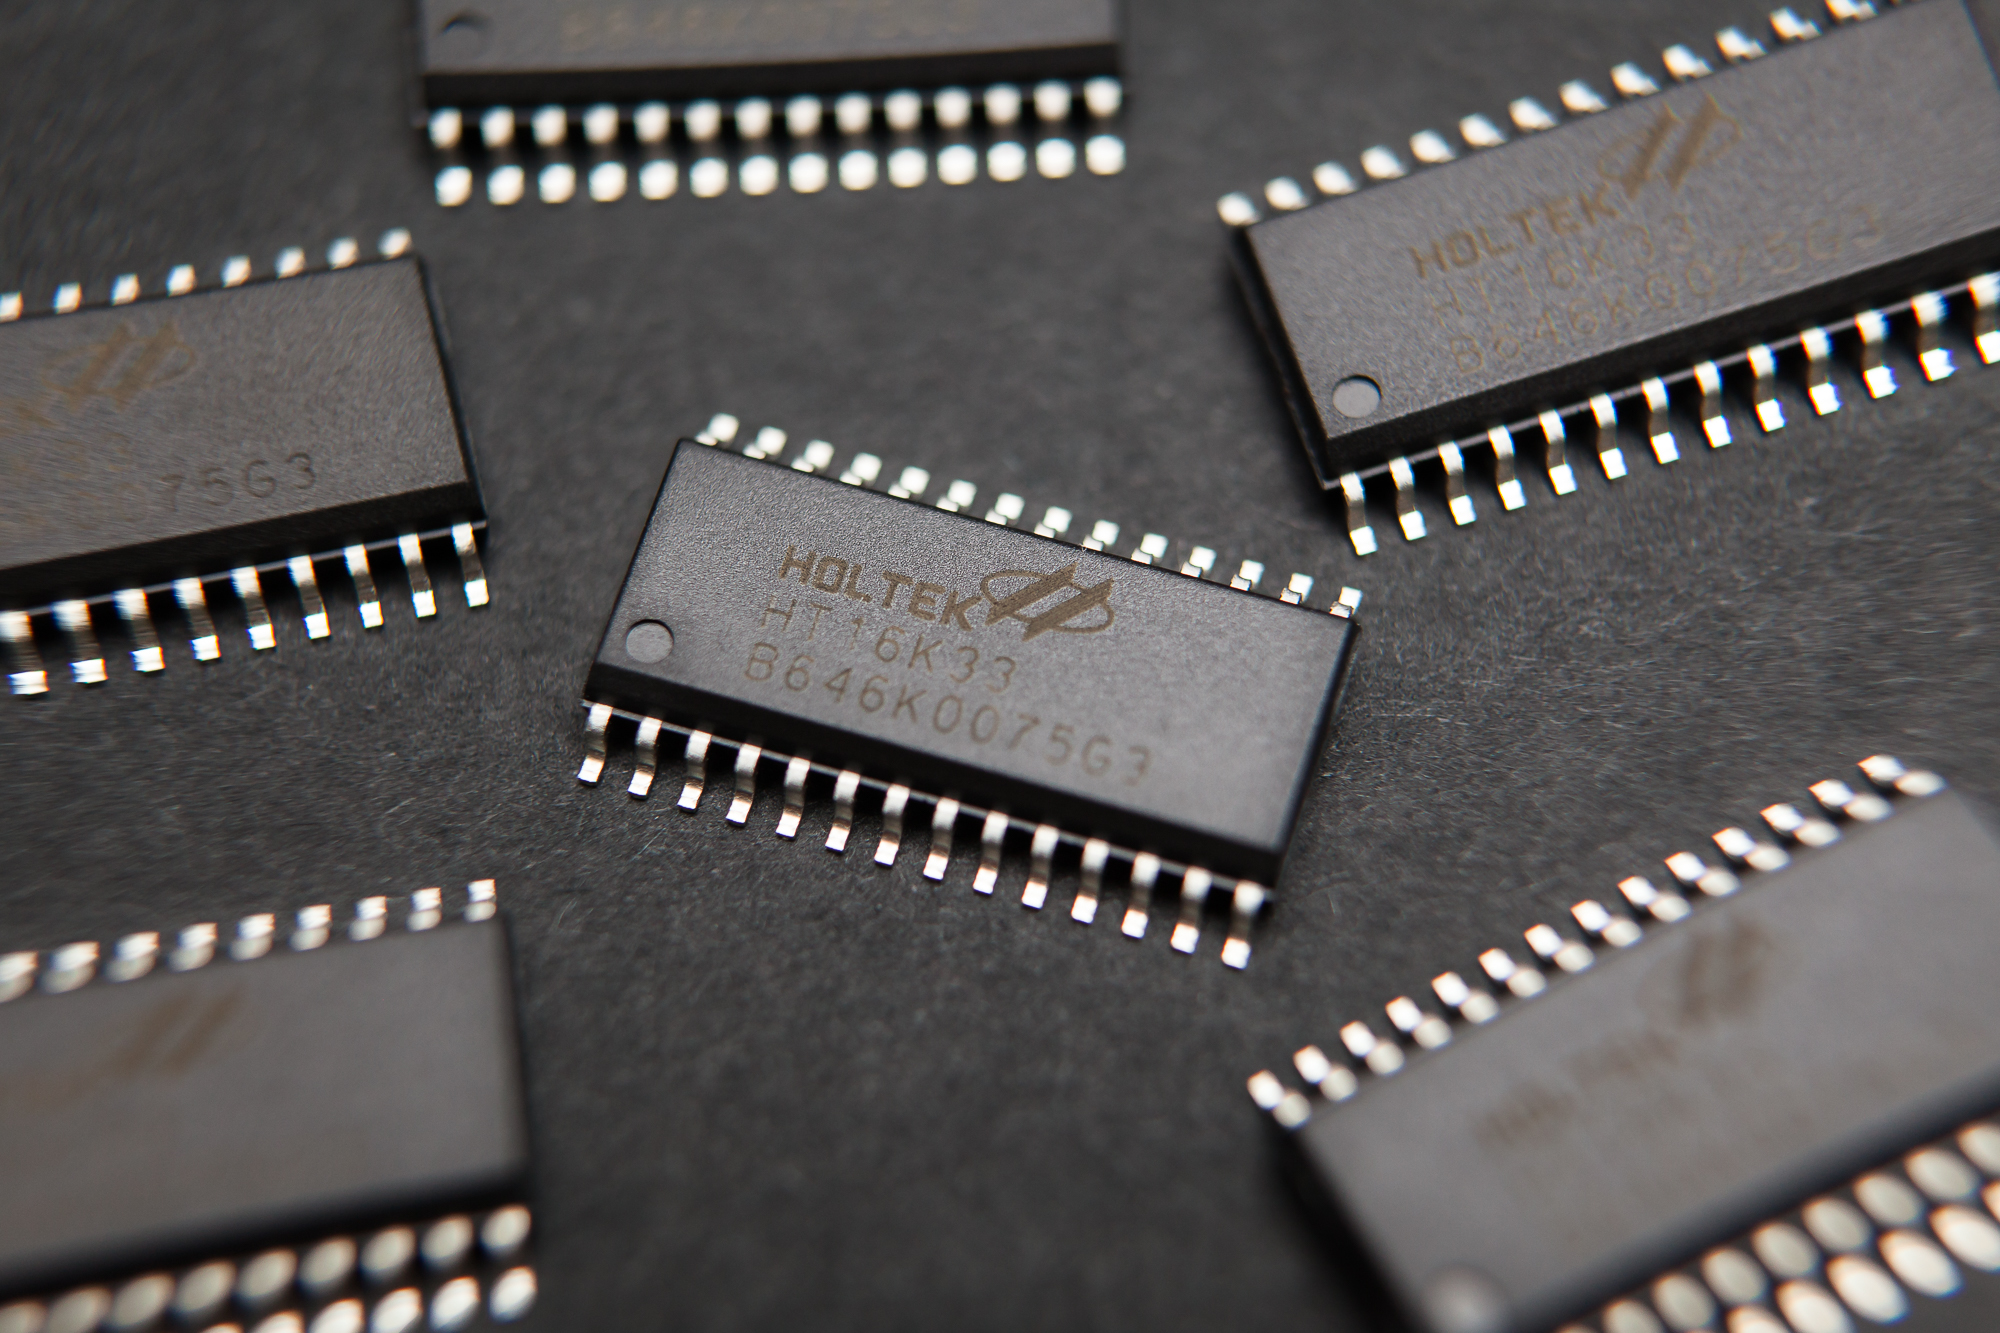
Before I can solder everything together I need to find and purchase the rest of the electrical components. I have the LED matrix driver (HT16K33) and the LED displays, but I still need the resistors, capacitors, and other electrical parts. From the schematic, here are the parts I still need to source:
- Standalone LEDs
- Resistors (4)
- Capacitors (2)
- Diode
- Board Connector
I did my due diligence to complete all of this research before I ordered the circuit boards, but as this post is otherwise going to be rather short it seemed like a fine place to list them out.
As I mentioned in the post on designing the circuit board, I’m going to be using SMD parts where I can to cut down on space and cost.
Standalone LEDs
In case you missed it, I already figured-out which LED displays I’m going to use, along with the matrix driver integrated circuit. See those posts for more information.
I still needed to decide on which standalone LEDs to use, however. I need four LEDs per display. The ‘red’ and ‘yellow’ displays use yellow LEDs, while the ‘green’ display uses green LEDs.
As 3 mm diameter LEDs (T1) are all basically the same size, there are three other factors to consider: wavelength, viewing angle, and brightness. For all three, I’m concerned more about the ‘art’ side of things and how everything looks together rather than matching the specifications perfectly. Here’s what I picked:
| Manufacturer | Part # | Wavelength (nm) | Viewing Angle | Typ. Intensity (ucd) | Quantity (total) |
|---|---|---|---|---|---|
| Kingbright | WP132XYD | 588 / Yellow | 60° | 15,000 | 8 |
| Kingbright | WP132XGD | 568 / Green | 60° | 25,000 | 4 |
I’m sticking with the Kingbright lineup because they are inexpensive, well documented, and should be consistent with the displays colors (for what it’s worth). Both LEDs have wide viewing angles and the same wavelengths as their display counterparts.
Unfortunately I couldn’t find standalone LEDs that match their rated brightness to the LED displays. It seems that standalone LEDs come in two varieties: bright and low current. There is no “medium brightness” variety, because you would typically use a resistor to lower the intensity of the light.
This isn’t a big issue, because I can do just that and use resistors to dim the LEDs as needed to match them to the displays. The resistor values are a shot in the dark at the moment because I haven’t decided what gels I’m going to use on top of the displays. From some testing with the gels I have on hand, I’ve decided to use 220 Ohm resistors for the yellow LEDs (both displays) and 470 Ohm resistors for the green LEDs. If I eventually decide the LEDs are too bright or too dim I can always do more tests and swap out the resistors. Speaking of…
Resistors
The resistors should be easy. In addition to the LED resistors mentioned above, I need three 39K Ω resistors for the address selection on the HT16K33 chip, and I also want to add two 4.7K Ω resistors for the optional I2C pullups.
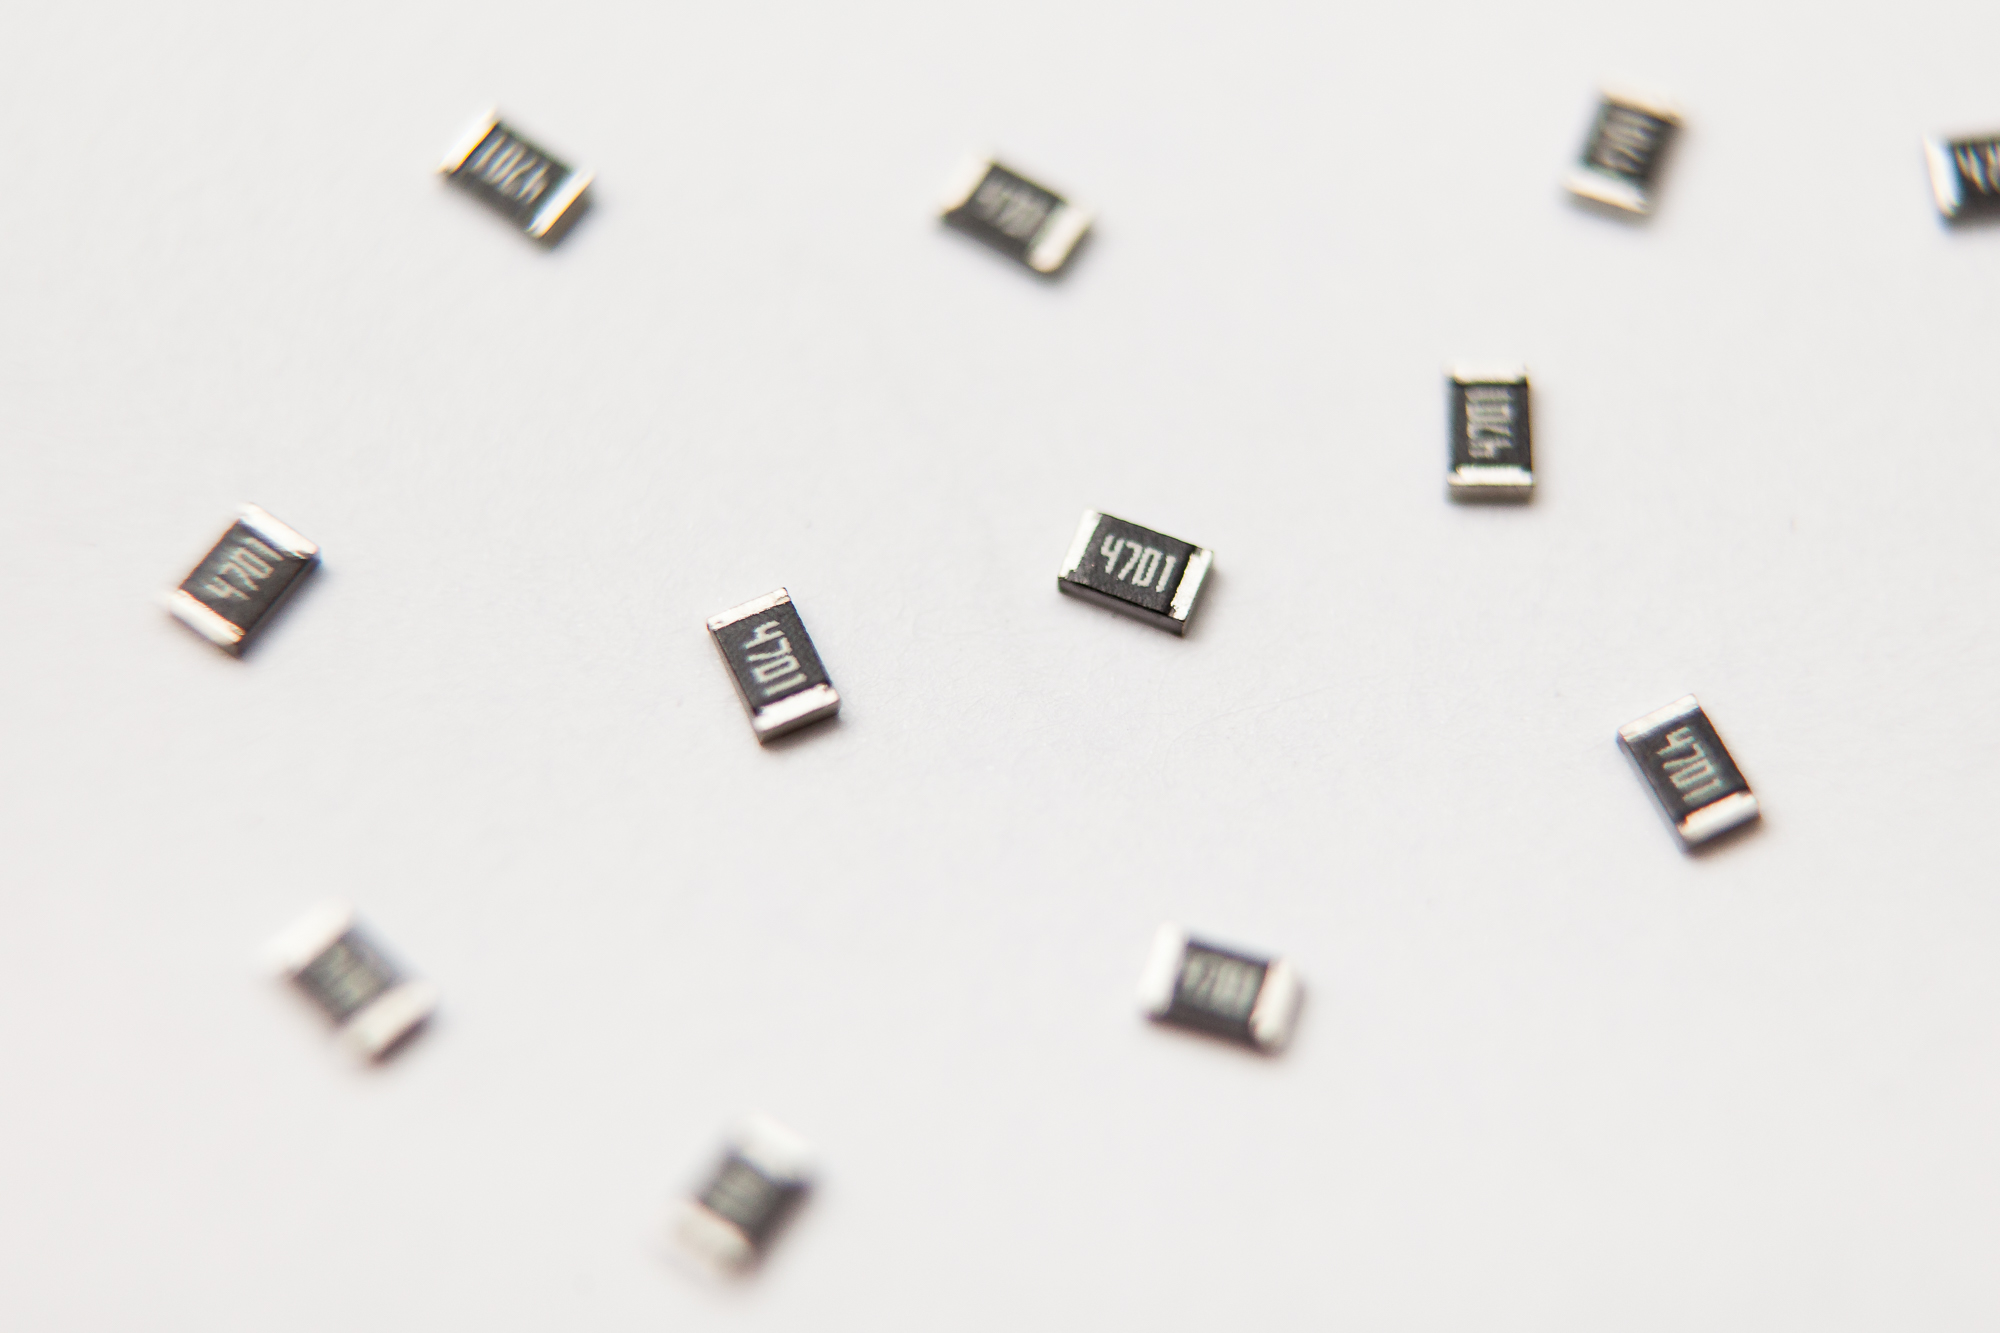
After some research, I’ve decided on the 0805 package as a good balance between size and my ability to hand solder. The resistors I chose have +/- 1% variation and a temperature range that should be far more than enough for this project. They can handle 1/8th of a Watt each, which should be plenty for their job. (This works for the LED resistors too, which see less than 1/8 W due to the duty cycle).
| Description | Mfr. | Part # | Resistance (Ohms) | Tolerance | Power (Watts) | Quantity (per display) |
|---|---|---|---|---|---|---|
| Yellow LED Resistor | Yageo | RC0805FR-07220RL | 220 | ±1% | 1/8 | 4 (2 dsp.) |
| Green LED Resistor | Yageo | RC0805FR-07470RL | 470 | ±1% | 1/8 | 4 (1 dsp.) |
| Address Resistor | Yageo | RC0805FR-0739KL | 39K | ±1% | 1/8 | 3 |
| I2C Pull-Up Resistor | Yageo | RC0805FR-074K7L | 4.7K | ±1% | 1/8 | 2 |
Capacitors
The PCB will have two capacitors for the Ht16K33: a 0.1 µF bypass capacitor for passing high frequency noise to ground and a 10 µF capacitor for helping with transient current spikes. I’m not an electrical engineer, so the second capacitor is a precaution more than anything else.
I’m using class 2 ceramic capacitors for both of these because of their frequency response, although they’re also more rugged and have longer lifespans than electrolytic or tantalum capacitors.
Once again, I found both capacitors in an 0805 SMD package at DigiKey for less than $0.15 each. The small cap is X7R (-55 / 125°C) while the large cap is X5R (-55 / 85°C). Each has a +/- 10% rating tolerance and a +/- 15% rating change over the temperature range.
| Manufacturer | Part # | Capacitance (Farads) | Tolerance | Voltage Rating | Quantity (per display) |
|---|---|---|---|---|---|
| AVX Corp. | 08053C104KAT2A | 0.1 µF | ±10% | 25 V | 1 |
| AVX Corp. | 0805ZD106KAT2A | 10 µF | ±10% | 10 V | 1 |
Address Diode
The address-setting jumpers require a diode to connect to the ‘COM’ pin on the HT16K33. The datasheet does not elaborate on what type of diode is needed, so I’m going to follow Adafruit’s lead and use a 1N4148 diode.
According to Wikipedia, the 1N4148 diode is “the most common mass-produced switching diode”. The article says it is so popular and long-lived “because of its dependable specifications and low cost”. Sounds good to me.
I’m not well versed on diode specifications, but the address setting function for the HT16K33 should be nowhere near the diode’s limits. I decided on a SOD-323 package, which is compact but should be large enough to solder by hand.
| Manufacturer | Part # | Reverse Voltage Limit | Forward Voltage | Reverse Recovery Time | Quantity (per display) |
|---|---|---|---|---|---|
| SMC Diode Solutions | 1N4148WSTR | 75 V | 1 V @ 10 mA | 4 ns | 1 |
Board Connector
This was the trickiest part to find because it’s so open-ended. The other components are rather narrowly defined by the electrical design, but any connector will work so long as it makes a solid connection with four pins.
To narrow things down, I decided to aim for a connector with a common pitch (0.1″ or 2.5/2.54 mm) and a positive locking feature, as I won’t be able to access the circuit board once the faceplate is on. A rectangular connector made the most sense given the form factor of the PCB, and it should come straight out from the board because of the direction of the cabling. The connector should have cable and board connections and not require a specialized crimping tool. A single row with four pins would make the most sense for the board spacing. The connector only needs to carry ~250 mA of power plus the I2C lines, and isn’t going to see extreme environmental wear or frequent plugging/unplugging.
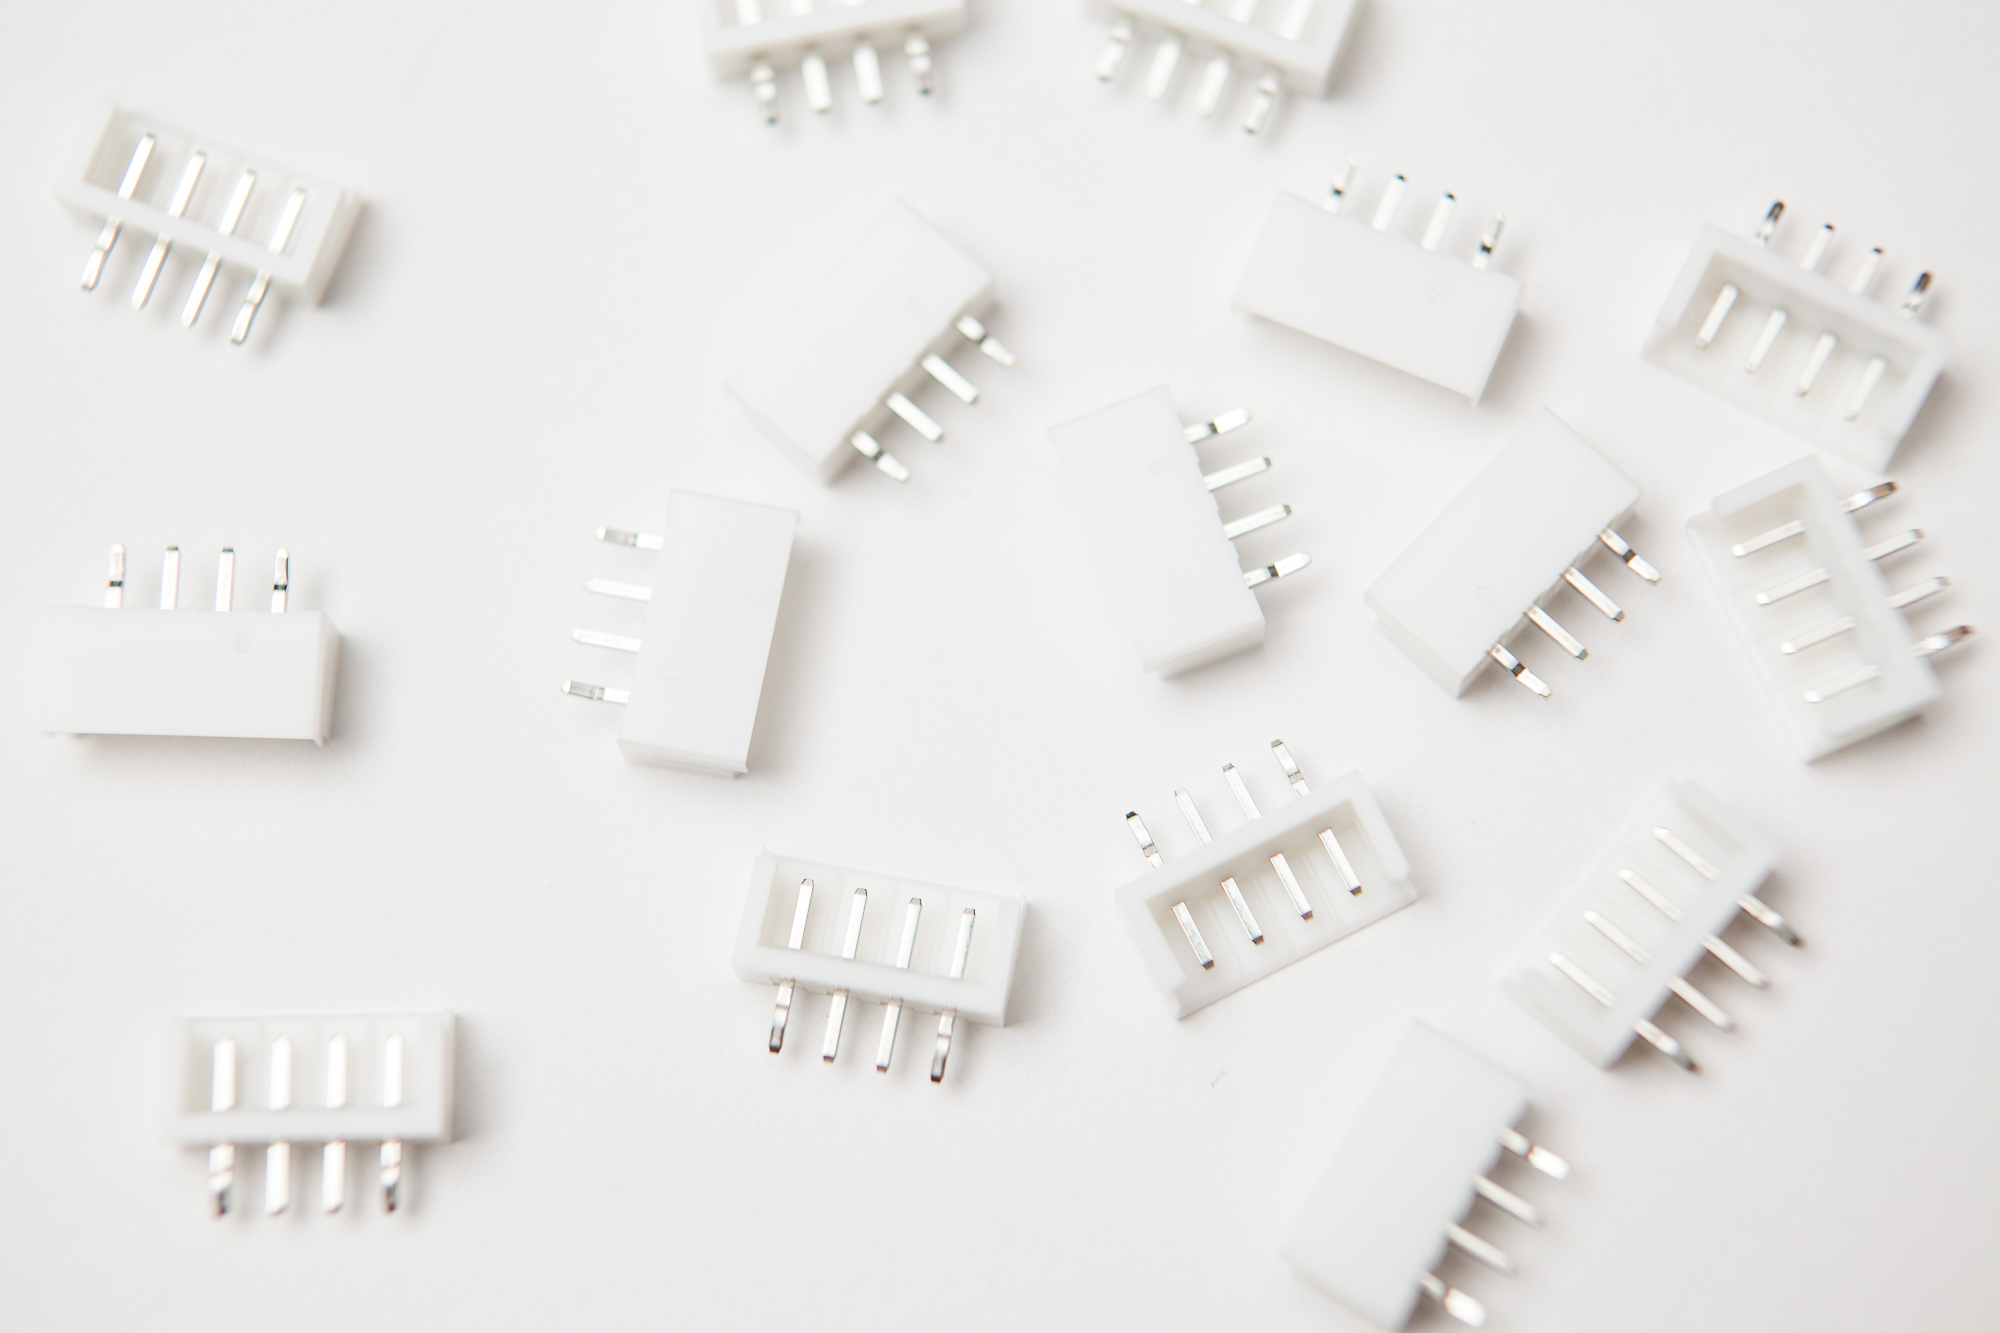
I decided to go with a connector from JST’s EH series. It has a 2.5 mm pitch, supports up to 3 amps, and is small enough to fit easily in the enclosure and not look horribly out of proportion.
| Mfr. | Part # | Connector Series | Positions | Pitch | Current Rating | Quantity (per display) |
|---|---|---|---|---|---|---|
| JST | B4B-EH-A(LF)(SN) | EH | 4 | 0.098" (2.50mm) | 3 A | 1 |
In the unlikely case that these connectors end up not working out, the 2.5 mm pitch footprint on the circuit board is common and will still be good for dozens of other connector types. It’s also close enough to 0.1″ that most 0.1″ pitch 4-pin connectors should fit in the PCB’s footprint without bending their pins.
Ordering Parts
As the links above probably indicate, I ordered most of the parts from DigiKey. Since DigiKey doesn’t carry the LED standoffs I wanted, I ordered those from Mouser and did price comparisons on everything. For most things they came out about the same, but the LEDs were significantly cheaper from Mouser.
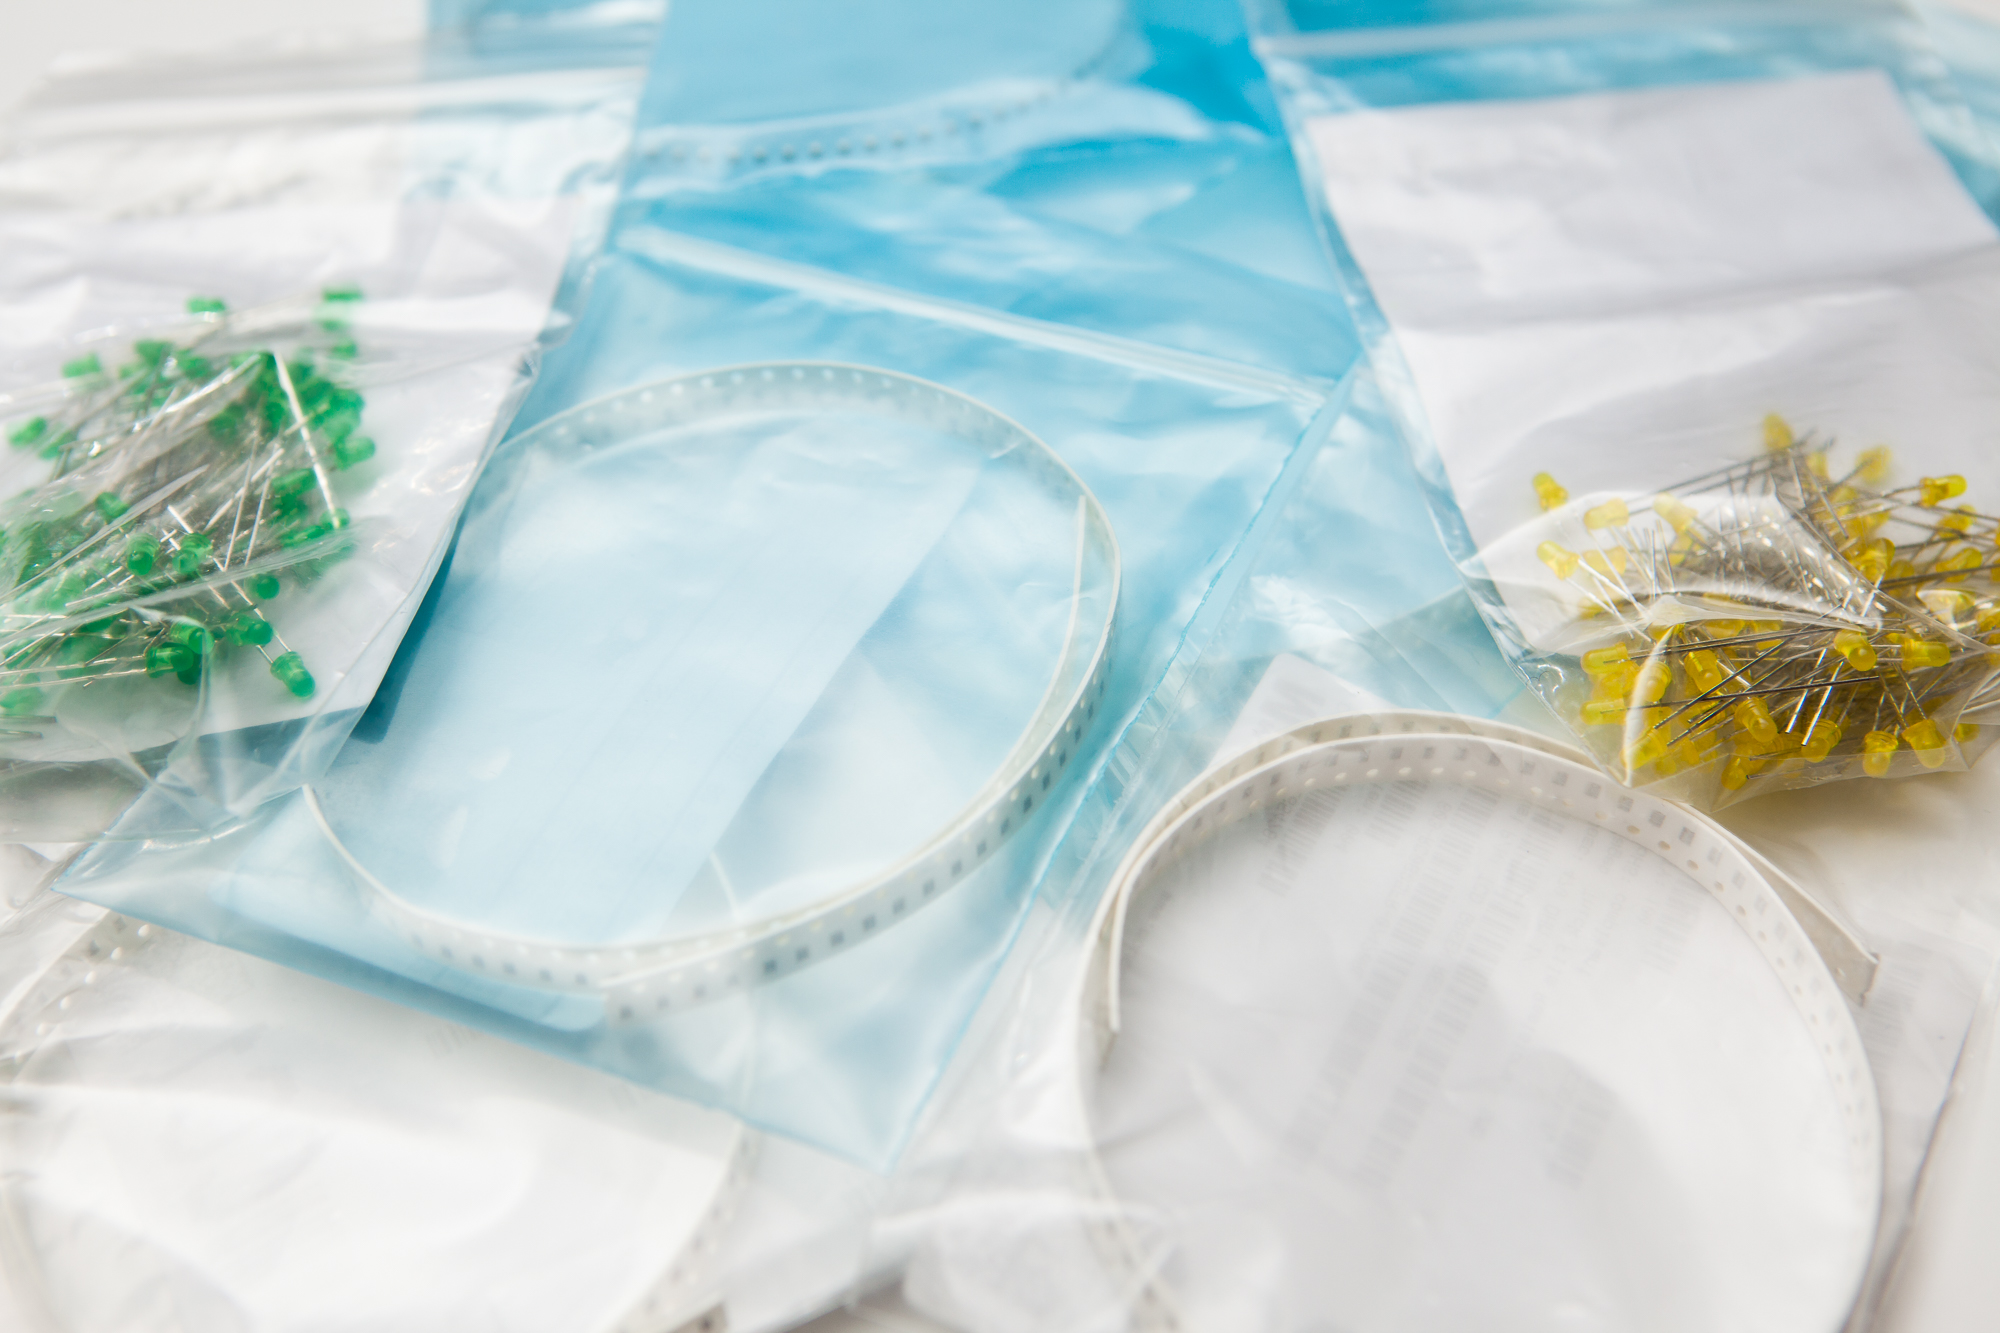
In typical DigiKey / Mouser style my orders arrived very quickly and well organized. Time to get to soldering!
SMD Soldering
The SMD parts went on first, starting with the HT16K33. This was my first time ever soldering SMD parts and my first time using ‘drag soldering’, so I was in for a treat. Everything is going to be soldered by hand using 60/40 – I can try reflow soldering for my next project.
HT16K33
I started by cleaning the HT16K33 pads with a flux pen and then carefully moving the chip in place with a set of tweezers. I then tacked down opposite corners using a bit of solder and applied some more flux to the pins + pads. After applying a fair bit of solder to the iron’s tip, I dragged it somewhat slowly across the pins. The solder bridged the connections and the chip was fully attached. I had to go back and tap one or two pins to make sure the solder was flowed evenly, but otherwise for my first attempt at drag soldering it went pretty well.
No photos for this – the connections may be solid, but the flux residue makes it look nasty up close! I did what I could with a bit of rubbing alcohol, but maybe I should use a no-clean flux next time.
Capacitors
With the multiplexing chip on the board, the next parts to be added were the capacitors. The 0.1 µF cap goes closest to the chip, followed by the 10 µF capacitor next to it. For both I added a small dab of solder to one pad, held the capacitor in place (those tweezers are a lifesaver), and then reflowed the solder with my iron to connect the two. I then soldered the component to the other pad and it was done.
Diode
After the capacitors I soldered the diode. This is the one part where I wish I had bumped up the size a bit – it’s the same rough dimensions as an 0805 resistor, but the leads are that much smaller. I was worried I was putting too much heat into it with those tiny leads, but it seems to have turned out alright. At least I had the sense to make the pads large enough to work with.
On the first board I soldered I actually delaminated one of the pads after I realized I had accidentally placed the diode backwards. A little bit of wire saved it, but I was very careful with soldering the diodes from them on.
Resistors
The last SMD components to be added were the resistors. I started with the address resistors, then went to the I2C pull-ups, and finished up with the LED resistors. These were all added using the same process as the capacitors: add solder to one pad, reflow the part to the first pad, and then solder the second. Once I had the process down these went very quickly.
I was surprised with how easy it was to solder these SMD parts. Once you get into a mindset for working with small parts it’s actually quite simple. Easier than constantly flipping over a board to solder through-hole parts, for sure. I’ll definitely be looking towards SMD parts for more projects in the future.
Intermediate Testing
With all of the SMD parts on the board, the only thing missing are the LEDs! But before wasting a whole batch of LEDs, I wanted to check that the board was going to work as-designed.
I soldered on the 4-pin connector to the board and then got to work setting up my test connections. I had ordered a bunch of hook grabbers and mini test points, with the intention of connecting the newly-soldered PCB to my original breadboard setup in place of the HT16K33 breakout.
After soldering wires to each hook I set test points at each ROW pin and COM pin on the PCB – 24 points in total. I then connected the hooks and ran wires to the respective points on the breadboard. I hooked up an Arduino Nano with a test sketch to the I2C connector and checked whether everything was working properly.
The result was… not great. Most of the LED segments/ displays lit up, but a few required jiggling the wires to get them to light. Either a test point was pulled off, or a breadboard wire was loose – and attempting to navigate the setup to fix it just caused more issues.
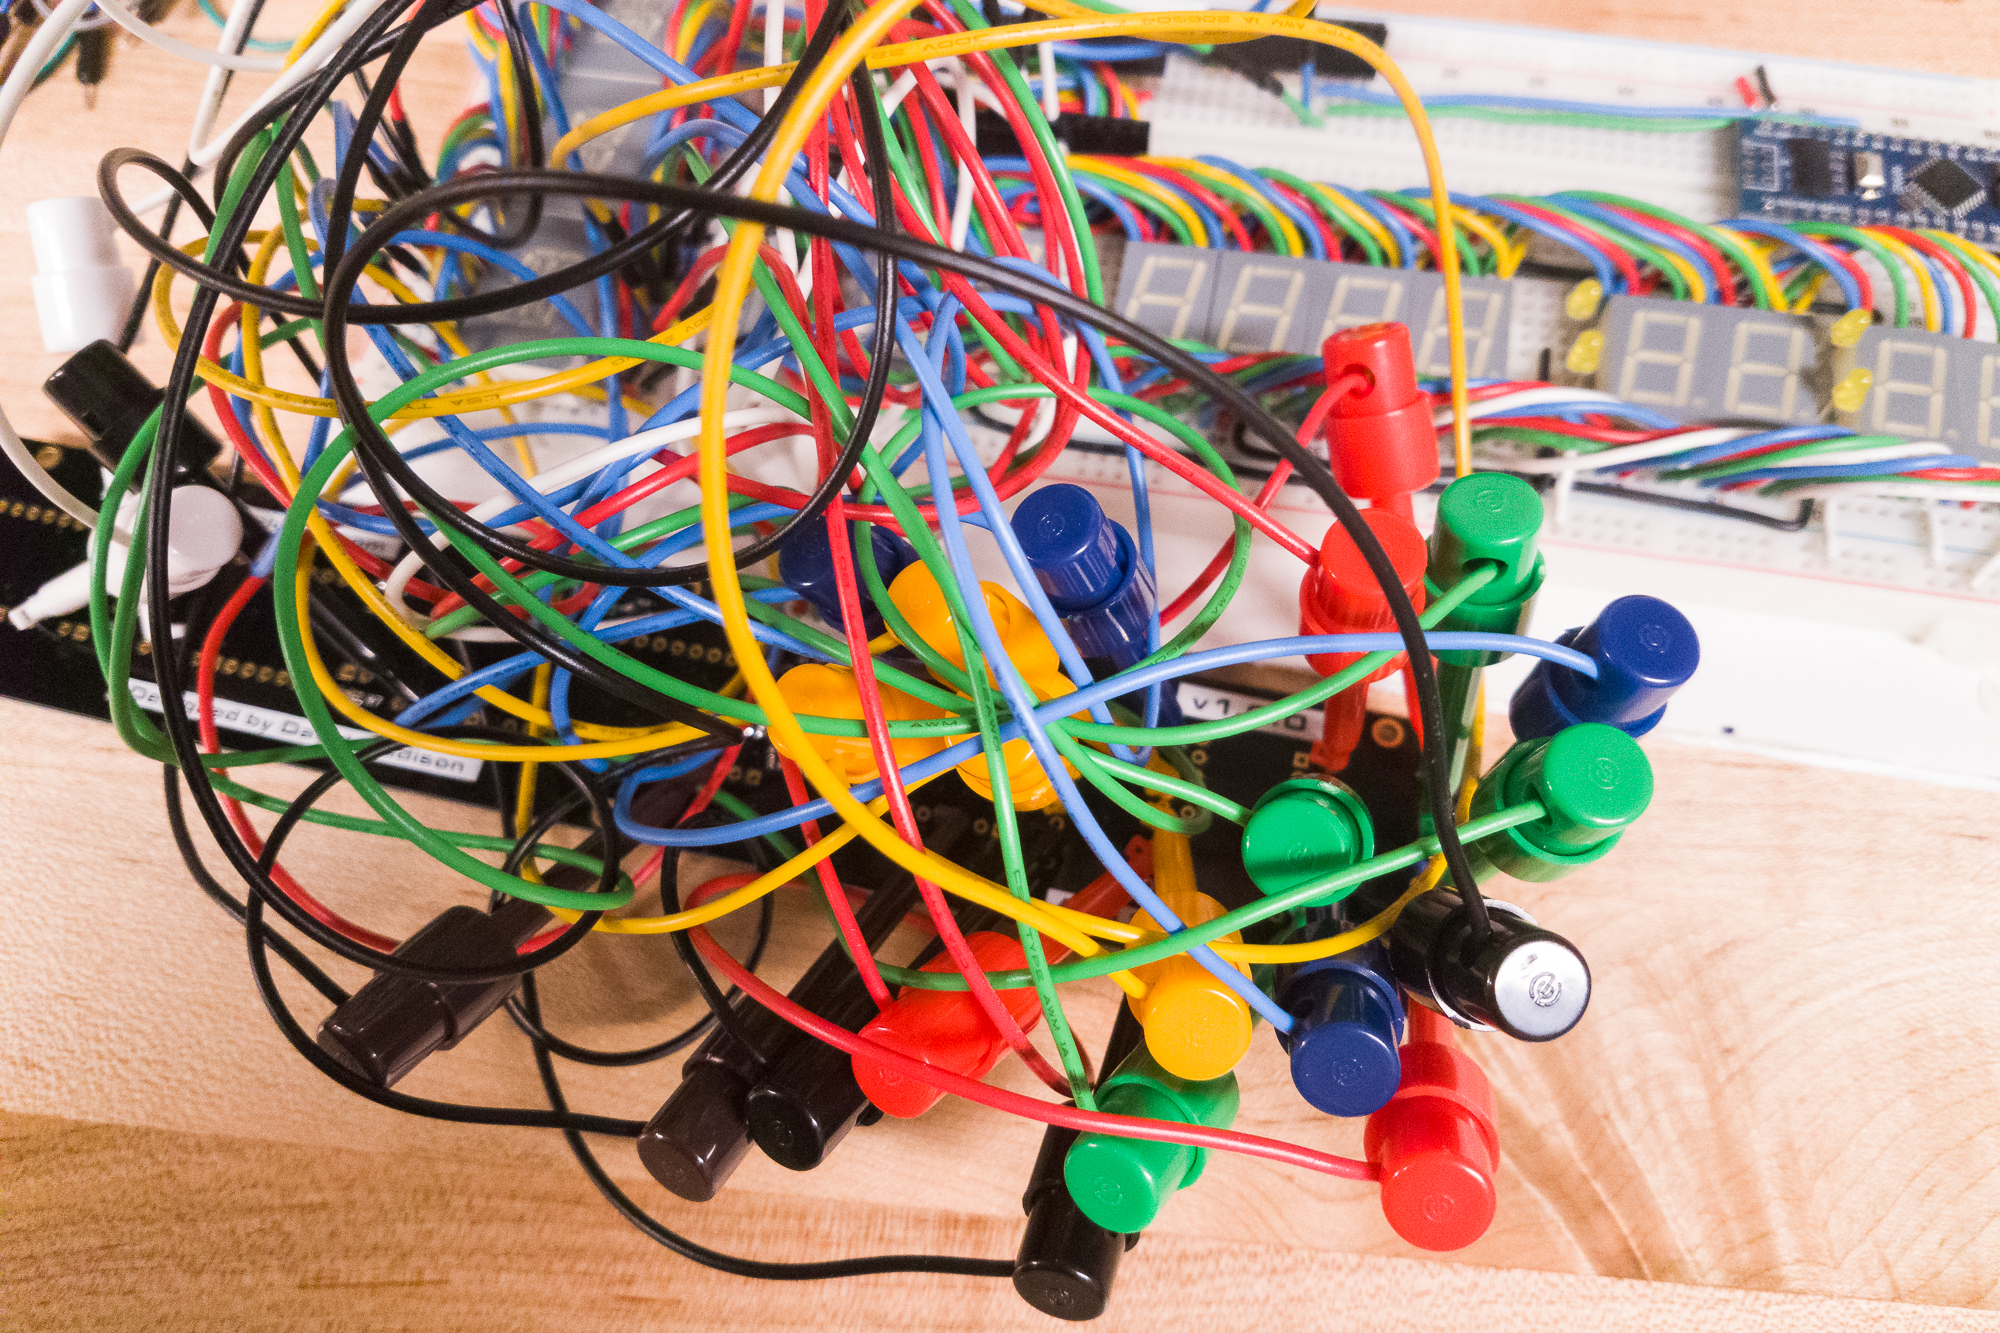
Yikes.
This was a massive pain to set up, and because of how messy it was it was difficult to tell whether an LED wasn’t lighting up because of a hardware problem on the PCB or a loose connection.
I eventually gave up trying to test like this – for subsequent boards, I just tested a single LED to see if it would blink. That told me that the HT16K33 was working properly and nothing critical was shorting. But this large-scale test did tell me that the board was more-or-less working as designed – so it was time to add the LEDs!
LED Soldering
Although I originally planned to make my first set of displays with “stand-in” LEDs while I waited for the “proper” LEDs from Kingbright, the correct LEDs arrived from backorder in only 19 days! My first fully-soldered display is going to be done using these “stand-in” displays just so I get a feel for the process, and then I’m diving right in with the final displays.
The 7-segment displays were put into their respective lasercut standoffs and inserted into the circuit boards, followed by the 16-segment displays. For the first board I simply flipped it over and soldered everything straight across. The displays have a tiny bit of wiggle-room inside of their holes, so they can get a little mis-aligned. This isn’t terrible, but it’s noticeable if you’re looking at the displays closely.
The next three boards I soldered were the ones I’m hoping to use in the final prop, and I adopted a slightly different strategy. After inserting a display I tacked it in place by soldering only one pin towards the center of the part. This allowed me to reflow the solder on that pin, readjust the display’s positioning, and make sure everything was closely aligned before I fully soldered the rest of the pins.
Even with the standoffs, the alphanumeric displays are at a very slightly different height than the 7-segment displays (~0.002 – 0.005″). This isn’t noticeable at viewing distance, but it means that the parts won’t stay perfectly flat when soldering. Because of this, I started by soldering all of the 7-segment displays fully and then adding the 16-segment displays.
Because they stick up higher than all of the displays, the standalone LEDs were the last to be added. These include the 0.25″ standoffs that keep them at the right height for the display casing. I soldered one lead, reflowed the solder to pull the LED flush with the board, and then soldered the other. Once I was satisfied with the position I clipped off the excess from the standalone LED leads.
Tying It All Together
With the LEDs in place the display circuit boards are complete! I soldered the address jumpers for each display (A0, A1, A2 from top to bottom) and put the iron away. The last step is to wire the connectors and test them out.
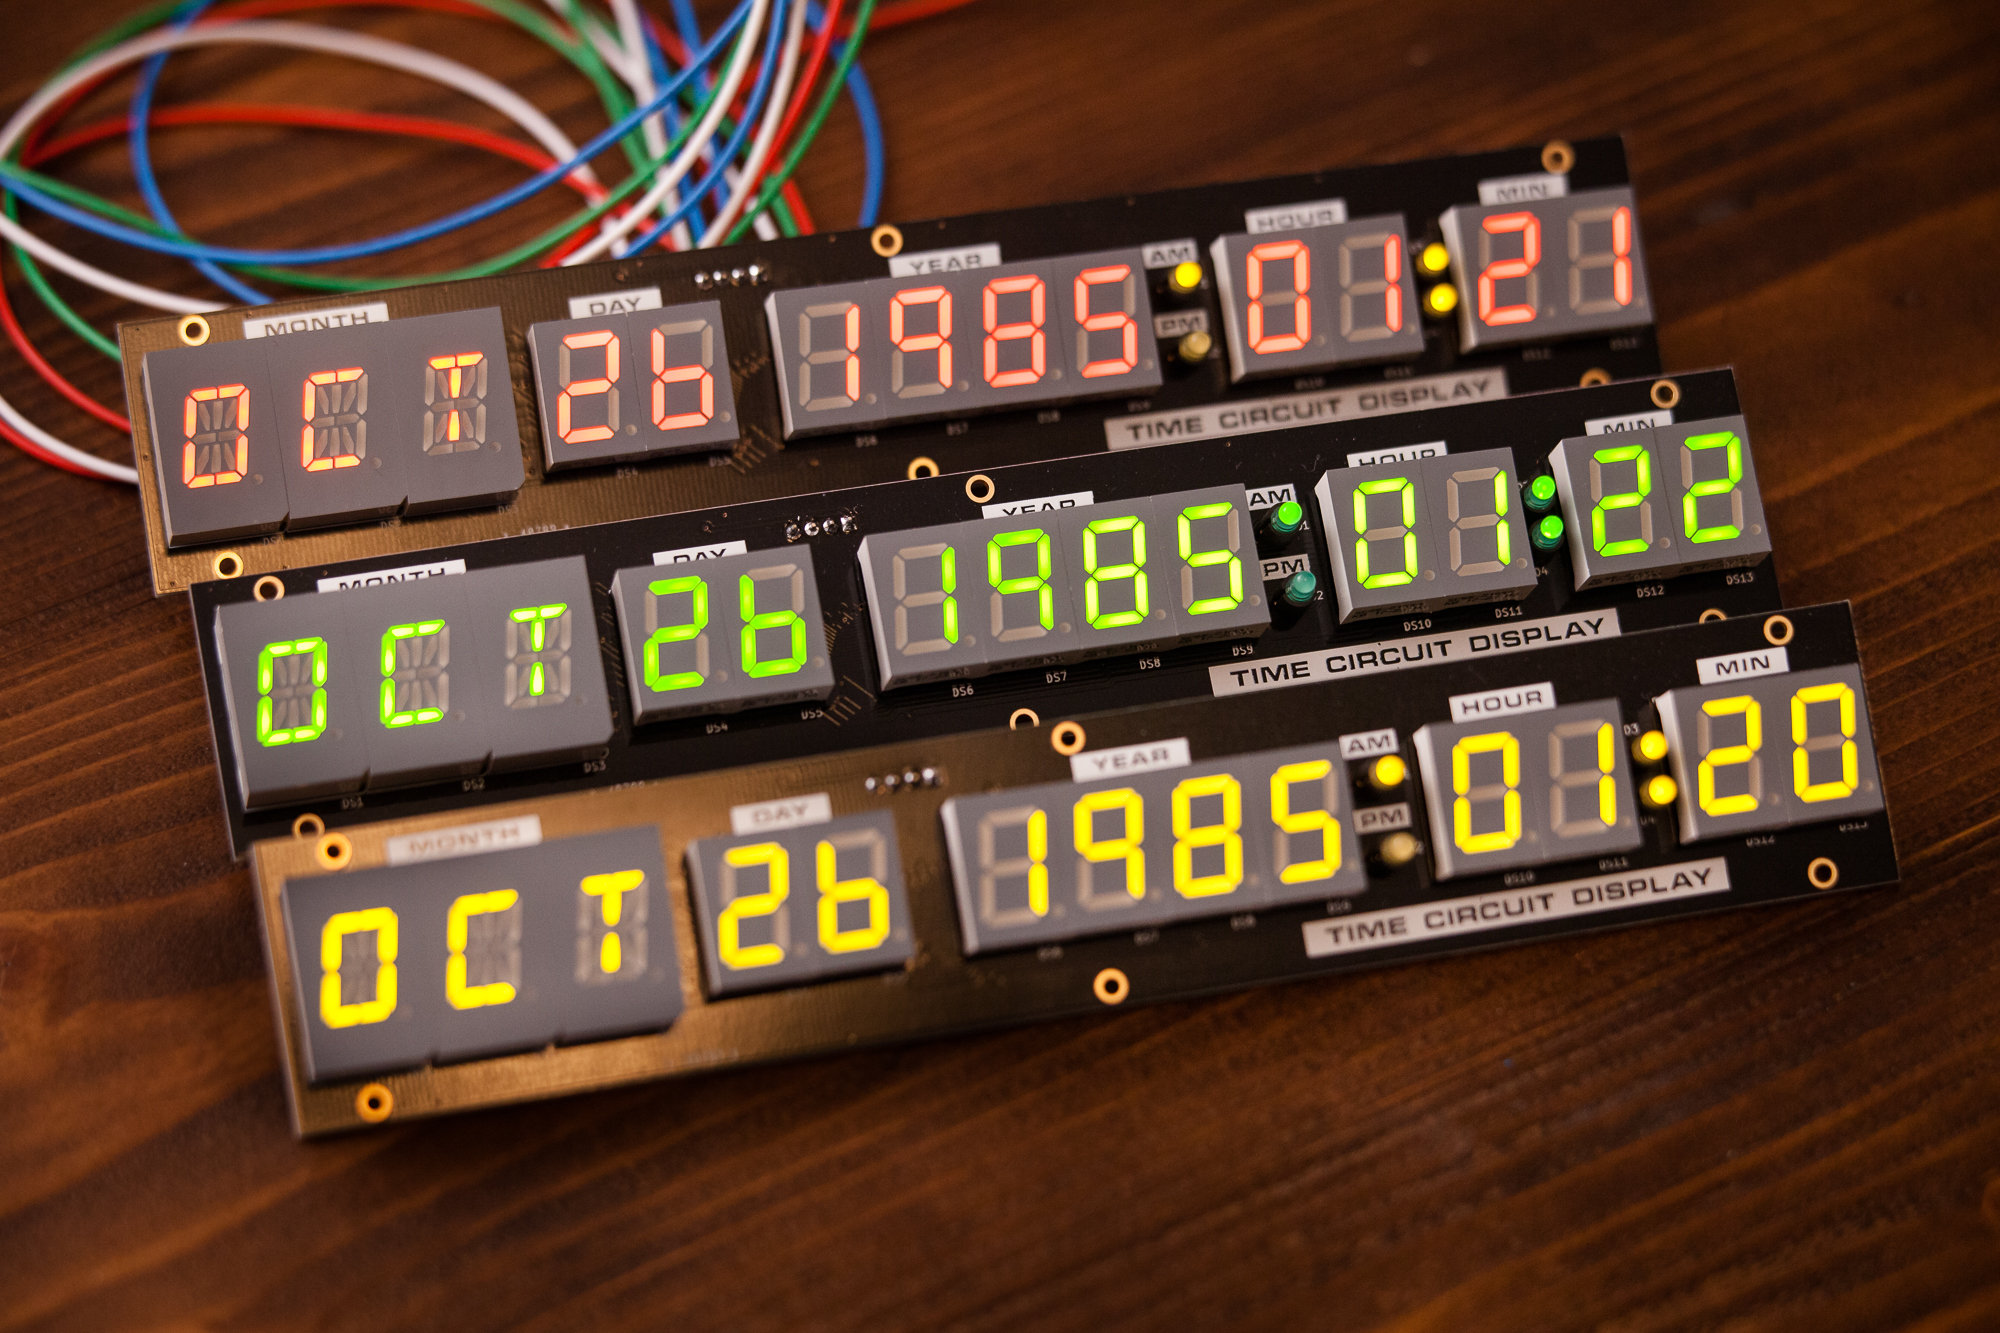
I assembled the connectors using some generic 22 AWG stranded wire and the proper crimped connector. I used another Arduino Nano with a test sketch of my driver code to check that the displays were working properly. First it sets all of the segments on, then off, then sets them to the values from the first time Marty sees them (after Einstein goes through time). From then on the ‘present’ (green) display counts forward and the ‘seconds’ LEDs for all three displays blink in time according to the Arduino’s internal clock. It’s quite a sight.
Conclusion
The display circuits are assembled! This is a huge milestone for the project. There’s a lot more to be done, but these are the most visible and most iconic part of the prop. And so far they are built and working exactly as designed.
Next up: Modifying the display cases

16 Comments
Seb · February 12, 2018 at 11:47 am
Hello Dave,
what a huge work !
I don’t have your knoledges in electronic, very impressive…
Does your Time Circuits work now ? I don’t see any post or video about it.
I see you don’t want to share your work, I unserstand and I just have to know one thing:
Will you sell it later ? Let me know.
Sorry for my language, I’m a french guy and english lessons are far away…
Regards.
Dave · February 13, 2018 at 7:15 am
Hey Seb! Thanks for the kind words.
This post is as far as I’ve gotten so far: I have the three display circuit boards assembled and running, but nothing past that point. I’ve gotten distracted with other projects although I’m hoping to get back to the time circuits soon.
Unfortunately due to licensing restrictions I have no plans to sell any part of this project. But I hope to keep documenting everything as I go.
Rexx · March 9, 2018 at 10:25 am
Really excellent work. I really admire the attention to detail and patience with your projects. I think this will definitely pay off with the final product! Not that you need any more projects to do, but I wonder if you are also a fan of the show Lost (I figure as a BTTF fan, this is not unlikely), and if so, if you’ve considered making a replica of the countdown clock in the hatch. If you aren’t a fan, I’d highly recommend the show, or at least the first couple of seasons. The style and potential functionality of the prop as an alarm clock or something similar seems likes something you’d enjoy playing around with. Keep up the great work and I can’t wait to see the completed time circuit (and maybe flux capacitor to go with it???)!
Dave · March 10, 2018 at 8:50 am
Thanks Rexx! I saw the first few seasons of Lost, but I’ve never considered making the clock from the hatch. I’ve always been a bit fascinated with split-flap displays, so maybe I’ll look into making one in the future!
Flux capacitor is definitely on the “make eventually” list. Hopefully sooner rather than later!
Jeff Hucik · August 1, 2018 at 8:33 pm
Dave,
Very interested In This build! I’m going to be starting my time machine conversion on my delorean soon and this is the one thing I’ve been shakey about in building. Any idea when you’ll get back into it?! Great work! Look forward to seeing it completed! Gives a great look into how to build my own.
Dave · August 3, 2018 at 2:52 pm
Thanks for the kind words Jeff, and I’m glad you’ve found the series to be helpful! No solid plans for when I’m going to get back to it unfortunately, but hopefully it will be soon. I’ve let this ones languish for too long now.
pyriame · February 11, 2019 at 6:51 am
It’s a very, very nice job. Congratulations. I’m doing the same project but with a 3D printer. Your work helped me a lot, a big thank you.
I will try to cabler directly because I do not have the skills to make a circuit board …
I am looking for the depth of the 3 boxes that are positioned in staircase. If you have an idea.
good luck
Dave · February 12, 2019 at 7:45 am
Thanks, I’m glad you’ve found the information helpful. You can find more information about the enclosures in this post: https://www.partsnotincluded.com/bttf/specifications-for-the-time-circuit-display-enclosure/
Alex · March 29, 2020 at 11:24 am
Hi Dave, excellent work, im only at the first stage trying all together and changing the program a little bit.
I was wondering if you will share the files to send the PCB’s to be made in china, otherwise i think i will use 7 segment displays with backpack instead of a clean PCB.
Thank you!
Edwin · June 18, 2020 at 8:55 am
Yes! I would love to order some of those pcbs! Would you be willing to share the file you created?
Would you make them differently, in hindsight?
Jorick · July 7, 2020 at 7:17 am
What an awesome project! I’ve been wanting to create this device myself for quite some time now but using the 16 segment displays makes everything so complicated.. I read you’ve ordered 20 pcb’s? I understand you don’t want to share the files because first of all it was probably a lot of work to design them but can I pretty please (with suger on top) buy 3 pcb’s from you? 🙂
Dave Jones · July 10, 2020 at 12:24 pm
Hi from Australia Dave.
I have been assembling parts for my BTTF time circuits and have most of the hardware (3 enclosures), Raspberry Pi with RTC, Manged to source the RYG 7-segment and 13-segment LEDS. I wonder if you could help me with a few questions:
1) The custom made circuit boards look amazing. Would you be happy to send me the file so I too can get the boards printed up? I am genuinely happy to pay for this, as being relatively inexperienced in electronics, those boards would make life so much easier.
2) Can I run all 3 time circuit displays from a single raspberry Pi and a single HT16K33 Breakout Module?
3) Do you have any tips for cutting the holes on the fascia plate of the mounting boxes?
4) I think the original movie prop had the 3 displays stacked in stepwise fashion. Do you have any advice on mounting the individual boxes and a way to bolt them together?
Finally, am really looking forward to seeing your finished article! And thank’s so much for making the contribution on here!
Best wishes,
Dave Jones, Perth, Oz.
Dave · July 12, 2020 at 8:36 pm
Hi Dave,
1.) At the moment I’m not distributing the PCBs or their project files. Sorry!
2.) You cannot run all three displays off of a single HT16K33. You would need a minimum of one per display, potentially more if you want to run all of the LEDs including decimals. A single Raspberry Pi (any type) can drive all of the HT16K33 modules no sweat.
3.) For the mounting boxes I would recommend a mill with some sort of sacrificial backing. I didn’t have access to a mill myself and that’s where the project stalled out.
4.) I’m fairly sure that on the original prop they were mounted using two screws on each side through the outer enclosure. I was planning on using run-of-the-mill sheet metal screws, then assembling the outer case with welded aluminum.
Good luck!
Dave
Rubens · February 16, 2022 at 8:50 am
Hi Dave!
My name is Rubens and I am 11 years old and if my English is not good, then it’s because I am Dutch. So, my question is:
How is it going with this project, and can you please continue with this project.
Because I don’t know anything about it. And, can you please answer the following questions?
(1): Do you have to connect another PCB to it? Like the “main circuit board” and that would be nice to know.
(2): How did you connect the Arduino Nano’s? Because now i don’t really know how to connect it.
(3): How did you connect the keypad? When I saw this post online in June 2020, I thought WOW! I want to make that too! And I was reading everything 5 times! And two weeks ago, I was realizing that there was nothing about the keypad. And that’s when I get stuck. So, if you go further with this project please post something about the keypad, I really need your help for that!
(4): How does the wires go? When i look at “Tying It All Together”, I see only 4 wires: red, white, blue and green, but, every PCB does use 4 wires, with in a total 12 wires for all 3 PCB’s. So how does that 12 wires go? Do they connect all until there only 4? So yes, how then?
(5): Which programmer did you use, and how did you put more codes at one Arduino? Also I don’t know how you send commands to the HT16K33.
(last question): On how much voltage does it run? (I hope it does work on 12voltage).
I hope you like my comment! And I hope you wanna go further on this project!
Dave · February 16, 2022 at 11:51 am
Hi Rubens!
I haven’t worked on this project in a few years now. I am currently busy with other things, and I do not know when I will get back to it. I would be happy to answer your questions.
1. Yes, another circuit board provides the “brains” of the display. For testing I was using an Arduino Nano with an ATmega328P microcontroller.
2. The board has a four pin connector for the I²C connector. One pin goes to power, one pin goes to ground, and the remaining two pins are for SDA (serial data) and SCL (serial clock). On the Arduino Nano that is pins A4 and A5, respectively.
3. I did not get to the point in the project where I integrated a keypad. If I do return to this project, that’s definitely on the list!
4. The wires from all three displays are connected in parallel. I²C is an addressable bus, which means you can tell which circuit board what to do without having to run separate wires. The address jumpers on the back of the circuit board let you set which board uses which address. These are soldered differently for each display.
5. The Arduino was programmed with C++. One program controls all three displays at once. Each display is its own “object” in the code and can be controlled separately. I wrote a post on how to command the HT16K33 chip which may be helpful. I hope I understood your question correctly.
The whole setup runs at 5V. To use 12V like in a car you would need to use a voltage regulator to convert it down to 5V first.
I’m glad you like the project, and I hope that answers your questions!
Rubens · August 22, 2022 at 10:44 am
Hi dave! Thank you for te answer I also did do other things. Its very helpful, my uncle is helping me with this, he askt ME to send you a question for a list with all the components you need. I hope you can send me the list! But after that there is a problem, the LEDS. The 3mm I can order just here in the netherlands, but the alfanumeric displays that you used are not availeble at kingbright, the red ones does but when I tried to order there website said that they didn’t send to the netherlands. And there europe site is so stupid. the yellow ones are availeble at ebay so that isn’t a problem. And the 7 segment same story only I didn’t look on eBay for the 7 segment ones YET. But can you Please send me a link for the alfanumeric red and green ones that does are send to the netherlands? I hope you can Find it and move on with the display Soon!
Rubens (the one that send you a qeustion on FEB 16 2022 am 08 : 50 😄)